
Related Manuals for Sonic Frontiers SONIC FRONTIERS Processor 3


Summary of Contents for Sonic Frontiers SONIC FRONTIERS Processor 3
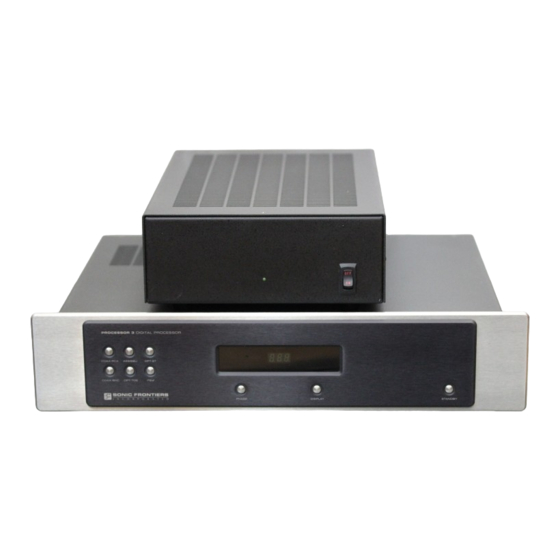
- Page 1 S O N I C PROCESSOR 3 D I G I TAL PROCESSOR F R O N T I E R S O P E R ATING MANUAL...
-
Page 2: Table Of Contents
OPERATING MANUAL FOR THE SONIC FRONTIERS PROCESSOR 3 DIGITAL PROCESSOR We at Sonic Frontiers hope you will derive many years of listening pleasure with your new Processor 3 Digital Processor. This Operating Manual contains important information regarding the operation and care of this product. Be sure to read this manual carefully and follow these instructions in order to keep it performing and sounding its best. -
Page 3: Unpacking
U N P A C K I N G At this point we assume that you have successfully opened the box flaps and found this manual. These boxes were designed to ensure the safe transport of the Processor 3. Sonic Frontiers strongly recommends the storage of these boxes in a safe dry place. -
Page 4: Operation, Connection And Control Diagrams
O P ER A TIO N, CO NN EC T IO NS AN D CO NT ROL FU NC T I ON S DISPLAY WINDOW Figure 1 Figure 2 Figure 3... -
Page 5: Control And Connection Functions
C ONTROL AND CONN ECTIO N FU NC TIONS F R O N T P A N E L A - Input Buttons (6 - COAX-RCA, AES/EBU, OPT-ST, COAX-BNC, OPT-TOS, I S • These bu ttons will select an input signal connect ed to one of the six Inputs on the rear of the Processor 3. -
Page 6: Screws
C ONNE CTION S A ND CONT ROL F UNC TIONS C O N T ’ D R E A R P A N E L E - Power Supply Input Socket - Plug the Power Supply tal connection from a digital source’s RCA - S/PDIF - Umbilical Cord from the Power Supply into this socket. -
Page 7: Processor Set-Up
P RO CE S SO R SET - UP You are now ready to begin setting up your Processor 3. 6 . Once all the tubes are installed, no other adjustments or instal- lation of any other parts is necessary. Replace the Top Cover, and using the Phillips screw driver, fill all the screw positions with INSERTION OF THE TUBES the screws provided. -
Page 8: Chassis Placement
PROCESSOR SET-UP CONT’D PROCESSOR 3 MAIN AND P OWER SUPPLY CHASSIS P LA CE MENT POWER CONNECTIONS Under no circumstances should the Processor 3 Power Supply be Once all input and output signal connections are made, you can placed directly on top of the Processor 3 main chassis, or the begin to make the power connections. -
Page 9: Powering On And Startup Procedures
POWERING ON & STARTUP PROCEDURES 1. The Processor 3 power switch located on the front panel of the 4. If an capable device is not the source, you may select S • power supply should be switched to the ON position. The pres- the desired digital input using one of the 5 other input buttons (A). -
Page 10: Trouble Shooting
TROUBLE SHOOTING If the Processor 3 is not functioning properly, please check each of the following: W A R N I N G D I S C O N N E C T the AC Detachable Power Cord Fuse from the Processor 3 Power Supply before beginning troubleshooting. -
Page 11: Safety Instructions
SAFETY INSTRUCTIONS 1 . Ventilation - Although your Processor 3 Digital Processor LIMITED FIVE YEAR WARRANTY generates only nominal heat in use, be sure that the ventilation Sonic Frontiers, Inc. warrants to the purchaser that each slots in the top cover have at least 6” of unobstructed air space Processor 3 Digital Processor and Power Supply is free of manu- above them. -
Page 12: Technical Specifications
T EC H NI CA L S PEC I FI CA TI O NS Input Receiver UltraAnalog AES21 AES/EBU Fuse Requirements (1) .75 A slow-blo ultra-low jitter Input Receiver (Note: Not required with I interface) S• Power Requirements 60VA ® HDCD Digital Pacific Microsonics PMD -100... - Page 13 We at Sonic Frontiers are sure that you will derive many years of listening pleasure with your new Processor 3 Digital Processor. This Operating Manual contains important information regarding the operation and care of the Processor 3. Be sure to read this manual carefully and follow these instructions in order to keep it looking, operating and sounding its best.
Need help?
Do you have a question about the SONIC FRONTIERS Processor 3 and is the answer not in the manual?
Questions and answers