Table of Contents
Advertisement
Quick Links
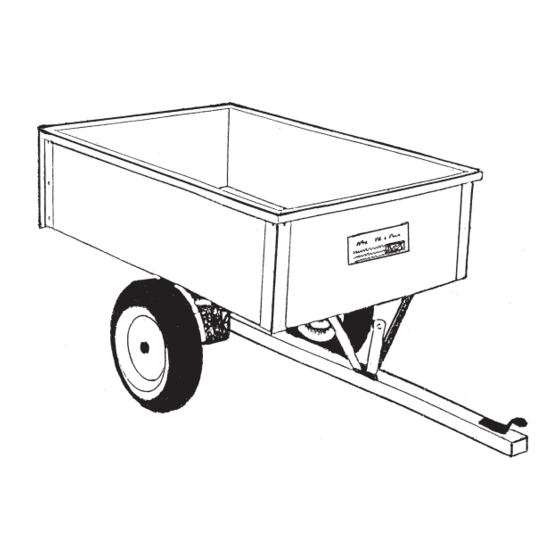
Trailer Cart
Assembly and Operating Instructions
3491 Mission Oaks Blvd., Camarillo, CA 93011
Copyright
1998 by Harbor Freight Tools
this manual or any artwork contained herein may be reproduced in any shape
or form without the express written consent of Harbor Freight Tools.
For technical questions and replacement parts, please call 1-800-444-3353.
(10 Cubic Feet)
Model 38897
Revised Cover 12/04
®
®
. All rights reserved. No portion of
Advertisement
Table of Contents

Related Manuals for HAUL MASTER 38897


Summary of Contents for HAUL MASTER 38897
- Page 1 Trailer Cart (10 Cubic Feet) Model 38897 Assembly and Operating Instructions ® 3491 Mission Oaks Blvd., Camarillo, CA 93011 Copyright 1998 by Harbor Freight Tools ® . All rights reserved. No portion of this manual or any artwork contained herein may be reproduced in any shape or form without the express written consent of Harbor Freight Tools.
- Page 2 (under 5 MPH) when performing off road hauling. 6. Before each use, check the tongue latch connection to the towing vehicle to insure safe operation. Before each use, check the condition of pneumatic tires (recommended tire pressure is 30 PSI). #38897 Page 2...
- Page 3 4 Bolts (#21), 4 Washers (#23) and 4 Nuts (#24). Bottom Panels (#1) Front Cross Brace (#2) Figure 1 Step 2: Connect the two Bottom Panels shown in Figure 2 using 4 Bolts (#21), 4 Washers (#23) and 4 Nuts (#24). #38897 Page 3...
- Page 4 (#23) and 8 Nuts (#24). Note: Only hand tighten these 8 Bolts (#25) now, Bolts should be securely tightened once Wheel Axle is installed (see Step 6, page 5). Wheel Axle Supports (#4) Figure 4 #38897 Page 4 REV 02/07...
- Page 5 Hitch Tongue (#10) and the other end to the top hole in the Latch Spacer (#8). With the Latch Spring in place, tighten the bolt described in the above paragraph. Hitch Tongue (#10) Tongue Latch (#9) Figure 7 #38897 Page 5 REV 02/07...
- Page 6 Side Panel (#14) using 2 Bolts (#21), 2 Washers (#23) and 2 Nuts (#24). Insert bolts in the holes shown. See Step 13, page 7 for instructions on installing 2 other bolts into Side Panel. Figure 10 #38897 Page 6 REV 02/07...
- Page 7 5 Washers (#23) and 5 Nuts (#24) to secure each Side Panel. Figure 13 shows Rear Corner Brace being assembled to left Side Panel. Follow same procedure to assemble Rear Corner Brace to right Side Panel. Rear Corner Brace (#15) Figure 13 #38897 Page 7 REV 02/07...
- Page 8 Tailgate Latches can now be dropped over the open slots in each Side Panel which will lock the Tailgate in place. Assembly of the Trailer Cart is complete. Before using the cart make sure all hardware connections are tight. #38897 Page 8...
- Page 9 8mm Hex Nut 234B5 M8x20 Hex Head Bolt 234B6 20mm Flat Washer 234B7 3mm Cotter Pin 234B8 12.5x 64 Hitch Pin 234B9 M6x90 Hex Head Bolt 234B10 6mm Nylon Nut 234B11 6mm Hex Nut 234B12 6-8mm Flat Washer #38897 Page 9...
Need help?
Do you have a question about the 38897 and is the answer not in the manual?
Questions and answers