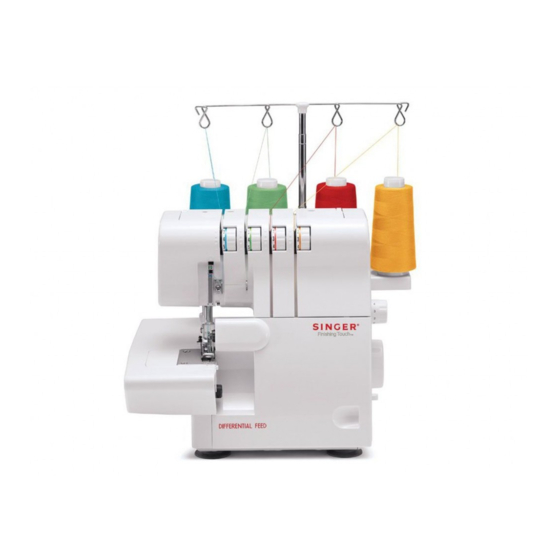
Singer 14SH654 - DETAILED THREADING GUIDE Manual
Detailed threading guide
Hide thumbs
Also See for 14SH654 - DETAILED THREADING GUIDE:
- Manual (101 pages) ,
- Operator's manual (50 pages) ,
- Service manual (31 pages)
Advertisement
Quick Links
SERGER MODEL 14SH654 DETAILED THREADING GUIDE
3 / 4 – Thread Sergers
Step 1:
Threading the Upper Guides:
• Make sure the thread slips under the guide
located on the top at the back of the serger.
• Insert the thread by slipping it under from right to
left.
© 2005 SINGER SEWING COMPANY
Advertisement

Summary of Contents for Singer 14SH654 - DETAILED THREADING GUIDE
- Page 1 Threading the Upper Guides: • Make sure the thread slips under the guide located on the top at the back of the serger. • Insert the thread by slipping it under from right to left. © 2005 SINGER SEWING COMPANY...
- Page 2 Step 2: Threading Upper Looper: (ORANGE) • Always begin threading your serger by starting with the upper (orange) looper. • Slip the thread behind the first guide directly below the tension dial from right to left. • Slip the thread behind the next 4 guides (these are indicated by orange dots below the guide).
- Page 3 Step 3: Threading Lower Looper: (YELLOW) • Slip the thread behind the first guide directly below the tension dial from right to left. • Slip thread behind the 4 yellow thread guides (these are indicated by yellow dots below the guide). •...
- Page 4 Lower Looper Threading Continued: Photo #2 Photo #3...
- Page 5 Step 4: Threading the Right Needle: (GREEN) • Slip the thread under the first guide directly below the tension dial, and then under the guide just to the left of the first guide. • Run the thread over the top thread path indicated by a green dot as shown.
- Page 7 Step 5: Threading the Left Needle: (BLUE) • Slip the thread under the first guide directly below the tension dial. • Run the thread over the bottom thread path indicated by a blue dot as shown. • Thread through wire guide B located at the top of the left needle and then through the eye of the needle.
- Page 9 Step 6: Adjusting Width Adjustment Knob It is important to set the width adjustment knob to the correct setting, as this will affect the quality of your stitch. Your serger is pre-set to the R setting at the factory. • Disengage upper knife by pulling knife holder to the right and turning the knob away from you until the knife is in a horizontal position.
- Page 10 Step 7: Threading Tips for the Serger • Use good quality serger thread. This thread is sold in larger 3000 yd. spools at most fabric and sewing retailers. • Use the same brand of thread in all tensions, do not mix and match brands.


Need help?
Do you have a question about the 14SH654 - DETAILED THREADING GUIDE and is the answer not in the manual?
Questions and answers