Advertisement
Pre-installation
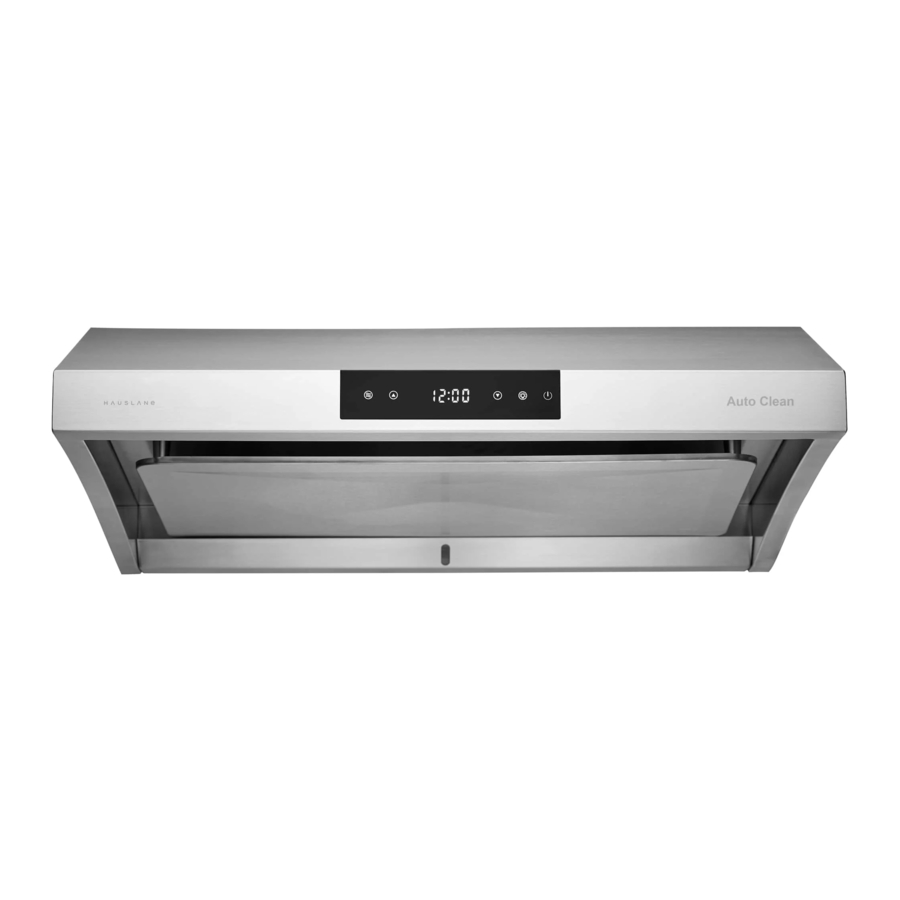
SPECIFICATIONS

| Dimensions | Volts | Herb | Fan CFM | Speeds | Light Wattage | Stainless Steel Grade |
| 756mm (29.7in) W | 120 | 60 | 950 | Six speed | 50W | 430 |
| 582mm (22.9in) D | ||||||
| 210mm (8.2in) H |
PLANNING STALLATION
Before proceeding to install, please make sure you thoroughly inspect the range hood for any possible damages or missing parts. If you identify that there are missing or damaged parts, we advise you to contact the relevant personals as soon as possible to have the issues rectified. We also strongly recommend that you are completely satisfied with the item before you dispose of its packaging. In addition, we recommend testing the range hood by establishing a temporary connection to an outlet and turn on the fan and lights.
Please note:
If you fail to read instructions carefully on how to install effectively, we will not be responsible for any damages incurred on your part. We highly recommend reading this manual carefully before proceeding to install or using the range hood. You should use this range hood in duct mode only, meaning allowing to duct fume to the outside at all times. We recommend hiring a certified technician to complete the installation of this range hood. Please check to ensure the main voltage is in line with the required voltage outlined on the rating plate inside the hood. You need to check the domestic power supply to guarantee adequate earthling before installation. Do not connect the range hood to any form of exhaust ducts carrying combustion fumes such as fireplaces, boilers or any similar items. While using the hood with non-electrical appliances, you provide adequate clean air ventilation. Adequate and clear ventilation eliminates or reduces the backflow of exhaust gas to penetrate the area. The minimum clearance between the cooking surface and the bottom of the range hood is between 24" and 30". However, the distances do vary for some appliances such as those with gas hobs which MUST be followed precisely. Do not exceed the maximum height of 30" while in operation. Carefully remove the plastic protective film from the surface of the stainless hoods before installation.

Please hire a certified technician for installation to eliminate the risks of fires or electrical shock. Since the hood has sharp edges, it is highly recommended to use safety gloves. Make sure to avoid damage to the hood when using electrical screwdriver. To avoid malfunction, ensure that no debris enters the opening vent.
NOTE:The appliance may require two or more persons during the installation as it carries weight which may cause physical injuries if worked on alone.
Installation
CONNECTION
This appliance can be installed in ducting version only.
DUCTING VERSION
The duct and the roof/wall cap should be sourced locally.

Run 6in ductwork between the hood location and the roof cap. For the best result, use a minimum number of transitions and elbows.

To reduce the risk of fire, use only metal duct work.
INSTALLATION
This INSTALLATION primarily consists of Preparation, Venting Requirements, Clearance, Hood Installation, Ductwork, Electrical Work and Final Steps.
Preparation:
- If you need to remove the range, be sure to turn off the range's power from the main switch. Turn off the main gas supply in case it is a gas range. Disengage the panel filter from the hood by putting slight pressure in pulling it down, then slowly lift the panel upward and remove gently from the bracket at the back.
![]()
- Remove the metal grease tray at the bottom rear of the hood.
- Remove the bottom cover by carefully unscrewing the three screws as shown.
![]()
- Attach around 6" outlet adapter and securely fasten the adapter with two screws.
![]()
- Measure the size of the outlet adapter relative to the cabinet and create an opening in the cabinet to let pass the outlet adapter and power cable. Make sure there is excess opening to accommodate electrical wires and hood exhaust.


Venting Requirements:
- Hold the hood in position under the cabinet. For ducted installation, ensure that the outlet adapter enters ductwork and the damper opens and closes freely; otherwise it would greatly impact the hood's performance such as lower suction power and louder operation.
- As far as venting is concerned, decide a suitable location of the venting pipe from the hood to outside by having a straight, short vent run.
- Try to use aluminum ducts with a uniform size and try to avoid any elbows and if at all an elbow is required, a minimum of 12" straight run is imperative before the elbow.
Clearance:
- Clearance is related to the distance between cook top and bottom of the range hood and it should be in the range of 24" to 30". For gas range, the required distance is 30".
- Clearance is very important because installing below the range may result in some hazard/fire and installing above the range would decrease the overall performance.
Hood Installation:
- For the hood installation, remove all the protective layers from the hood.
- If you are installing under the cabinet with a recessed bottom, it is advised to use wood fillers on both the sides.
- Hold the hood in position under the cabinet and ensure that the outlet adapter enters ductwork and the damper opens and closes freely.
- From the bottom of the hood, carefully place the screws in each of the pre-drilled mounting holes. Be sure that the hood is bolted to the cabinet before removing support.
![]()

- For more secure installation, create and use as many mounting holes as needed.
Ductwork:
- After the hood is properly fixed, attach a pipe onto the hood exhaust.
- Then tighten the joint with the aluminum foil and ensure that it is thoroughly airtight.
Electrical Work:
- Plug the power cable to a pre-installed duplex outlet.
Final Steps:
- Reinstall the bottom cover by using the three previously removed screws.
![]()

- Reinstall the panel filter by aligning the holes to the bracket in the rear of the hood. After the panel filter is secured by the brackets, lift it up to put it back in place.
- Keep and store this manual.
Operation
This hood can be manually operated with a front control panel with features such as six-speed setting, lamp and steam auto clean.
The motor switch on the panel can operate up to a six-speed setting and can be altered with the + I and -I buttons to increase or decrease the speed. Other buttons include:

- ON/OFF
- LAMP
- DOWN
- UP
- STEAM AUTO-CLEAN
Setting the speed:
The speed option is easy to set by simple touching the on/off to turn the speed on/off. To increase or decrease speed, you can press the up (3) or down (4) buttons alternatively to your desired choice.
Setting the light intensity level:
There is one light intensity level designed on this hood. Touching the light button (2) to turn on the light and a second touch will power off the light.
Setting the clock:
Touch and hold the on/off button, when the hood is off, will allow you to set the required hour. Pressing the on/off button again will enable the minutes editing. Touch the up and down button will allow you to set your own time. Touch the on/off button to set the time or to exit the time setting mode. Inactivity for 5 seconds will set and exit the time setting mode.
Setting the timer delay:
You can set the timer delay by pressing the on/off button for 3 seconds while the fan is operating. This will enable the timer delay indicator to start flashing. Press the plus and minus buttons to change the minutes from either 1 to 15 (your choice) and is automatically set after 3 seconds of inactivity.
Steam Auto-Clean:
There is an installed steam auto-clean function feature on this appliance which facilitates a more effective cleaning of the internal housing and fan wheel. We highly recommend using this feature every two weeks of operation or as frequent as possible especially after heavy use. A water cup must be used during the auto-clean process. The auto clean process generally comprises of initiation, filling the plastic tray, sealing the plastic tray, timing the auto-clean process, eliminating excess water and reattaching the metal tray.
Process:

- Gently remove the metal grease tray from the rear of the hood.
- Use the clear plastic tray that came with the range hood and carefully fill the middle section with clean water. Fill the water up to the mark as shown in the diagram.
- Now gently attach the plastic tray filled with water back to the range hood since this water would be used throughout the auto-clean process. Make sure that you avoid spilling water during this step.
- Touch and hold the Steam Auto Clean (5) to initiate the process. The cleaning process would last 3 minutes with heating up the water and spraying steam on fan wheel then follow with water cleansing process. Note, this process might be loud because while the fan wheels are spinning, high-pressure water are spraying onto the fan wheels for better result.
- Toward the end of the process, dirty water will dispose into the plastic tray. As soon as the cleaning process is completed, remove the plastic tray once again and get rid of the dirty water and excess water. Dry and store the tray.
- Reattach the metal tray to the hood, and you are good to go!
Unplug or disconnect the appliance from the power supply before servicing.
The unit is for general ventilating use only. Do not use to exhaust hazardous or explosive materials and vapors
Maintenance
STAINLESS STEEL GREASE BAFFLE FILTER
Maintenance is important for an effective functioning appliance. Here are a few maintenance tips to consider:
Cleaning the grease filters frequently, such as every two weeks or more so after heavy use. You can use a warm detergent mixture for efficient grease cleaning.
Panel filter are easy to clean and are dishwasher safe.
How to clean:
Disengage the filter from the hood by putting slight pressure in pulling it down, and then lift the panel upward and remove gently from the bracket at the back.
Clean the filters with a warm detergent solution carefully without bending and then set to dry before putting it back.
Re-install the panel filter by aligning the holes to the bracket in the rear of the hood. After the panel filter is secured by the brackets, it up to put it back in place.

LIGHTING
Upon purchasing this range hood, you should be aware that it uses two halogen lamps of 120V and 50W.
Changing the lamps when needed is simple and can be done in three steps:
- Turn the power off and let stand for bulbs to cool the halogen lights before removing.
- Wear protective gloves when removing the light bulb. Rotate the light bulb counter clockwise to disengage the bulb from its socket.
- Place the light bulb on the holder and rotate it clockwise in the holder until fixed.
The surface of the halogen lamps may be hot. Take care when doing the replacement.

Care and Cleaning
This range hood has an excellent durability period with proper care; it can last in performance and appearance. Here are a few do's and dont's for caring for your range hood.
Failure to maintain basic standards of care and cleaning of the range hood will increase the risk of fire.
Do
- Proper cleaning of the range hood involves the use of warm or close to hot soapy water and clean with a gentle cloth.
- Clean the hood in line and direction of the original polish line on the hood.
- After soap cleaning, rinse the hood properly with clean water 2-3 times and gently wipe with a soft, clean cloth.
- You can use a non-abrasive stainless steel polish for a finer touch if desired.
- If there is venting systems installed, check on a regular basis to ensure it is not clogged or has debris.
Do Not
- Do not clean the hood with abrasive or detergents containing corrosive agents. Please avoid detergents with elements such as chloride, iodide, fluoride and some other agents. These will only damage the hood surface materials.
- Do not leave soaps or other detergents on the hood for too long. The agents will only damage the product material. You need to rinse as soon as possible with clean water.
- Do not leave the hood dirty for too long as the dirt particles will easily damage the different sections of the hood.
- Do not let particles especially construction types enter the hood. When mass cleaning or renovating, ensure you cover the hood properly to reduce elements lodging in the hood.
- Cleaning agents such as alcohol and other flammable agents should not be used near the range of the stove as these may cause explosions.
Trouble Shooting

Please turn off the power circuit or power breaker panel before trouble shooting this range hood. Failure to do so can cause death or serious injury to personal from the live electrical energy involved.
If your range hood has developed issues and you need troubleshooting solutions, you can get assistance from these below. If after trying you are still experiencing problems, you may need to contact a technician to assess.
| Problem | Solution |
My range hood won't work |
|
| The range hood vibrates when the fan is operating |
|
The fans are operating weakly |
|
| The fan is not working properly even though the lights are working |
|
Why is my vent hood malfunctioning? |
|
My light is not working well |
|
Safety Information
 READ AND SAVE THESE INSTRUCTIONS FOR DOMESTIC COOKING ONLY
INSTALLER: Leave this manual with the homeowner.
HOMEOWNER. Use and Care information on Page
If hood is to be installed Non-Ducted (Recirculation), then purchase a set of (2) non-ducted charcoal filters from your local distributor or retailer and attach them to the motor.
SUITABLE FOR USE IN HOUSEHOLD COOKING AREA. TO REDUCE THE RISK OF FIRE,ELECTRICAL SHOCK,OR INJURY TO PERSONS, OBSERVE THE FOLLOWING:
- Use this unit only in the manner intended by the manufacturer. If you have the questions, contact the manufacturer at the email address or telephone number listed in the warranty.
- Before servicing or cleaning unit, switching power off at service panel and lock service panel to prevent power from being switched on accidentally. When the service disconnecting means cannot be locked, securely fasten a prominent warning device, such as a tag, to the service panel.
- Installation work and electrical wiring must be done by a qualified personnel in accordance with all applicable codes and standards, including fire-rated construction codes and standards.
- Sufficient air is needed for proper combustion and exhausting of gases through the flue (chimney) of fuel burning equipment to prevent back drafting. Follow the heating equipment manufacturer's guidelines and safety standards such as those published by the National Fire Protection Association (NFPA), and the American Society for Heating, Refrigeration and Air Conditioning Engineers (ASHRAE),and the local code authorities.
- When cutting or drilling into wall or ceiling, do not damage electrical wiring and other hidden utilities.
- Ducted fans must always be vented to the outdoors.
- Do not use this unit with any solid-state speed control device.
- To reduce the risk of fire, use only steel ductwork.
- This unit must be grounded.
TO REDUCE THE RISK OF A RANGE TOP GREASE FIRE:
- Never leave surface units unattended at high settings. Boil overs cause smoking and greasy spillovers that may ignite. Heat oils slowly on low or medium settings.
- Always turn hood ON when cooking at high heat or when cooking flaming foods.
- Clean ventilating fans frequently. Grease should not be allowed to accumulate on fan or filter.
- Use proper pan size. Always use cookware appropriate for the size of the surface element.
TO REDUCE THE RISK OF INJURY TO PERSONS IN THE EVENT OF A RANGE TOP GREASE FIRE,OBSERVE THE FOLLOWING*:
- SMOTHER FLAMES with a close-fitting lid, cookie sheet or metal tray, then turn off the burner. BE CAREFUL TO PREVENT BURNS. IF THE FLAMES DO NOT GO OUT IMMEDIATELY, EVACUATE AND CALL THE FIRE DEPARTMENT.
- NEVER PICK UP A FLAMING PAN-You may be burned.
- DO NOT USE WATER, including wet dishcloths or towels —This could cause a violent steam explosion.
- Use an extinguisher ONLY if:
- You own a Class ABC extinguisher and you know how to operate it.
- The fire is small and contained in the area where it started.
- The fire department has been called.
- You can fight the fire with your back to an exit.
*Based on "Kitchen Fire Safety Tips" published by NFPA.
- For general ventilating use only. Do not use to exhaust hazardous or explosive materials and vapors.
- To avoid motor bearing damage and noisy and/or unbalanced impellers, keep drywall spray, construction dust, etc. off power unit.
- For the best capture of cooking impurities, your range hood should be mounted so that the top of the hood is 26"-30" above the cooking surface (min 26" for electric cooktop, 28" for gas cooktop). The minimum hood distance above cooktop must not be less than 26"; any installation less than 26" may cause over heat and cause damage to the range hood, Chef does not warrant this improper installation.
- Two installers are recommended because of the larger size and weight of this hood.
- To reduce the risk of fire and to properly exhaust air, be sure to duct air outside —Do not exhaust air into spaces within walls and ceiling or into attics, crawl space or garages.
- Because of the high exhausting capacity of this hood, you should make sure enough air is entering the house to replace exhausted air by opening a window close to or in the kitchen.
- Use with approved cord-connection kit only.
- Please read specification label in product for further information and requirements.
Tel: 1-800-929-0168
Email: info@chefkitch.com
Documents / ResourcesDownload manual
Here you can download full pdf version of manual, it may contain additional safety instructions, warranty information, FCC rules, etc.
Advertisement


Need help?
Do you have a question about the Chef Series and is the answer not in the manual?
Questions and answers