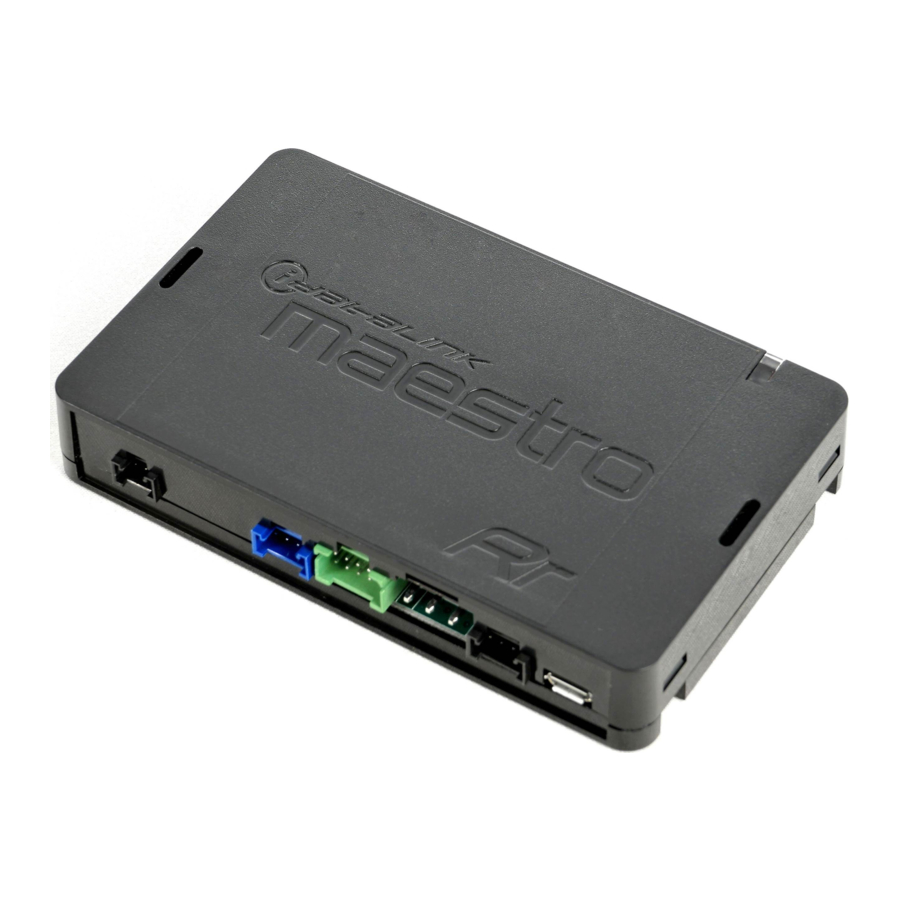
iDataLink Maestro RR, Maestro RR2, Maestro HRR-HO2 Manual
- Install manual (535 pages) ,
- Instruction manual (229 pages) ,
- Installation manual (46 pages)
Advertisement
WELCOME
You are now a few simple steps away from enjoying your new car radio with enhanced features.
Before starting your installation, please ensure that your iDatalink Maestro module is programmed with the correct firmware for your vehicle and that you carefully review the install guide.
Please note that Maestro RR will only retain functionalities that were originally available in the vehicle.
ADDITIONAL INFORMATION AND ACCESSORIES
HEAD UNIT ADAPTER: ACC-HU-PIO1, KEN1, KEN2
Configuring the RR2's Programmable Outputs
Maestro RR2 Programmable Outputs Guide
Installation, product information, vehicle specific videos.
VIDEO HELP

Last flash information, steering control configuration, vehicle information.
VERIFY FLASH

Software to program module.
WEBLINK

INSTALLATION INSTRUCTIONS
- Remove the factory radio
If using head unit adapter (sold separately), connect HRRHO2 harness to adapter and skip to step 2.
- Unbox the aftermarket radio and locate its main harness.
- Cut and remove the black 20 pin connector from the HRR-HO2 T-harness and connect the wires, shown in the wiring diagram, from aftermarket radio main harness to the HRRHO2 T-harness and match the wire functions.
Note: only connect purple/white wire to radio reverse input or module damage will occur.
-
- Assemble the HRR-HO2 T-harness and connect it to the factory radio harness (see wiring diagram).
-
- Plug the OBDII connector into the OBDII of the vehicle, under driver dash.
-
- Plug the radio harnesses into the aftermarket radio.
- Plug the cameras RCA cables (if equipped with backup camera or lane departure cameras).
- Plug the Data cable to the data port of the aftermarket radio.
-
- Connect all the harnesses to the Maestro RR module then test your installation.
Note: Lanewatch Camera integration requires a radio capable of Advanced Camera Features and with a second camera input. Verify camera input is enabled as a lane watch/side view camera in the radio menu. With camera input confi gured, go to:
OEM Setup > Maestro Settings > Camera Settings > Lane Watch Camera and set your "Auto" and "On After Turn Signal" menus as desired.
WIRING DIAGRAM

RADIO WIRE REFERENCE CHART
| HO2 T-harness Wire Description | Polarity | Wire Color on Maestro T-Harness | Wire Color on Alpine cable | Wire Color on Kenwood/ JVC cable | Wire Color on Pioneer cable | Wire Color on Sony cable |
| Illumination | (+) | Orange | N/A | Orange/White | Orange/White | Orange |
| Reverse Light* | (+) | Purple/White | Orange/White | Purple/White | Purple/White | Purple/White |
| E-Brake | (-) | Lt Green | Yellow/Blue | Lt Green | Lt Green | Lt Green |
| VSS (vehicle speed sensor) | (DATA) | Pink | Green/White | Pink | Pink | N/A |
* Reverse light wire: Only connect to radio or module damage will occur.
Head unit adapter wiring (optional accessory, sold separately)
| ACC-HU-KEN1 Wire Description | Polarity | Wire Color on Adapter | Kenwood Radio |
| CAM | (+) | Green/Red | Refer to camera/radio manual |
| CAM | (-) | Green/White | Refer to camera/radio manual |
| Steering Wheel Controls | (DATA) | Blue/Yellow | n/a |
| ACC-HU-KEN2 Wire Description | Polarity | Wire Color on Adapter | Kenwood Radio |
| E-Brake | (-) | LtGreen | LtGreen |
| Reverse Light* | (+) | Purple/White | Purple/White |
| Steering Wheel Controls | (DATA) | Blue/Yellow | n/a |
MODULE DIAGNOSTICS

| LED 1 Module/Firmware status | LED 2 (RR2) Bluetooth activity | LED STATUS | DIAGNOSTIC |
 or or  | RED or GREEN flashing | LED flashes 1 or more times, either red or green, when a steering wheel button is pressed : normal operation. | |
| | 1 RED flash | Module has no firmware. Flash module using Weblink Desktop and log in. Do NOT use DEMO MODE. | |
| | 2 RED flashes | Problem detected. Consult troubleshooting table. | |
| | 3 RED flashes | Radio not compatible or US-market RR/RR2 is used. AUS-MRR or AUS-MRR2 is required. | |
| | 1 GREEN flash | After radio boots up: Normal operation. | |
| | 3 GREEN flashes | Bluetooth is activated. Turns off after one minute: Normal operation. | |
 | | OFF | Normal operation (inactive). |
TROUBLESHOOTING TABLE
| PROBLEM | SOLUTION |
| Gauges do not work, radio shows OBD2 Error 1 or Error 2. | Ensure OBDII connector is securely attached to the OBD2 connector of the vehicle. If you hardwired connections at the OBDII, check connections at the OBDII connector. Make sure the RED/BROWN wire is on PIN 6 and the YELLOW/ BROWN wire is connected to PIN 14 of the OBDII connector. Do not use T-Taps. Soldering or military splicing methods are recommended. If anything else is connected to the OBD2 or CAN wires of vehicle (programmer, throttle controller, insurance tracker, etc.) try unplugging it to see if gauges work. If gauges work without it installed, call tech support for options. Reset the RR. |
| The lanewatch camera does not activate with the turn signal. | Ensure it is turned ON in the OEM Setup of the radio menus. The lane watch camera needs to be active, and the 'ON with turn signal' setting needs to be set to ON. Verify radio is updated to latest fi rmware. |
| The light on the Maestro is fl ashing RED ONCE. | There is no fi rmware on the module. Flash the RR module using Weblink Desktop and log in. Do NOT use DEMO MODE. |
| The light on the Maestro is blinking RED TWICE and the radio IS turning on. | Ensure the 4-pin data cable is connected between the radio and the RR, and that it is plugged into the black port on the Maestro RR. The red and blue ports on the RR should be empty. Make sure the correct radio model and serial number were entered during the fl ash. Verify the radio's serial number entered during the fl ash matches what is listed on the radio screen. This can be found in the settings of the radio, listed as Device Id, Device Number, or Serial Number. |
| The light on the Maestro is blinking RED TWICE but the radio is NOT turning on. | If installing a modular radio and it is not turning on, ensure the screen is secured and any trim pieces on the radio have been installed fully. Not installing these fully will prevent radio from powering up and show a 2x red error as well. Test red and yellow wires for DC voltage at radio using a multimeter. Contact support if no voltage on red or yellow. |
MAESTRO RR RESET PROCEDURE:
Turn the key to the OFF position, then disconnect all connectors from the module.
Press and hold the module's programming button and connect all the connectors back to the module. Wait, the module's LED will fl ash RED rapidly (this may take up to 10 seconds).
Release the programming button. Wait, the LED will turn solid GREEN for 2 seconds to show the reset was successful.
TECHNICAL ASSISTANCE
Phone: 07 3137 2727
Email: sales@advancedice.com.au
Web: https://advancedice.com.au/contact/

To ensure proper operation, the aftermarket radio needs to have the latest firmware from the manufacturer. Please visit the radio manufacturer's website and look for any updates pertaining to your radio.
NEED HELP?
07 3137 2727
sales@advancedice.com.au
https://advancedice.com.au/contact/
Documents / Resources
References
Download manual
Here you can download full pdf version of manual, it may contain additional safety instructions, warranty information, FCC rules, etc.
Download iDataLink Maestro RR, Maestro RR2, Maestro HRR-HO2 Manual
Advertisement


Need help?
Do you have a question about the Maestro RR and is the answer not in the manual?
Questions and answers