DEWALT TSO Products DWE7491RS Manual
- Instruction manual (56 pages) ,
- Assembly instructions manual (6 pages)
Advertisement

ESSENTIAL SAFETY WARNINGS
Danger indicates a hazardous situation that, if not avoided, will result in death or serious injury.
Warning indicates a hazardous situation that, if not avoided, could result in death or serious injury.
Caution indicates a hazardous situation that, if not avoided, may result in minor or moderate injury or property damage.

This product is intended and designed for use only in conjunction with the DeWalt® DWE7491RS 10" Jobsite Table Saw, Types 1, 2, 3, and 10. The DeWalt Instructional Manual for the DWE7491RS also applies in connection with the use of this TSO Products Upgrade Rip Fence.
The content of this assembly guide is provided solely for the purpose of assembling the product. It is not intended to serve as a comprehensive instruction manual or to provide guidance on the safe operation of power tools, including but not limited to saws. Users are expected to have full knowledge of and adhere to the safety and operational instructions provided by the manufacturer of any power tools they operate.
Failure to consult the manufacturer's original instructions for safe operation and handling of power tools may result in serious injury, damage, or death. The manufacturer of this product and the author of this assembly guide assume no liability for any injuries or damages arising from improper use of power tools or failure to follow appropriate safety procedures. Always refer to and follow the specific safety guidelines provided by the manufacturer of your tools.
Woodworking involves a variety of injury risks which you can reduce with proper use of Personal Protective Equipment (PPE) and adherence to safe work practices.
Compatible Table Saws
Before getting started, confirm your table saw is one of the models listed below.
- DWE7491RS - Type 1
- DWE7491RS - Type 2
- DWE7491RS - Type 3
- DWE7491RS - Type 10
To determine the "Type" of your saw, review the product label on the saw. The "Type" designation should be located adjacent to the model number.
Tools Needed for Assembly
Use the following additional tools to complete all installation steps.

* Optional, for faster assembly.
What's Included in the Box
Your box should include multiple individual bags of hardware. Ensure you have the following parts and quantities:

** Only used for attaching JessEm Clear-Cut FLEX Stock Guides to Rip Fence.
Step 1: Disassemble DeWalt Fence
Disconnect power by unplugging your table saw before removing, installing, or modifying the rip fence or any accessories. Failure to do so may result in serious injury.
Step 1A. Unlock the fence levers located on the front and back of the DeWalt Fence Assembly.

Step 1B. Lift the DeWalt Rip Fence off the table and place on an flat tabletop.

Step 1C. Remove Phillips Head Screw holding the Stock Support Bar to the DeWalt Fence Assembly. Repeat on the other side of the fence.

Step 1D. Remove the Stock Support Bar and set aside.

Step 1E. Remove T20 Torx Screw from the side of the DeWalt Rip Fence bracket. Repeat for the other bracket on the opposite side of the fence.


Step 1F. Remove two T20 Torx Screws from the back of the DeWalt Rip Fence bracket. Repeat for the other bracket on the opposite side of the fence.

Step 1G. Remove the bracket from the DeWalt Rip Fence extrusion by pulling it out. Repeat for the other bracket on the opposite side of the fence.

Step 1H. Remove Phillips Head Screws attaching both Push Stick Storage Tabs on back of DeWalt Fence Extrusion.

Step 2: Install TSO Upgraded Rip Fence
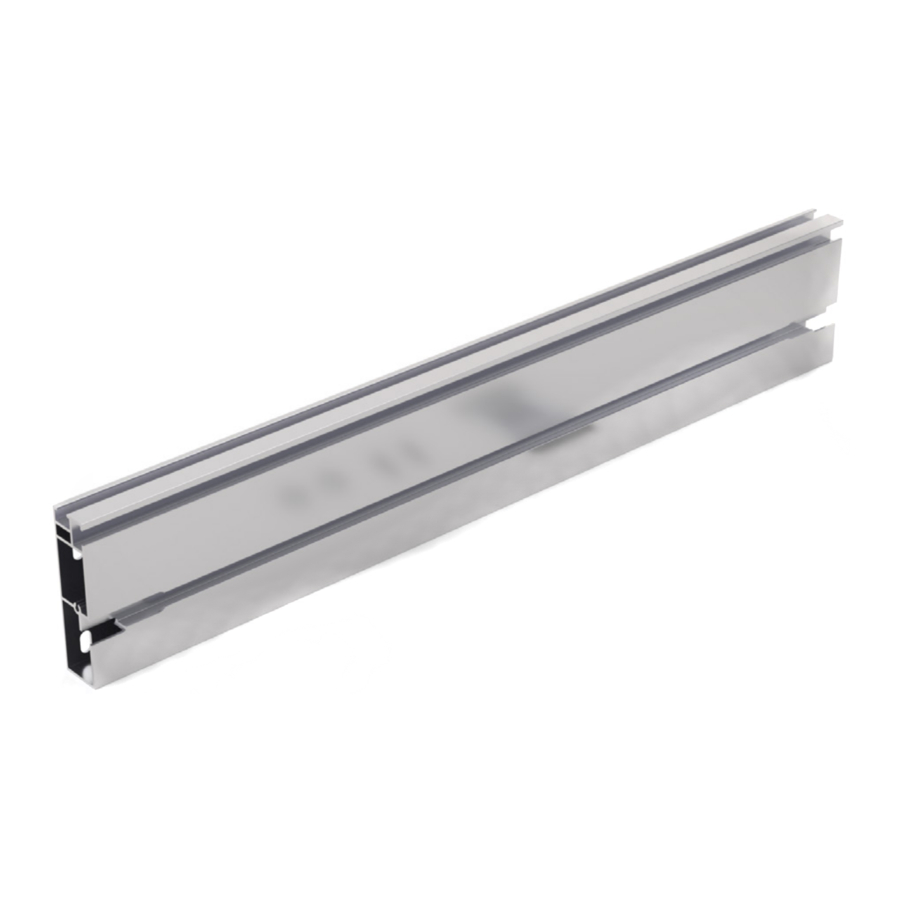
Step 2A. Install the DeWalt Fence Brackets into the TSO Fence Extrusion. Ensure the fence's T-slots are facing outwards as shown in the image above. Repeat for the other bracket on the opposite end of the fence.

Step 2B. Install two T20 Torx Screws into the back of the DeWalt Fence Brackets and into the TSO Fence Extrusion. Do not fully tighten at this stage. Repeat for the other bracket on the opposite end of the fence.

Step 2C. Using the T20 Thread Forming Screw included in the TSO product kit, screw through the end of the DeWalt Fence Bracket and into the TSO Fence Extrusion. This screw taps a thread while screwing, so you will feel more resistance.


Step 2D. With the DeWalt Fence Brackets still loose, mount the Fence Assembly onto the table saw and rotate the fence adjustment knob to test that nothing is binding and that it smoothly glides across the table.

Step 2E. Fully tighten the T20 Thread Forming Screw at the front of the DeWalt Fence Bracket. Repeat for the other fence bracket at the opposite side of the fence.

Step 2F. Fully tighten the two T20 Torx Screws on the back of the DeWalt Fence Bracket. Repeat for opposite side bracket.

Step 2G. Re-attach the two Push Stick Mounting Tabs using the slots on the back of the TSO Fence Extrusion.
Hand tighten.

Step 2H. Re-attach the Stock Support Bar and tighten the Phillips Head Screw at the front of the DeWalt Fence Bracket. Repeat for opposite side bracket. Fence assembly is complete.

Questions, Comments, or Ideas?
We thrive on your feedback, so please let us know if you have any comments, concerns, feedback, or ideas on how we can continuously improve our products.
We're easy to reach! In the United States, call us toll-free at 800-727-0311. For our international customers, call us at 239-236-5526. To send us a message, visit us at www.tsoproducts.com or email info@tsoproducts.com, and we'll get back to you as soon as possible.
Documents / Resources
References
Download manual
Here you can download full pdf version of manual, it may contain additional safety instructions, warranty information, FCC rules, etc.
Advertisement


Need help?
Do you have a question about the TSO Products DWE7491RS and is the answer not in the manual?
Questions and answers