Race Face Aeffect R Manual
- Quick start manual (5 pages) ,
- Installation manual (8 pages)
Advertisement
Race Face Aeffect R Stem Installation
Required FOX Tools:
- 4mm Hex Wrench
- Torque Wrench

Race Face products should be installed by a qualified bicycle service technician, in accordance with Race Face installation specifications. If you have any doubts as to whether or not you can properly install this stem on your bicycle, defer to a professionally trained bicycle service technician. Improper installation, usage or maintenance of this product may lead to loss of control of the bicycle and result in premature component failure and/or serious personal INJURY OR DEATH.
Carefully read all instructions before installing Race Face components. If installing Race Face components in conjunction with another manufacturer's components, always follow the manufacturer's instructions in addition to the recommended practices included in this manual for proper installation procedures. Failure to read, understand, and apply this entire document could result in mechanical malfunction or component failure, which may lead to loss of control, a crash, SERIOUS INJURY AND/OR DEATH. If there is anything in these instructions which you do not understand, please consult with your Race Face dealer before proceeding.
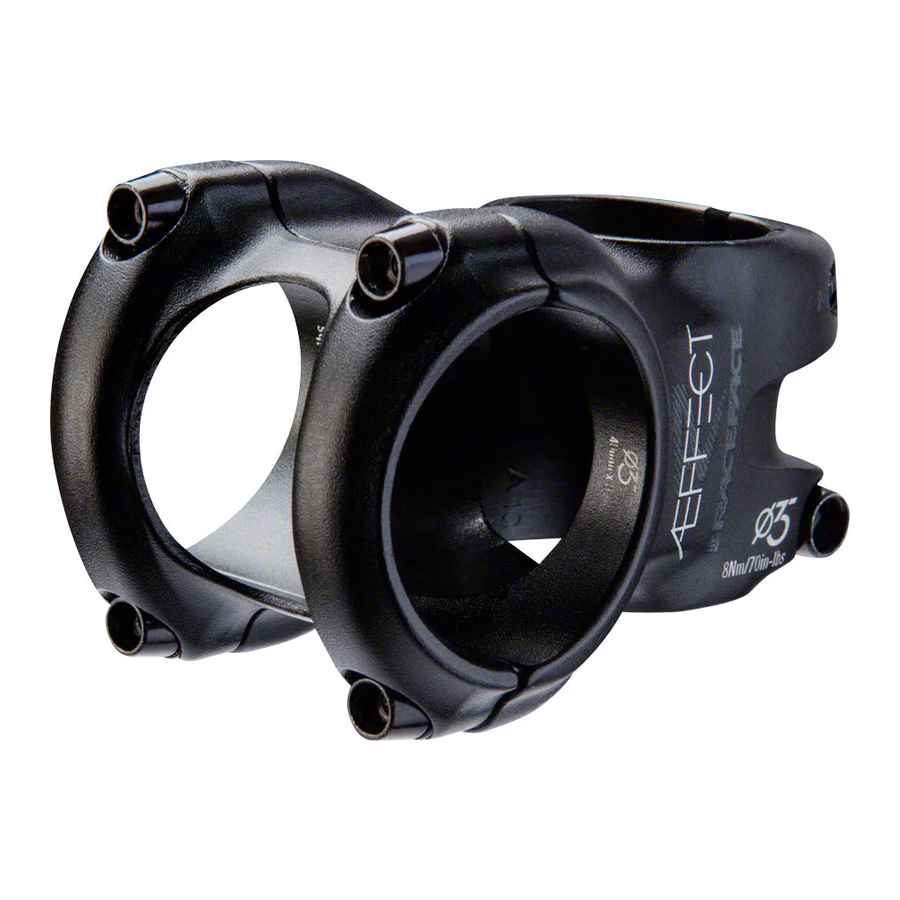
Race Face stems are designed for use with 1-1/8 inch steerers, and 31.8 mm or 35 mm diameter handlebars (depending on the stem model). The handlebar diameter is marked on the inside of the stem handlebar bore (35 mm shown below). Ensure that the dimensions of your stem match the steerer and handlebar you intend to use.

Note the handlebar clamp bolt torque value etched on the inside of the stem handlebar bore. Once you install the handlebar, this value will not be visible.

- Remove the faceplate by unthreading all 4 bolts counter-clockwise with a 4mm hex wrench.

- Slide the stem onto the steerer and position it against the headset or spacers. Orient the stem so that the logo and laser etching are the correct way up.

![]()
Incorrect stem and/or spacer configuration, too high or too low, can lead to damage of the steerer or stem, or result in unwanted movement from the stem, which can lead to component failure, a crash, and SERIOUS INJURY and/or DEATH. For more information, consult your fork/headset manufacturer, a qualified bicycle service technician, or raceface.com. - The steerer must sit 3mm below the top of the stem or spacer, depending on your configuration.
When using a spacer on top of the stem, the steerer must sit 3 mm below the top of the spacer (shown).
When not using a spacer on top of the stem, the steerer must sit 3 mm below the top of the stem (not shown).

- Tighten the two steerer clamp bolts clockwise by hand just enough to maintain the correct stem position.

- To install the handlebar, use the faceplate to clamp the handlebar loosely. Correctly orient the faceplate by aligning the markings that are on the inside or outside edge of the faceplate. Then loosely install the handlebar clamp bolts to hold the handlebar in place. Make sure to tighten the top two bolts first, and the bottom two bolts second.

- Tighten the top two handlebar clamp bolts to the recommended torque specification. Ensure there is no gap (0 mm) between the upper surface of the stem and faceplate after tightening.

- Rotate and position the handlebar to the desired riding position. Then tighten the bottom two handlebar clamp bolts to the recommended torque specification. There will be a gap between the bottom of the faceplate and the stem body.

- Install the top-cap and bolt. Torque the top-cap according to your manufacturer's instructions. Then, ensure there is no play in the headset.

- Adjust the stem so it is aligned with the front wheel. Torque the steerer clamp bolts to the specification marked on the outer surface of the stem.


Before every ride:
- Make sure the stem securely clamps the handlebar and the steerer, so that they cannot rotate or slip relative to the stem. Brace the front wheel between your legs while twisting the handlebar. Make sure the stem does not move independently from the front wheel.
- Check the torque for all stem bolts.
- Inspect the stem and handlebar for signs of damage, fatigue, cracks, dents, or other signs of wear. If you notice anything unusual, consult a professionally trained bicycle service technician and visit Raceface.com for more information.
Failure to use the proper torque for your parts and components can lead to product damage, and may cause product failure, resulting in SERIOUS INJURY OR DEATH.
Bicycle riding is inherently dangerous. To reduce the risk of injury while riding, wear an approved helmet every time you ride. Be sure your bicycle is properly maintained, and that all components are correctly installed and adjusted. Ride cautiously and within your abilities at all times.
RaceFace.com
Documents / ResourcesDownload manual
Here you can download full pdf version of manual, it may contain additional safety instructions, warranty information, FCC rules, etc.
Advertisement


Need help?
Do you have a question about the Aeffect R and is the answer not in the manual?
Questions and answers