Advertisement
Introduction
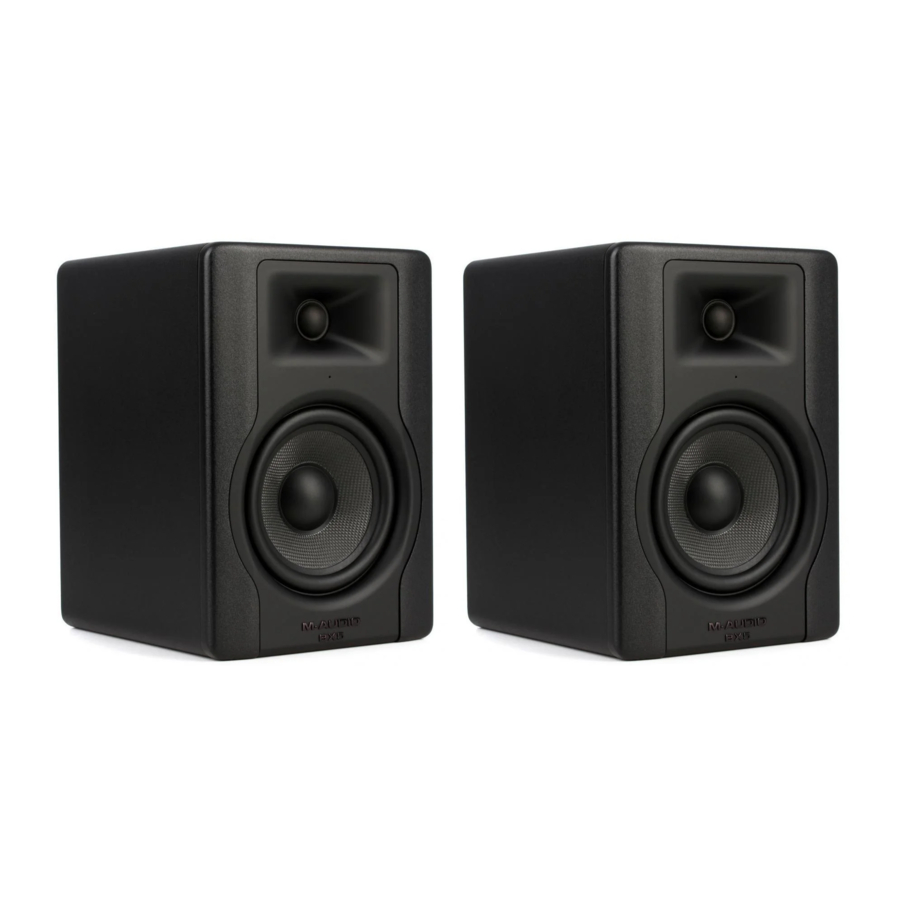
Box Contents
BX5 D3
Power Cable
Acoustic Foam Pad
User Guide
Safety & Warranty Manual
Support
For the latest information about this product (documentation, technical specifications, system requirements, compatibility information, etc.) and product registration, visit m-audio.com.
For additional product support, visit m-audio.com/support.
Setup
Connection Diagram
Items not listed under Introduction > Box Contents are sold separately.

Features
Rear Panel

- XLR Input: This jack accepts XLR input connections with either balanced or unbalanced wiring. The input wiring of an XLR connector should be as follows:
- XLR Pin 1: signal ground (shield)
- XLR Pin 2: signal positive (+)
- XLR Pin 3: signal negative (–)
- TRS Input: This jack accepts 1/4" (6.35 mm) connections with either balanced or unbalanced wiring. For balanced wiring, a three-conductor TRS plug is necessary. The input wiring of a TRS connector should be as follows:
- TRS Tip: signal positive (+)
- TRS Ring: signal negative (–)
- TRS Sleeve: signal ground (shield)
- Acoustic Space Switch: Your BX5 D3 monitors should ideally be placed at least one foot away from the nearest wall, ceiling, or other large, flat surface. However, this may be impractical due to space limitations within your studio. For that reason, BX5 D3 monitors feature an acoustic space switch. This switch compensates for placement near walls.
![information]() Tip: Be sure to leave at least 3" of space between the rear of the speaker and a wall to allow the rear-firing port to "breathe" properly. Placing the speaker any closer than 3" may adversely affect low-frequency response.
Tip: Be sure to leave at least 3" of space between the rear of the speaker and a wall to allow the rear-firing port to "breathe" properly. Placing the speaker any closer than 3" may adversely affect low-frequency response. - Sub-Frequency Vent Port: This port aids in reproduction of very low frequencies by discharging frequencies below 60 Hz and to act as a cooling mechanism to prevent overheating. This port should not be blocked.
- Volume Control: Use the volume control to set the output from the BX5 D3 to proper levels as required.
- Power Switch: This switch turns the monitor on and off.
![warning]() Note: This product does not have a standby/low-power mode.
Note: This product does not have a standby/low-power mode. - Power Receptacle: Accepts a detachable 3-conductor IEC power cord in order to power the monitor.
- Fuse Holder: Holds the external main fuse.
- Voltage-Select Switch: Provides two selections, 115V AC and 230V AC, and should be set to match the "house supply" (receptacle) mains voltage of the country or location in which the speaker is used. The 115V setting is correct for the USA, while the 230V setting is correct for most of the UK and Europe.
Front Panel

- HF Driver: The tweeter outputs the high frequencies.
- LF Driver: The woofer outputs the low frequencies.
- Speaker Placement LED: Helps to locate an optimal speaker placement location for stereo imaging and frequency reproduction. When the LED turns bright, the speaker is in an ideal setup location.
Installation
For optimal performance of the BX5 D3, please read the following thoroughly and carefully prior to installation.
Precautions
- Handling: Please do not touch the speaker cone. The BX5 D3 is packaged in the box tightly, so your attention is required when taking the monitor out of the box. To avoid possible damage to the speaker unit, hold both sides of the monitor in order to pull it out of the box. The speaker cone should not be touched in order to avoid damage even after it is out of the box.
- Correct Power Operation: Since the BX5 D3 contains its own amplifier, it must be connected to a power outlet using the detachable AC cable provided. Before connecting power, please make sure that the Voltage-Select Switch located on the speaker's rear panel is set to the appropriate position, as described in the rear-panel features list appearing earlier in this manual.
![]()
Use of improper Voltage-Select Switch combinations may result in hazardous conditions and/or damage to speaker components not covered by speaker warranty.
![warning]() Note: This product does not have a standby/low-power mode.
Note: This product does not have a standby/low-power mode. - Connections: You can connect either an XLR balanced cable or TRS balanced/unbalanced cable from the input of each BX5 D3 to your corresponding preamp, computer, mixer, or game console outputs. We recommend that you use highquality balanced or unbalanced cables for input connections. Also, ALWAYS turn off the power of the BX5 D3 and turn the volume of the BX5 D3 down to a minimum before making the necessary connections.

 Note: When using an unbalanced cable there is a greater chance of experiencing noise issues. If you are using an unbalanced cable and you are experiencing noise issues, try connecting a balanced TRS cable or XLR cable.
Setup
The configuration and placement of your BX5 D3 monitors on speaker stands or your desktop workstation may affect the performance of the speakers. Use the following tips to achieve the best performance out of your BX5 D3 monitors.
 Tip: If possible, place your BX5 D3 monitors on speaker stands instead of your desktop. Desks tend to resonate sympathetically at low frequencies and may adversely affect the bass response of your monitors. If speaker stands are not possible due to space restrictions and you notice a buildup in bass, try placing the monitors on isolation pads to acoustically de-couple the monitors from the desk.
XLR Balanced Connection
Assure that the power switch of the BX5 D3 is turned off and that the volume control of the BX5 D3 is turned down to a minimum. Connect the male end of an XLR balanced cable to the balanced input of the BX5 D3.
TRS Balanced/Unbalanced Connection
Assure that the power switch of the BX5 D3 is turned to off and that the volume control of the BX5 D3 is turned down to a minimum. Connect the male end of a TRS balanced or TS unbalanced cable to the TRS input of the BX5 D3.
Connecting to Preamp or Computer Outputs
Before connecting, make sure the output device's power has been turned off. Plug the XLR balanced, TRS balanced or TS unbalanced cable to the corresponding output connectors of a pre‑amplifier, audio interface, mixer, computer, or game console.
Speaker Placement
The placement of your speakers has a huge impact on how well they will perform in your studio. Although nearfield studio monitors are designed to be more forgiving when it comes to placement, you should do your best to make sure they form an equilateral triangle relative to your head. In other words, make sure that each speaker is equally distant from both your head as well as the other speaker. Once each speaker has been placed, rotate the speakers slightly so that the drivers are pointing toward the listener.
Take a look at the diagram on the right. Notice that the distance from the listener's head to each speaker is the same as the distance between the left and right speakers. Also note that the speakers are turned slightly so that the drivers are facing the listener. This is an ideal setup but if it is not practical (or possible) to do this, try to match this setup as closely as possible.

The speakers and listener should be at the three corners of a triangle having equal length sides.
Speaker Height
The ideal height for BX5 D3 is so that the speaker is parallel to the ground and that the midpoint of the woofer and tweeter is at ear-height.

The diagram to the right demonstrates the ideal placement height of the speakers relative to the listener. Notice that the listener's ears are directly between the woofer and tweeter.
Speaker Orientation
If possible, place the BX5 D3 monitors in their upright position and avoid laying the speakers on their sides. The BX5 D3 woofer and tweeter are vertically aligned and will provide the best performance when the speakers are placed upright. Placing them on their sides may create strong reflections from nearby surfaces resulting in spectrally unbalanced sound.

If your BX5 D3 monitors must be oriented horizontally due to space or line-of-sight considerations, place the speakers so that their tweeter is on the "inside" to improve imaging.
Documents / Resources
References
Download manual
Here you can download full pdf version of manual, it may contain additional safety instructions, warranty information, FCC rules, etc.
Advertisement


Need help?
Do you have a question about the BX5 D3 and is the answer not in the manual?
Questions and answers