TP-Link VR1600v Manual
- Configuration manual (5 pages) ,
- Quick setup manual (12 pages) ,
- User manual (114 pages)
Advertisement
Before you get started
Make sure you have an email or SMS from us advising that your internet service is ACTIVE.

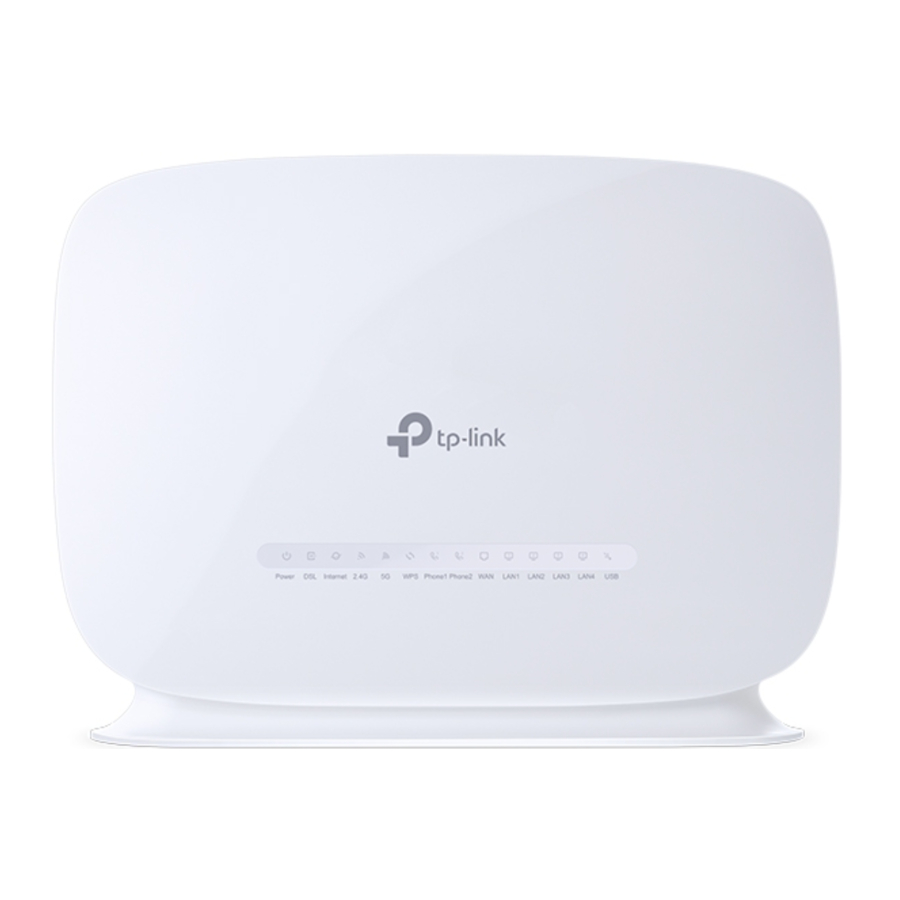
Get to know your modem

| Light | State | Meaning |
| Power | On | Modem has power. Flashes while booting up. |
| Off | Modem has no power. | |
| DSL | On | Modem has established a connection. |
| Off | Modem has no connection. | |
| Internet | On | Modem is online. |
| Off | Modem is offline. | |
| 2.4G/5G | On | 2.4GHz/5GHz WiFi is enabled. |
| Off | 2.4GHz/5GHz WiFi is disabled. | |
| WPS | On | Flashes during a WPS connection attempt (may take up to 2 minutes). Remains on for ~5 minutes after successful connection. |
| Off | WPS mode not in use. | |
| Phone 1-2 | On | VOIP is online. |
| Off | VOIP is offline. | |
| WAN | On | Device plugged into modem's WAN port. |
| Off | No device plugged into modem's WAN port. | |
| LAN 1-4 | On | Device(s) plugged into modem's LAN ports. |
| Off | No device(s) plugged into modem's LAN ports. | |
| USB | On | USB device is ready to use. Flashes while a new USB device is booting up. |
| Off | No USB device plugged into the USB port. |
Plug in for ULTRA VDSL2

- Use the supplied power cable to connect the power port to a power outlet and ensure it is turned on.
- Use the supplied Phone cable to connect the DSL port directly to the dedicated VDSL2 socket on the wall. Do not use a line filter.
- If you wish to use your VoIP phone service, connect a handset to the Phone1 port.
- You can use an additional Ethernet cable to connect a computer to any of the 4 LAN ports. Alternatively, follow the steps later in this guide to connect devices via WiFi.
- Turn to continue your setup.
Powering on your Modem & VoIP Setup

Switch your modem on using the power button located on the back. By default, your broadband settings should configure automatically once your Broadband service is active and your modem is powered on for 15 minutes.
 The Internet light on the front of your modem should be on.
Is the internet light off?
Ensure that you received an email from us advising that your Broadband service is ACTIVE.
If you haven't received the email, your Broadband connection is not ACTIVE yet. Please check your last email from us for advice on your connection appointment. It will include a reference number in case you need to call with any concerns.
If you have, please use the contact details on the back cover of this guide to call our Support Team for assistance.
Your VoIP phone service should set up automatically once your services are active and your modem is online.
If you've asked us to convert your existing phone number to a VoIP service, please allow up to 7 days after your ULTRA Broadband service is active for this porting process to complete. We'll send you an email to confirm when your VoIP service is active and ready to use.
Please DO NOT cancel or make any changes to your old phone service until the transfer is COMPLETE as this can prevent a successful transfer.
WiFi Setup
Your modem's WiFi has been pre-configured. You'll find the WiFi network name (SSID) and password printed on a sticker on the base of your modem.

- Make sure that WiFi is enabled on your computer, tablet, smartphone or other WiFi device.
- View the list of available WiFi networks on your WiFi device and select the network that matches the network name on your modem's sticker.
- Enter the WiFi password exactly as printed on the sticker.
 Your modem has 2 WiFi networks which share the same default password but broadcast on different frequencies. We recommend using the 5Ghz network to enjoy the best performance possible, however if your device(s) can't connect to the 5GHz network, you'll need to use the 2.4GHz one.
WiFi Customisation
- After logging into the modem interface at http://192.168.1.1, you can customise your WiFi network details by selecting Basic > Wireless.
- Your modem has 2 WiFi networks which share the same default password but broadcast on different frequencies. If your device(s) can't connect to the latest 5GHz network, use the 2.4GHz one.
- 2.4Ghz Wireless Network and/or 5GHz Wireless Network must have Enable ticked. If Hide SSID is ticked, your network name will not be visible to WiFi devices and you'll have to enter it manually to connect.
- The Network name (SSID)s are the names of your WiFi networks. You can change these to anything you'd like.
- Change the Password for your WiFi to something that's hard for others to guess but easy for you to remember. Make sure you write down your new WiFi details, otherwise you may need to factory reset your modem if you forget them.
- Click Save. After changing your WiFi details, you may need to reconnect your WiFi device(s) using the new name/password.
Router Security Settings
If desired, you can change your modem's administrative username and password. This can be handy if you have tenants or meddling teens and you don't want them to change your modem settings.
Simply select Advanced > System Tools > Administration. You can change the username and/or password in the Account Management section.
| Internet address: | http://192.168.1.1 |
| Default username: | admin |
| Default password: | admin |
Here's a tip:
If you ever forget your custom login details, you can factory reset the modem to return it to the default settings. However, you will also lose all other custom settings, so you'll need to set up your modem again.
Warranty Information
How to claim under the warranty and your rights
- iiNet:
- Phone: 13 22 58
- Email: support@iinet.net.au
- Westnet:
- Phone: 1300 786 068
- Email: support@westnet.com.au
- Latest Warranty Information: http://www.iinet.net.au/about/legal/pdf/general-equipment-warranty.pdf
- Warranty Period
- Purchase: 24 Months
Support
iiNet Support
Available 24/7
13 22 58
support@iinet.net.au
Westnet Support
Available 24/7
1300 786 068
support@westnet.com.au
Documents / Resources
References

Download manual
Here you can download full pdf version of manual, it may contain additional safety instructions, warranty information, FCC rules, etc.
Advertisement


Need help?
Do you have a question about the VR1600v and is the answer not in the manual?
Questions and answers