Nesco VS-12 - Vacuum Sealer Manual
- Care/use manual (24 pages) ,
- Care and use manual (9 pages) ,
- Care/use manual (20 pages)
Advertisement
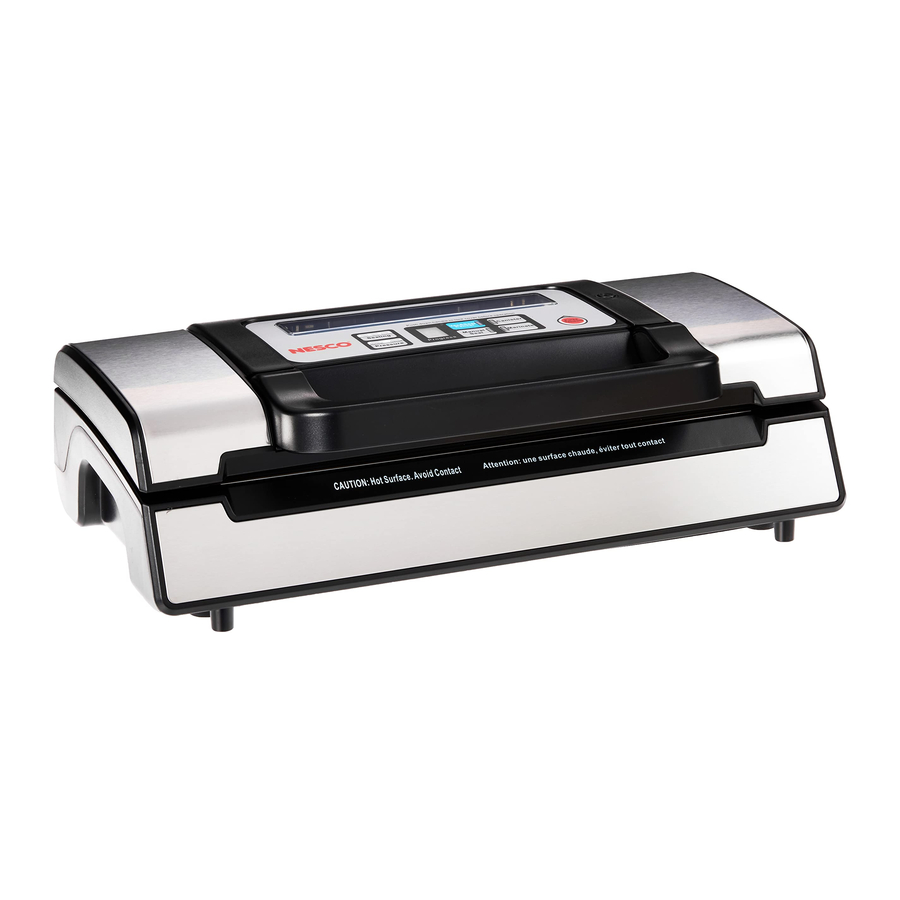
Overview Of Components

Functions
- Vac&Seal / Cancel - Button will start the automatic vacuuming and sealing or press to cancel the machine at anytime during operation.
- Canister - For vacuum sealing canisters through a hose. Accessories sold separarly.
- Sealing Time - Three settings for choosing the best bag sealing time:
- Dry setting: Single sealing dry bags and items without moisture, with a shorter heat sealing time.
- Moist setting: Single sealing wet bags or foods with a little moisture, has a longer heat sealing time.
- Double setting: Double sealing wet bags or foods with very high moisture.
(Default setting is dry setting with single seal.)
- Pressure - Two settings for choice of different vacuum pressures
- Normal setting: Regular item storage with normal vacuum pressure.
- Gentle setting: Soft or delicate items when less vacuum pressure is desired.
(Default setting is normal setting.)
- Progress - A numeric display and provides two functions:
- Shows the progress of vacuuming by counting down in seconds.
- Shows that the device is on and the lid is closed. When the LED blinks, please wait until it stays lit, before starting next operation.
- Manual Seal - This button provides two functions:
- To seal the open end of a bag without vacuum.
- When the automatic "Vac&Seal" function is in operation, press the button to stop the vacuum and immediately start to seal the bag so that vacuum pressure inside the bag can be controlled to avoid crushing delicate items.
- Marinate - This function is to use the canister and tube and it will vacuum in stages and slowly infuse the juices into the items being marinated. When the progress reaches zero the items will be ready to cook or will remain under vacuum pressure until the air in the canister is released.
- Pulse Vacuum - Press this button to vacuum manually, release button to stop. Repeat this process until desired vacuum pressure is reached. Then press "Manual Seal" to complete vacuum seal.
- Front Handle - Lift handle to unlock and open cover.
- Hose Port - Insert the hose accessory when sealing in canisters, universal lids, bottle savers and jar attachments (sold separately).
- Rubber Sealing Strip - Place the bag to be sealed over this strip. Clean with a damp cloth and dry. Replace it when distorted or broken. See Warranty for replacement information.
- Bag Cutter- Press and slide in any direction to cut bags to desired size.
- Cutter Rack - Supports the cutting blade to slide along. Lift and slide bag material under rack. Close and slide cutter from one end to the other.
- Foam Gaskets - Keep air out by pressing with upper gasket in the vacuum chamber. Clean and dry or replace it when it is distorted or broken.
- Air Intake - Air intake connects with vacuum chamber and pump. DO NOT cover intake when placing bag for vacuum sealing.
- Sealing Element - Non-stick heating element that seals the bag ends. DO NOT remove the copper-colored tape that is over the element.
- Vacuum Chamber - Position the open end of the bag in front of the black tabs inside the vacuum chamber. Chamber draws air out of bag and catches any liquid overflow from the bag.
- Bag Storage - Stores up to one 11-inch roll of bag material.
Operating Instructions
MAKING A BAG WITH THE ROLL
- Place sealer on a flat and stable surface and insert plug into electrical outlet.
- Lift handle and open the lid. Place bag roll into roll storage compartment. FIG. 1.
![]()
- Move cutter blade to end of rack then lift cutter rack and pull the bag material from the roll (Pull enough of the roll to hold items to be vacuum packed plus an additional 3 inches) then close the cutter rack. Press lightly on cutter rack while sliding blade along rack to cut the bag material. FIG. 2
![]()
- Place one end of the bag material on the sealing strip and close the top cover. Press down on the handle until it is fully closed. FIG. 3
![]()
- Press the "Manual Seal" button to start sealing. FIG. 4
![]()
- When the progress display reaches 0 the unit will automatically turn off and sealing will be completed.
- Lift handle, open the top cover and remove the bag.


VACUUM PACKAGING YOUR FILLED BAG
- Put the items inside the bag.
- Open the lid, clean and straighten the open end of the bag, make sure there are no wrinkles or ripples.
- Place the open end of the bag in front of the black tabs inside the vacuum chamber area. Make sure the air intake is not covered by the bag.
- Put the top cover down and press front handle to lock the top cover.
- Check the LED lights of "Pressure" and "Sealing" to confirm settings depending on the moisture of food items (Double/Moist/Dry) and desired vacuum pressure (Normal/Gentle) according to the type of food.
- Press the "Vacuum/Seal" button. The unit will automatically vacuum and seal the bag.
![information]() NOTE: This product has high pressure during vacuum packaging, in order to avoid crushing delicate items, observe the status of the items inside the bag and press the "MANUAL SEAL" button immediately when the desired vacuum pressure is reached. The pump will stop and change to heat-seal the bag.
NOTE: This product has high pressure during vacuum packaging, in order to avoid crushing delicate items, observe the status of the items inside the bag and press the "MANUAL SEAL" button immediately when the desired vacuum pressure is reached. The pump will stop and change to heat-seal the bag. - Lift handle and top cover to remove the sealed bag.
![information]() NOTE: The "Manual Seal" button will not work if pressed within 15 seconds of the last activation. For best sealing effect, it is better to let the appliance cool down for 2 minutes between uses. Wipe out any excess liquid or food residue from the vacuum chamber after each use.
NOTE: The "Manual Seal" button will not work if pressed within 15 seconds of the last activation. For best sealing effect, it is better to let the appliance cool down for 2 minutes between uses. Wipe out any excess liquid or food residue from the vacuum chamber after each use.
VACUUM PACKAGE USING A CANISTER
(SOLD SEPARATELY)
- Clean and dry canister cover and base.
- Put the items into the canister. Ensure cover valve is turned to seal.
- Insert one end of the hose into the hose port of vacuum sealer and other end into the center hole of the canister cover. Push firmly to seat hose connections.
- Check the LED lights of "Pressure" and make sure it is at "Normal" setting.
- Press the "Canister" button to start vacuuming. To ensure seal between the cover and the canister, use your hand to push down the cover at the beginning of the cycle. The machine will stop automatically when desired vacuum pressure is reached.
- Remove the hose from the canister cover and the hose port immediately after sealing.
 NOTE: When moist foods are under vacuum, moisture will form in the hose. Remember to clean and dry the hose after vacuuming.
Care And Cleaning
Vacuum Sealer
- Unplug the unit before cleaning.
- Clean the vacuum sealer with a damp sponge. Do not immerse in water.
- Do not use abrasive cleaners as they will scratch the surface.
- Dry thoroughly before storing. When storing do not lock cover to prevent deformation of the gaskets.
Bags
- The bag material can be washed in warm water withdishwashing soap. Rinse the bags well and allow to dry thoroughly before reusing.
- Bags can be washed on the top rack in your dishwasher by turning the bags inside out. Stand the bag up so the water can get inside the bag. Dry thoroughly before next use.
Note: Bags used to store greasy foods should not be re-used.
Storing Your Vacuum Sealer
- Keep the unit in a flat and safe place, out of the reach of children.
- When not in use, keep handle in unlocked position to prevent the foam gaskets from compressing or deforming. If the gaskets become deformed it can affect the function and performance of the vacuum sealer.
Vacuum Sealing Tips
- Don't overfill the bags; leave about 3 inches at the open end so that the bag can be placed more efficiently in the vacuum chamber.
- Wet bags may be difficult to seal. Do not wet the open end of the bag.
- Clean and straighten the open end of the bag before sealing. Ensure no wrinkles or creases appear on the bag material, creased bags may be difficult to seal.
- Do not vacuum package objects with sharp points like fish bones and hard shells. Sharp points can penetrate and tear the bag.
- Freeze fruits and blanch vegetables before vacuum packing for best results.
- Hot liquids need to be cooled before vacuum packing. Hot liquids will bubble up and over the top of the bag when vacuum packed.
- Partially freeze meats before sealing.
- During vacuum sealing, small amounts of liquids, crumbs or food particles can be pulled into vacuum chamber clogging the pump and damaging your appliance. To avoid this: Always clean chamber and freeze wet foods first before sealing or place a folded paper towel near the inside top of the bag.
- Store perishable foods in the freezer or refrigerator. Vacuum packing extends the shelf life of foods, but does not preserve them.
- Pantry items such as flour, rice, mixes for cakes and pancakes, all stay fresh longer when vacuum packed.
- Keep camping supplies such as matches, first aid kits and valuables, clean and dry.
- Keep silver and collectibles untarnished by vacuum sealing.
- Fill a bag about 2/3 full with water, seal the end (don't vacuum). Freeze the bag and use for ice in the cooler or ice packs for first aid.
Troubleshooting
VACUUM SEALER HAS NO POWER
- Check to see that the unit is plugged in. To test an electrical outlet, plug in another appliance, such as a lamp.
- Vacuum sealer will shut off automatically if overheated. Allow to cool down for 15 minutes and try again.
- Check power cord and plug for damage. If damaged, do not use the vacuum sealer.
VACUUM SEALER DOES NOT PERFORM FIRST SEAL
- Make sure the bag end is properly positioned over sealing element and there are no creases or debris in bag material.
VACUUM SEALER DOES NOT PULL A COMPLETE VACUUM
- To seal properly, open end of bag must be entirely inside vacuum chamber area.
- Check upper sealing strip and gaskets for obstructions. Wipe clean and ensure they are fully seated.
- Check the cover and handle are down all the way.
- Bag material may have a leak. To test, seal the bag with some air in it, submerge in water, and apply pressure. Bubbles indicate a leak. Reseal or use another bag.
VACUUM SEALER NOT SEALING BAG PROPERLY
- Should sealing element overheat and melt the bag, it may be necessary to lift the top cover and allow the sealing element to cool for several minutes.
BAG LOSES VACUUM AFTER BEING SEALED
- Leaks along the seal can be caused by wrinkles, crumbs, grease or liquids. Wipe the top inside of the bag and smooth it out along the sealing element before sealing.
- Check the bag for a puncture or hole which may have released the vacuum.
Cushion sharp edges on contents in bag with paper towels.
One Year Limited Warranty
The Metal Ware Corporation warrants the original purchaser that your product will be free from defects in material and workmanship for a period of one year from date of purchase. Product must be used for personal or sole household usage in accordance with the instructions. Should your product prove defective within one year from date of purchase, contact our customer service team at 1-800-288-4545 or email at nescocs@nesco.com with an explanation of the claim.
You may register your product on our website but will need to retain a copy of your proof of purchase should a warranty issue arise. We suggest you staple your receipt to this care and use guide. https://www.nesco.com/customer-service/warranty-registration
Or fill in your warranty card and return it within one week from date of purchase along with a copy of proof of purchase.
Send warranty card to:
VS-12 / NESCO Deluxe Vacuum Sealer
C/O MW
PO Box 237
Two Rivers, WI 54241-0237
IMPORTANT SAFEGUARDS
This product is designed for household use only
When using electrical appliances, basic safety precautions should always be followed including the following:
- READ ALL INSTRUCTIONS BEFORE USING THIS APPLIANCE.
- Do not touch hot surfaces. Use handles or knobs.
- To protect against electrical shock do not immerse cord, plugs, or (state specific part or parts in question) in water or other liquid.
- Close supervision is necessary when any appliance is used by or near children. This appliance is not recommended for use by children.
- Unplug from outlet when not in use and before cleaning. Allow to cool before putting on or taking off parts.
- Do not operate any appliance with a damaged cord or plug or after the appliance malfunctions or has been damaged in any manner. Contact NESCO Customer Service.
- The use of accessory attachments not recommended by the appliance manufacturer may cause injuries.
- Do not use outdoors. Do not use appliance for other than intended use.
- Do not let cord hang over edge of table or counter, or touch hot surfaces.
- Do not place on or near a hot gas or electric burner, or in a heated oven.
- Always attach plug to appliance first, then plug cord into the wall outlet. To disconnect, turn any control to "off", then remove plug from wall outlet.
- Appliance is not intended for commercial use.
- Operate appliance only when all parts are fully engaged and tightened.
- To reduce risk of injury and damage to appliance keep hands, hair, clothing and utensils away from parts during operation.
- Place appliance on flat and steady support surface when ready for use.
- Appliance is not designed for continuous use. Approved for one operating cycle every two minutes.
SAVE THESE INSTRUCTIONS
Polarized Plug: This appliance has a polarized plug (one blade is wider than the other). To reduce risk of electric shock, plug is intended to fit into polarized outlet only one way. If the plug does not fit fully into the outlet, reverse the plug. If it still does not fit, contact a qualified electrician. Do not try to modify the plug in any way.
Short Cord Instructions: A short power supply cord is provided to reduce the risk resulting from becoming entangled in or tripping over a longer cord. Extension cords may be used if care is exercised in their use. If an extension cord is used, the marked electrical rating of the cord should be at least as great as the electrical rating of the appliance. A longer cord should be arranged so that it will not drape over the tabletop where it can be pulled on by children or tripped over unintentionally.
Questions?
NESCO Customer Service is available 8 am to 4 pm CST.
Email: nescocs@nesco.com
Phone: 1-800-288-4545
Returns
Please do not return this item to the place of purchase. If you are missing any parts or need assistance, contact NESCO Customer Service.
Visit us at nesco.com
Technical Specifications:
Model: VS-12 / NESCO Deluxe Vacuum Sealer
Input - 120Volts / 60HZ / 130Watts
Follow us on

#YourKeyIngredient
Documents / Resources
References
![www.nesco.com]() NESCO® | Warranty Registration
NESCO® | Warranty Registration![nesco.com]() NESCO®: Roaster Ovens | Dehydrators | Small Appliances | Jerky Spices Nesco
NESCO®: Roaster Ovens | Dehydrators | Small Appliances | Jerky Spices Nesco
Download manual
Here you can download full pdf version of manual, it may contain additional safety instructions, warranty information, FCC rules, etc.
Advertisement


Need help?
Do you have a question about the VS-12 and is the answer not in the manual?
Questions and answers