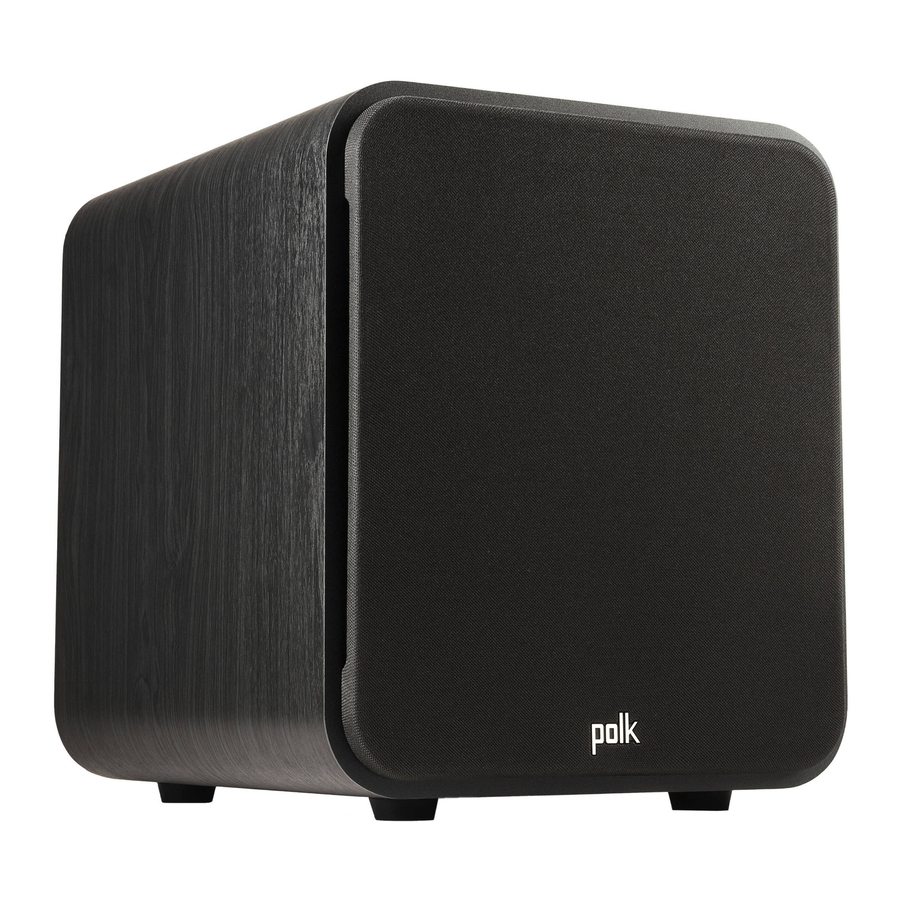
Polk Signature Elite ES8 / ES10 / ES12 - Subwoofer Manual
- Owner's manual (24 pages)
Advertisement
Set up the subwoofer
Unpack
Check that the following items came in the box.

Position the subwoofer

Your subwoofer offers many placement options: in an entertainment center, behind furniture, or next to a sofa or chair.
You may place your subwoofer anywhere in the room, but you'll enjoy the best performance when it's on the same side of the room as your system's front speakers. See the image to the right for potential placement options.
Placing your subwoofer near a wall or in a corner will increase its loudness. When placing your subwoofer in the room, always place your subwoofer on its base feet side down. If you can at all avoid it, do not place your subwoofer next to an open door.
We recommend placing your subwoofer in different locations within your room to learn what produces the best sound quality for your listening environment.
Connect the subwoofer to your AV receiver or amplifier
LFE setup

LFE (low-frequency effects) is recommended for AV receivers with a dedicated LFE channel or subwoofer pre-out.
- Turn off the power on your amplifier/receiver.
- Connect the LFE cable from your receiver to the dedicated LFE input.
- The subwoofer detects when an LFE cable has been connected and automatically sets to LFE mode and bypasses the low-pass filter.
- Follow the bass management instructions on your AV receiver to integrate the subwoofer into the rest of your audio system.
Line in setup

This method is recommended for systems with no LFE/ subwoofer output jack, such as 2-channel systems.
- Turn off the power of the device (such as a preamplifier) you intend to connect to the subwoofer.
- Connect standard RCA cables from the left and right inputs of the subwoofer to the appropriate output of the device, usually a left and right postvolume pre-out.
![information]() NOTE: Do not use a tape-out or record-out as these will not track the volume control.
NOTE: Do not use a tape-out or record-out as these will not track the volume control.
- Adjust the volume, lowpass, and phase controls on the subwoofer as needed. You can start at 80Hz and 0 degrees and adjust from there.
Plug in the power cable and turn on the subwoofer

- Plug the power cable into the subwoofer, then into a power outlet.
- Turn on the subwoofer by switching the Main On/Off Switch. See the next page for more information.
Setup is now complete!
Watch TV or listen to music and adjust the subwoofer settings to your preferences. See the next page for a diagram of the subwoofer back panel. For support, FAQs, and more information about the subwoofer, visit polkaudio.com/SignatureElite.


Subwoofer features
Subwoofer back-panel controls

| 1 | Volume control | When you set up your subwoofer for the first time, you may have to make adjustments several times before you hear what you personally like. Start with the volume at 50%. Adjust by ear using a wide variety of CDs and video sources. Adjust for deep, powerful bass without "boominess." We recommend that you use your AV receiver to run room correction features (like Audyssey or Dirac) and allow the receiver to optimize your speakers and subwoofer(s). |
| 2 | LED power indicator | Amber: The subwoofer is connected to power and in standby mode. Green: The subwoofer is on and ready to use. |
| 3 | Phase control | Tap the +/- buttons next to Phase to adjust the phase setting. If you're using a single subwoofer, you can generally leave the phase at 0 degrees. However, you may need to change the phase depending on your speaker arrangement. |
| 4 | Auto on / Always on switch | Auto On: Subwoofer wakes up as soon as it receives an audio signal and goes into standby ~20 minutes after the audio signal is stopped. Always On: Subwoofer never enters Standby. Use this mode if you have a means of controlling the main AC power to the subwoofer. |
| 5 | Low-pass control | If your AV equipment doesn't have its own low-pass filter, you can adjust the low-pass filter higher or lower as preferred. If you connect an LFE cable from your AV receiver to the subwoofer, the subwoofer automatically switches to LFE mode. With the subwoofer in LFE mode, configure crossover settings in you AV receiver. |
| 6 | LFE Input | LFE (low-frequency effects) is recommended for AV receivers with a dedicated LFE channel or subwoofer pre-out. See the previous page for connection instructions. |
| 7 | Line Inputs | This method is recommended for systems with no LFE/subwoofer output jack, such as 2-channel systems. See the previous page for connection instructions. |
| 8 | Main On/Off Switch | Use to completely cut the power to the subwoofer. Similar to removing the power cord. |
| 9 | AC power inlet | Used to provide power to the subwoofer with the included power cable. |
Subwoofer adjustments & status lights
The Signature Elite Subwoofers include LED status lights to indicate the volume level, low-pass frequency, and phase setting. You can control these levels by pressing the corresponding + or - button on the back panel.
 NOTE: The default subwoofer volume is 20, the default low-pass frequency is 80Hz, and the default phase setting is 0 degrees.
Volume levels
The subwoofer volume can be set between 1 and 40. Each LED light can shine at four different brightness levels to indicate the volume. See below for an example of some of the volume levels.

Low-pass frequency
The low-pass frequency levels are labeled above the LED light strip. When one LED is dim, you're halfway to the next frequency level. In the example below, the dim LED means 85Hz, halfway between 80Hz and 90Hz.

Phase setting
A single LED will light up to show where the phase is set. The phase levels are labeled on the back panel of the subwoofer, below the LED light strip. In the example below, phase is set to 0 degrees and 45 degrees.

Subwoofer specifications
| Type, power, and frequency | |||
| ES8 | ES10 | ES12 | |
| Speaker type | Subwoofer | Subwoofer | Subwoofer |
| Bass type | Vented with Single Internal Power Port™ | Vented with Double Internal Power Port™ | Vented with Double Internal Power Port™ |
| Frequency Range -3dB | 32Hz - 180Hz | 28Hz - 250Hz | 22Hz - 250Hz |
| Frequency Range -10dB | 28HZ - 400Hz | 22Hz - 375Hz | 18Hz - 350Hz |
| Continuous (RMS) | 100W | 200W | 300W |
| Amplifier type | Class D | Class D | Class D |
| Phase adjustment | -135° to +180° in 45° increments | -135° to +180° in 45° increments | -135° to +180° in 45° increments |
| Low-pass crossover frequency | 50Hz-160Hz + LFE | 50Hz-160Hz + LFE | 50Hz-160Hz + LFE |
| Dimensions and weight | |||
| Product dimensions (W x H x D) | 325 x 383 x 386mm | 331 x 438 x 419mm | 362 x 483 x 483mm |
| Product weight (each) | 13kg | 17.7kg | 21.6kg |
| Cabinetry | |||
| Feet | Permanently installed (no levelling) | Permanently installed (no levelling) | Permanently installed (no levelling) |
| Inputs | |||
| Line level | RCA Left + Right | RCA Left + Right | RCA Left + Right |
| LFE | Single RCA | Single RCA | Single RCA |
| Controls | |||
| Main power | On / off rocker | On / off rocker | On / off rocker |
| Auto Power | Auto-on / always-on | Auto-on / always-on | Auto-on / always-on |
| Gain | Volume +/- pushbuttons | Volume +/- pushbuttons | Volume +/- pushbuttons |
| Low-pass filter | Low Pass +/- pushbuttons | Low Pass +/- pushbuttons | Low Pass +/- pushbuttons |
| Phase | Phase +/- pushbuttons | Phase +/- pushbuttons | Phase +/- pushbuttons |
Specifications are subject to change without notice.
Technical assistance
If your product was damaged during shipping, please contact the authorized Polk Audio retailer where you purchased your product. For technical support, FAQs, and repair information, visit support.polkaudio.com. Support email addresses and phone numbers vary based on the region where you purchased your product.
Product information

Listen carefully
Polk Audio speakers are capable of playing at extremely high volume levels, which could cause serious or permanent hearing damage. Polk Audio accepts no liability for hearing loss, bodily injury, or property damage resulting from the misuse of its products. Keep these guidelines in mind and always use good judgment when controlling volume: Limit prolonged exposure to volume levels that exceed 85 decibels (dB). For more information about safe volume levels, please review the Occupational Health and Safety Administration (OSHA) guidelines at www.osha.gov/.
Care and cleaning
The only thing you should ever need to do to your speakers is dust them occasionally. Never apply any abrasive or solventbased cleaner or any harsh detergent.
Important safety instructions
- Read these instructions.
- Keep these instructions.
- Heed all warnings.
- Follow all instructions.
- Do not use this apparatus near water.
- Clean only with dry cloth.
- Do not block any ventilation openings. Install in accordance with the manufacturer's instructions.
- Do not install near any heat sources such as radiators, heat registers, stoves, or other apparatus (including amplifiers) that produce heat.
- Only use attachments/accessories specified by the manufacturer.
- Unplug this apparatus during lightning storms or when unused for long periods of time.
- Refer all servicing to qualified service personnel. Servicing is required when the apparatus has been damaged in any way, such as power-supply cord or plug is damaged, liquid has been spilled or objects have fallen into the apparatus, the apparatus has been exposed to rain or moisture, does not operate normally, or has been dropped.
- The equipment can be used at a maximum ambient temperature of 113°F (45°C).
Notes on use
- Avoid high temperatures.
- Keep the unit free from moisture, water, and dust.
- Do not let foreign objects into the unit.
- Do not let insecticides, benzene, and thinner come in contact with the unit.
- Never disassemble or modify the unit in any way.
- Naked flame sources such as lit candles should not be placed on the unit.
- Do not expose the unit to dripping or splashing fluids.
- Do not place objects filled with liquids, such as vases, on the unit.
- Do not handle the power cable with wet hands.
- The equipment shall be installed near a power outlet so that the power is easily accessible.
To allow Polk to offer the best possible warranty service, please register your new product ( "Product") online. To register, please visit support.polkaudio.com and click Register a Product, or call Polk Customer Service at 1-800-377-7655 in the USA or Canada within ten (10) days of the date of original purchase.
If you have questions about warranty coverage or the warranty return process, please visit support.polkaudio.com and click Warranty. To contact Polk Customer Service from the United States or Canada, call 1-800-377-7655.
Documents / Resources
References
Download manual
Here you can download full pdf version of manual, it may contain additional safety instructions, warranty information, FCC rules, etc.
Download Polk Signature Elite ES8 / ES10 / ES12 - Subwoofer Manual
Advertisement


Need help?
Do you have a question about the Signature Elite ES8 and is the answer not in the manual?
Questions and answers