Corsair HYDRO Series, H75 - CPU COOLER Manual
- Installation manual (66 pages) ,
- Quick start manual (24 pages) ,
- Manual (18 pages)
Advertisement
 Note: Most newer PC cases include a CPU cutout to allow access to the bottom of the motherboard. If your case does not include a cutout, you will need to remove your motherboard from the case before installation.
Intel Installation
Included Hardware
Highlighted parts for Intel installation only

Note: The H75 comes with Intel mounting bracket pre-installed on the pump for quick installation
Installing the Intel Backplate
- For LGA 115Xinstallation, slide the backplate pins inside (figure 1)
![]()
- For LGA 1366 installation, slide the backplate pins outside (figure 1)
- Install the assembled backplate (figure 2)


Note: Intel LGA 2011 and LGA 2066 does not require backplate installation. Proceed to step 2.
Installing the Intel Standoff Screws

- Attach the provided Intel standoff
- Use (B) for LGA 115X/ 1366, or (C) for LGA 2011/ 2011-3/ 2066
- Tighten all four screws until firmly secure.
Install the Fans and Radiator
Mount the radiator and fans to your case's rear 120mm fan opening as shown below

Note: For best cooling performance, we recommend mounting the fan as an air intake to your PC case.
Installing the Pump Unit

- Align the bracket and pump over the standoff screws as shown.
- Tighten the thumbscrews until al four corners are firmly secured
Connect Power to the Fans and Pump
- Connect pump power cable to an available SATA power plug (figure 1)

- Connect pump tach cable to the CPU FAN header on your motherboard (figure 1)
- Connect the included Y-header cable to any available 3-pin or 4-pin fan header. (figure2)

- Connect the fans into the Y-header cables. (figure 2)


AMD Installation
Included Hardware
Highlighted parts for AMD installation only

Installing the AMD Mounting Bracket
Note: It is important that the AMD retention bracket be evenly secured on all sides before installation!
- Remove the integrated Intel mounting bracket by turning the mounting bracket, and pulling away from the copper coldplate (figure 1).

- Install the AMD bracket by aligning the twist lock, pushing in, turning the opposite direction, and allowing bracket to secure (figure 2)


Install the Fans and Radiator
Mount the radiator and fans to your case's rear 120mm fan opening as shown below.

Note: For best cooling performance, we recommend mounting the fan as an air intake to your PC case.
Prepare the Mounting Bracket
Insert the AMD screw clips and secure with the screws as shown DO not tighten the thumbscrews all the way

Install the Pump Unit
Align the bracket with the Stock AMD mounting clips as shown. Tighten the thumbscrews until secure

Connect Power to the Fans and Pump
Connect pump power cable to an available SATA power plug (figure 1)

- Connect pump tach cable to the CPU FAN header on your motherboard (figure 1)
- Connect the included Y-header cable to any available 3-pin or 4-pin fan header. (figure 2)

- Connect the fans into the Y-header cables. (figure 2)

FAQ
- How do I know the direction of the air flow of the fan?
An arrow located on the side of the fan indicates the direction of air flow - Can I reuse the pre-applied thermal paste on the H75 for a re-installation?
Re installation of the H75 cooler will require you clean off the pre-applied thermal paste and apply an aftermarket paste
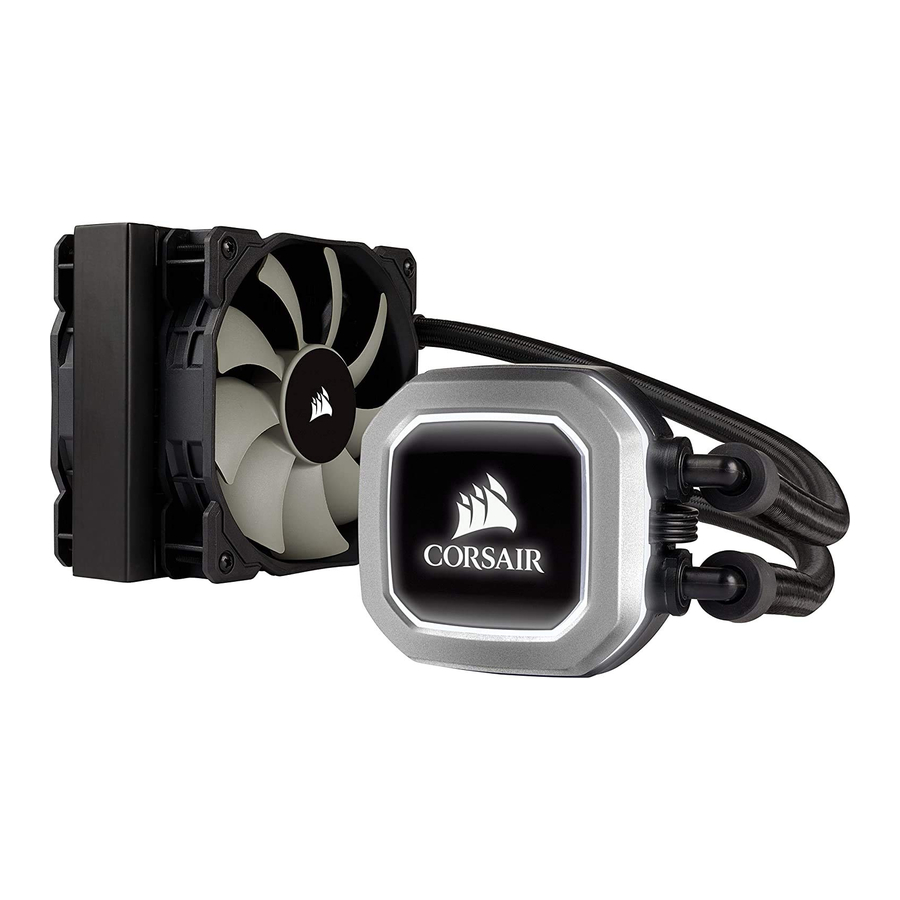
Thank you for purchasing the CORSAIR Hydro Series H75 High Performance Liquid CPU Cooler.
Please visit: corsair.com to download a detailed user guide or to obtain technical support
EMAIL: support@corsair.com
FACEBOOK: facebook.com/corsair
BLOG: corsair.com/blog/
FORUM: forum.corsair.com
TWITTER: twitter.com/corsair
USA and CANADA: (510) 657-8747
INTERNATIONAL: (888) 222-4346
FAX: (510) 657-8748
CORSAIR
47100 Bayside parkway
Fremont
California
9453B
USA
Documents / Resources
References
![corsair.com]() PC コンポーネント | ゲーミングギア | CORSAIR
PC コンポーネント | ゲーミングギア | CORSAIRhttp://facebook.com/corsair
![corsair.com]() Corsair Blog - Corsair Community
Corsair Blog - Corsair Community![forum.corsair.com]() Home - Corsair Community
Home - Corsair Community![twitter.com]() x.com
x.com
Download manual
Here you can download full pdf version of manual, it may contain additional safety instructions, warranty information, FCC rules, etc.
Advertisement


Need help?
Do you have a question about the HYDRO Series and is the answer not in the manual?
Questions and answers