Table of Contents
Advertisement
Advertisement
Table of Contents

Related Manuals for dbx PX


Summary of Contents for dbx PX
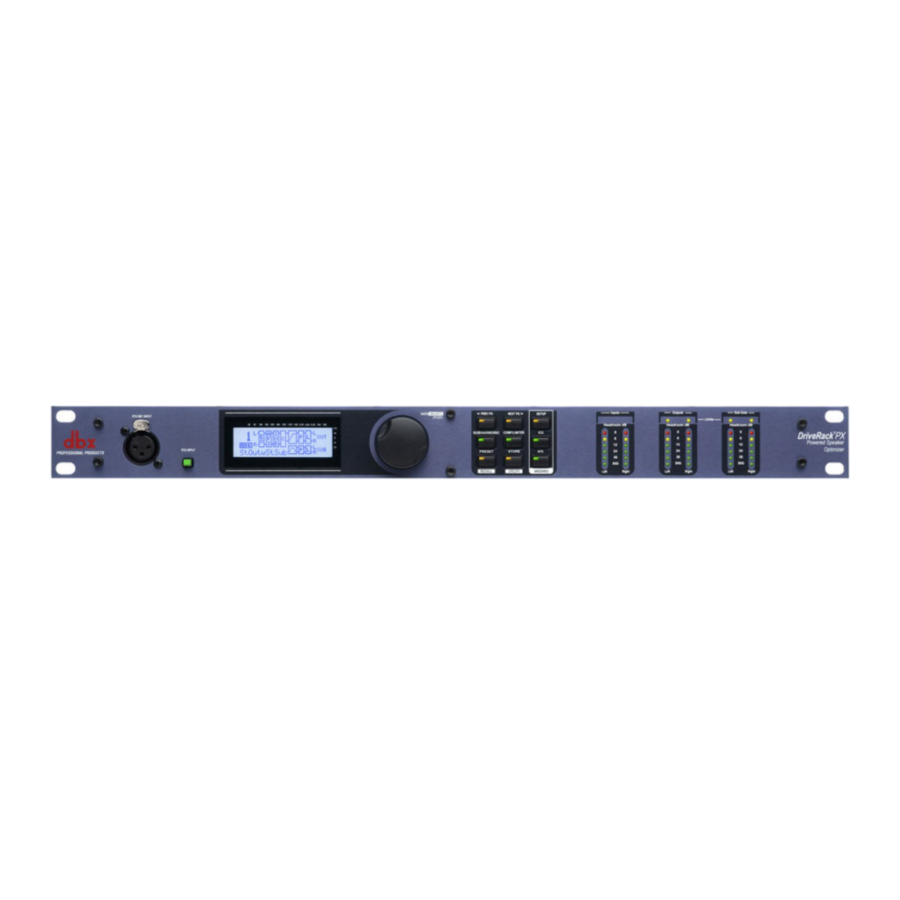
- Page 1 ® Powered Speaker Optimizer Featuring Powered Speakers User Manual...
-
Page 2: Important Safety Information
IMPORTANT SAFETY INFORMATION The symbols shown above are internationally accepted symbols that warn of potential hazards with electrical products. The lightning flash with arrowpoint in an equilateral triangle means that there are dangerous voltages present within the unit. The exclamation point in an equilateral triangle indicates that it is necessary for the user to refer to the owner’s manual. -
Page 3: Electromagnetic Compatibility
Address: 8760 S. Sandy Parkway Sandy, Utah 84070, USA declares that the product: Product name: DriveRack PX Note: Product name may be suffixed by the eU. Product option: None conforms to the following Product Specifications: Safety: IeC 60065 (7th ed. 2001) -
Page 4: Table Of Contents
Table of Contents Section 1- Introduction ... 1 0.1 Defining the DriveRack PX ... 1 0.2 Service Contact Info ... 2 0.3 Warranty ... 3 Section 2- Getting Started ... 4 2.1 Rear Panel Connections ... 4 2.2 Front Panel Connections ... 4 2.3 Quick Start ... -
Page 5: Introduction Section
0.1 Defining the DriveRack PX The dbx DriveRack PX is the most effective way to manage all aspects of powered loudspeaker management for public address system applications. The DriveRack PX essentially becomes the only device that you will need between the mixer and the powered speakers. The following are just some of the features of the DriveRack PX. -
Page 6: Service Contact Info
DriveRack Section 1 ® Introduction 0.2 Service Contact Info If you require technical support, contact dbx Customer Service. Be prepared to accurately describe the problem. Know the serial number of your unit - this is printed on a sticker attached to the bottom panel. If you have not already taken the time to fill out your warranty registration card and send it in, please do so now. -
Page 7: Warranty
DriveRack Section 1 ® Introduction 0.3 Warranty This warranty is valid only for the original purchaser and only in the United States. 1. The warranty registration card that accompanies this product must be mailed within 30 days after purchase date to validate this warranty. Proof-of-purchase is considered to be the burden of the consumer. -
Page 8: Section 2- Getting Started
120V - 60Hz IEC Power Cord Receptacle The DriveRack® PX comes with a power supply that will accept voltages ranging from 100V- 120V at frequencies from 50Hz-60Hz. An IEC cord is included. EU versions accept 220V-240V at frequencies from 50Hz-60Hz. - Page 9 ® Getting Started Data Wheel The Data wheel of the DriveRack® PX is used to scroll through the preset menu, load presets, select parameters and edit parameter values. LCD Display The backlit LCD display of the DriveRack® PX provides the user with all of the vital processing information of the DriveRack®...
-
Page 10: Quick Start
XLR input. • IMPORTANT- It is imperative that the powered speakers are turned off prior to applying power to the DriveRack® PX. Always make sure that your powered speakers are the last item turned on and the first turned off. DriveRack ®... - Page 11 The following message will appear: CLIP. Data Wheel - The data wheel is used to scroll through the preset menu of the DriveRack® PX. The Data Wheel is also used to perform editing functions to signal processing and utility menu features.
-
Page 12: Driverack Px Wizard
DriveRack® PX Wizards. These allow for quick and accurate venue setups. There are three wizards: Setup, EQ, and AFS. Press hold any button in the Wizard section of the front panel to access them. - Page 13 • If you’re using sub speaker(s), you will now be given the option of optimizing your sub speakers’ levels with the DriveRack PX. The page will appear something like this: • Turn the volume (level) knob on each of your sub speakers to the position shown in this screen.
- Page 14 <Next Pg> button and the Auto Level sequence will begin. The DriveRack PX will adjust balance levels for your main speakers (and your subs, if you have them). Note that you may be prompted to readjust the your speaker knob settings. When the Auto Level sequence is finished, the display will look like this: After you press the <RTA Input>...
- Page 15 DriveRack ® AuTO-EQ WIzARD • Once you have completed the Setup wizard, you can now proceed to EQ your system. The Auto-EQ Wizard automatically adjusts the response of the system by producing pink noise and adjusting the Graphic EQ until the RTA matches a selected response. (The Auto-EQ Wizard can be initialized at any time by pressing and holding the <EQ>...
- Page 16 Utility menu. Regardless, the display will appear something like this: At this point, the DriveRack® PX will automatically EQ to compensate for the room. Auto- EQ can be aborted at any point in the process by pressing the <PREV PG> button. Upon completion of the Auto-EQ Wizard, you can continue on to the AFS wizard by releasing the <RTA Input>...
- Page 17 DriveRack ® • You will now use the <DATA> wheel to select the number of fixed filters. This will range from values 0-12. The total number of filters will stay at 12, and the number of live filters will be = Total Num Filters – Num Fixed. Live and Fixed filter types differ in that FIXED mode filters are automatically assigned to a frequency creating feedback, thus remaining at that frequency until cleared by the user.
- Page 18 DriveRack Section 2 ® Getting Started • To return to preset mode, simply press the <PRESET> or <NEXT PG> button. For more information regarding feedback elimination, please see the AFS parameters of the Detailed parameters section. ®...
-
Page 19: Section 3 - Editing Functions
3. Data Wheel - The Data Wheel is used to move through the preset menu of the DriveRack® PX. The Data wheel is also used to change the values of the selected parameter by simply rotating the wheel. Pressing the Data wheel will toggle between the available parameters on any selected page of the currently selected editor. -
Page 20: Navigating The High-Pass And Bandpass Filter (Setup) Section
PREV PG Section 3 Editing Functions SUBHARMONIC COMP/LIMITER PREV PG NEXT PG PRESET SUBHARMONIC COMP/LIMITER RECALL STORE PRESET UTILITY RECALL UTILITY 3.3 Navigating the High-pass and Bandpass Filter (SETuP) Section To edit the parameters of the high-pass and bandpass filter used in a selected preset, simply use the following procedure. From preset mode, press the SETUP button. -
Page 21: Navigating The Comp/Limiter Section
DriveRack ® 3.5 Navigating the Comp/Limiter Section Navigating the Compressor/Limiter Section From preset mode, press the comp/limiter button to move to either the Compressor or Limiter module(s). Successive presses of COMP/LIMITER button will will toggle between the Compressor and Limiter modules. Navigate through the Pages of the Compressor module by pressing the "Next Page"... -
Page 22: Navigating The Afs Section
Section 3 Editing Functions Navigating the Advanced Feedback Supression (AFS) Section 3.7 Navigating the AFS Section From preset mode, press the AFS button. Pressing the Data Wheel will select the parameter to be edited. <PREV PG NEXT PG> The NEXT and PREV buttons scroll through the pages of selected module. -
Page 23: Navigating The Recall Section
DriveRack ® Navigating the Preset/Recall Section 3.10 Navigating the Recall Section From preset mode, press and hold the RECALL button. Turn the Data wheel to select a preset; press the Data wheel to load the preset. PRESET Currently loaded preset All presets RECALL Turn the Data wheel to select a preset. -
Page 24: Section 4 - Operating Functions
Selecting Presets: The quickest way to get up and running with the DriveRack® PX is to use any one of the factory presets that are available in the box. When you reach the factory preset, a FACT icon (meaning “factory”) will appear above the factory preset name. -
Page 25: Editing Factory Presets
Once you are satisfied with the changes that have been made to a factory or user preset, the DriveRack® PX allows you to save these changes as a custom USER preset by pressing the <STORE> button, and the display will appear as follows:... - Page 26 • • • The DriveRack® PX will store 25 user presets in addition to the 25 factory presets. Note: Factory presets cannot be over-written. When storing changes to a Factory preset, you must replace an existing User preset. Note that the USER icon indicates a custom user preset, as opposed to the FACT icon.
-
Page 27: Section 5 - Detailed Parameters
(instead of taking out large sections of your sound). The AFS module of the DriveRack® PX allows the user to optimize the elimination of feedback. In the past, graphic equalizers were used to eliminate feedback from a system. - Page 28 DriveRack Section 5 ® Detailed Parameters AFS On/Off Turns the AFS module on and off. If AFS is Off, the filters are bypassed, and the algorithm is halted (the filters are not updated). If AFS is On, the filters are active, and the they are updated according to the current selected mode (Fixed or Live).
-
Page 29: Subharmonic Synthesizer
DriveRack Section 5 ® Detailed Parameters the number of Fixed filters goes down, then the last fixed filter set will be reset. Likewise, if the number of Fixed filters goes up (and thus the number of live filters goes down), then the last live filter set will be reset. -
Page 30: Compressor/Limiter
5.4 Compressor/Limiter The DriveRack® PX also offers legendary dbx OverEasy® Compression with VariKnee , and proprietary dbx PeakPlus Limiter modules. The Compressor is a full bandwidth Stereo Compressor located prior to the high-pass and bandpass filters. - Page 31 DriveRack Section 5 ® Detailed Parameters Ratio (R) 1.0 to Inf:1 Ratio is the amount the unit reduces the signal level of the sound that is above the threshold. A 2:1 ratio means that if the incoming signal is 2dB over the threshold the unit will compress the signal, and outputs a signal that only goes 1dB over the threshold.
-
Page 32: Filter (Setup)
Section 5 Detailed Parameters 5.5 Filter (SETuP) The Filters are used to divide the input signal into two frequency bands. This allows the user to drive the speaker in its optimum frequency range and send each output separately for more efficient use of amplifier power. -
Page 33: Section 6 - Application Guide
This Application guide section is provided to offer suggested installation applications of the DriveRack® PX that will allow you to optimize peak performance of the units. Note that the 25 included application presets represent the flexibility of the DriveRack® PX. These applications can be used verbatim, or as sample reference guide templates for designing numerous audio applications. -
Page 34: Two Mains/One Subwoofer Setup
Connect the main outputs of the DriveRack® PX to the main powered speakers. Connect the Left/Mono sub output of the DriveRack® PX to the sub powered speaker. Use the Wizard to set up a specific preset. Press and hold the <SETUP> button to begin. -
Page 35: Two Mains/Two Subwoofers Setup
Make sure that the mixer and powered speakers are turned off prior to powering up the DriveRack® PX. Connect the outputs from the mixer to the inputs of the DriveRack® PX. Connect the main outputs of the DriveRack® PX to the main powered speakers. -
Page 36: Sub With Satellites Setup
Make sure that the mixer and powered speakers are turned off prior to powering up the DriveRack® PX. Connect the outputs from the mixer to the inputs of the DriveRack® PX. Connect the main outputs of the DriveRack® PX to the sub powered speaker. -
Page 37: Section A - Appendix
Section A - Appendix A.1 Factory Reset In the event that a reset is required, the DriveRack® PX offers you the option of performing a “Soft” or “Hard” reset. The Soft Reset resets all operating parameters except user presets. The Hard Reset Procedure will reset all preset information back to the factory defaults. - Page 38 “Clear w/ <AFS>”. Pressing and holding the <AFS> button will enable a filter clear. After the clear, the DriveRack PX will return to the preset screen. Locked operations will cause a “LOCKED” icon to appear in the upper right corner of the screen for a few seconds.
-
Page 39: Specifications
DriveRack ® A.3 Specifications ANALOG INPUTS: Number of Inputs: Connectors: Type: Impedance: Max Input Line level: Input CMRR: RTA Mic Phantom Voltage: RTA Mic EIN: ANALOG OUTPUTS: Number of Outputs: Connectors: Type: Impedance: Max Output Level: A/D PERFORMANCE: Type: Dynamic Range: Type IV dynamic range: Sample Rate: D/A PERFORMANCE:... -
Page 40: Auto-Eq Optimization Tips
Section A Appendix A.4 Auto-EQ Optimization Tips By using the setup wizard, output gains and output limiter settings are set to match your system. The Auto-EQ can be used to adjust your system to compensate for room effects, and to adjust the response of the entire system to your liking. After allowing Auto-EQ to “pink the room,”... -
Page 41: Block Diagram
DriveRack Section A ® Appendix A.6 Block Diagram Micr Pre amp Stereo/Mono Pink Noise AFS Notch Filters SubHarmonic Synth Stereo Compressor High-Pass and Band-Pass Filter Section 2-Band PEQ 3-Band PEQ PeakPlus Limiter PeakPlus Limiter ®... -
Page 42: Preset List / Supported Speakers
Section A Appendix A.7 Preset List / Supported Speakers PRESET LIST StereoMains Stereo powered full-range speakers. StMainsMSub Stereo powered full-range speakers with a mono powered subwoofer. StMainsSSub Stereo powered full-range speakers with stereo powered subwoofers. Sub wSats Sub with Satellite System PRX515 2 JBL PRX515 full-range speakers PRX515M518... -
Page 43: System Setup And Gain Structure
In the DriveRack PX we have included a Wizard setup tool to help in system setup. If you use the Wizard to set up your DriveRack PX it will automatically set the limiters for some powered speaker selections. If your powered speakers are not available in the Wizard, you should choose the Custom setting. - Page 44 With the powered speakers clipping, now go to the Limiter page of the DriveRack PX and turn on the limiter for each output. Make sure that the threshold is all the way up to +20dB. Now slowly reduce the threshold until the clip indicator of the powered speaker turns off.
- Page 48 ® 8760 South Sandy Parkway • Sandy, Utah 84070 Phone: (801) 568-7660 • Fax (801) 568-7662 Int’l Fax: (801) 568-7583 E-mail us at: customer@dbxpro.com or visit us on the web at: www.dbxpro.com A Harman International Company 18-1023-A...
Need help?
Do you have a question about the PX and is the answer not in the manual?
Questions and answers