Table of Contents
Advertisement
Advertisement
Chapters
Table of Contents

Related Manuals for Epson EMP-TW 700


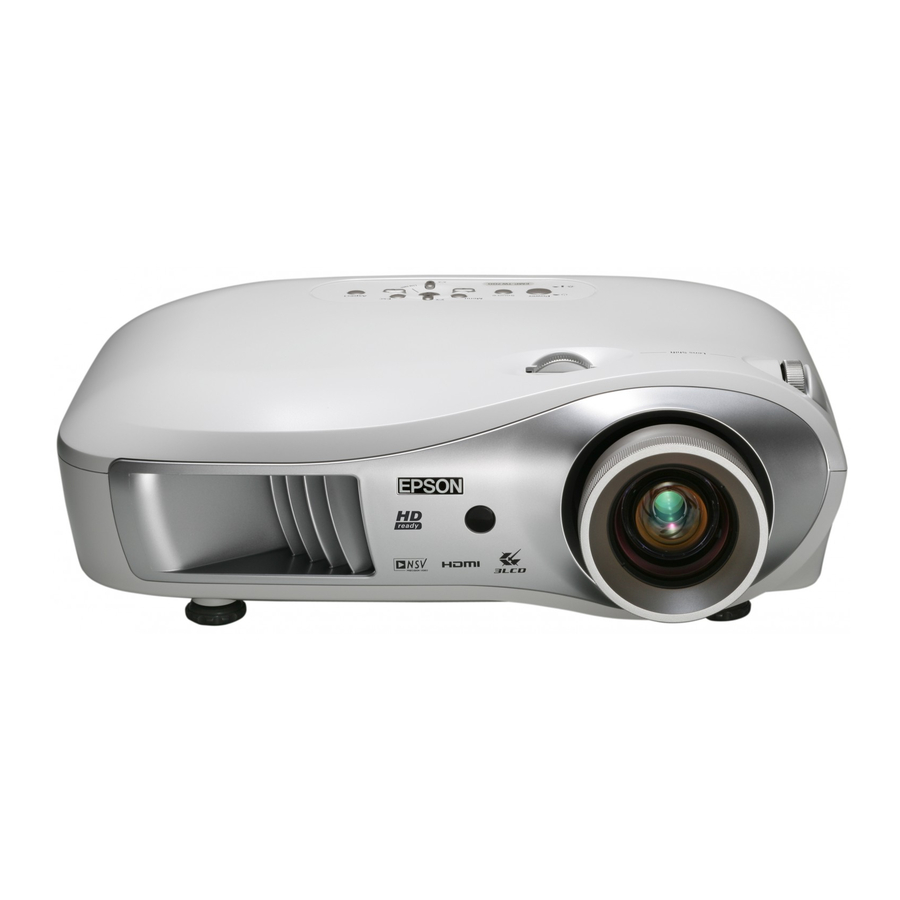
Summary of Contents for Epson EMP-TW 700
-
Page 2: About The Manuals And Notations Used
About the Manuals and Notations Used Types of Manual The documentation for your EPSON projector is divided into the following two manuals. Refer to the manuals in the order given below. Safety Instructions/World-Wide Warranty Terms This manual contains information on using the projector safely, and also includes a guide for warranty service, and a troubleshooting check sheet. -
Page 3: In The Box
Checking the Components When you unpack the projector, make sure that you have all these components. If any of the components are missing or incorrect, please contact the place of purchase. ❏ Projector (with lens cover) ❏ Remote control ❏ Power cable (3.0m) ❏... -
Page 4: Table Of Contents
Table of Contents ■ Features of the Projector......4 Remote control ..........7 ■ Part Names and Functions ......6 Rear.............. 8 Front / Top ............ 6 Base ............. 8 ■ Control panel ..........6 Appearance........... 9 Installing the Projector ■... - Page 5 Troubleshooting ■ Problem Solving ........35 When the indicators provide no help..36 • Problems relating to images......... 37 Reading the indicators ....... 35 • Problems when projection starts ......41 • When the (warning) indicator is lit or • Problems with the remote control ......41 flashing ...............35 •...
-
Page 6: Features Of The Projector
The optimum images for the location can be projected simply by selecting the desired colour mode from the following seven preset modes. If "Natural", "Theatre", "Theatre Black 1", "Theatre Black 2" or "sRGB " is selected, the Epson Cinema Filter effect is applied automatically to increase the contrast and to make skin tones appear with more natural tints. - Page 7 A variety of image setting functions Some of the other many functions that are available are as follows. EPSON Super White is used to prevent overexposure that can result in images that are too bright. p.30 A progressive conversion that lets you obtain ideal results both for images with large amounts of movement and for still images.
-
Page 8: Part Names And Functions
Part Names and Functions Front / Top • Horizontal lens adjustment dial p.16 Moves the lens horizontally. • • Vertical lens adjustment See below Control panel dial p.16 Moves the lens vertically. • Remote control light- • receiving area Zoom ring p.16 p.13 Adjusts the image size. -
Page 9: Remote Control
Part Names and Functions Remote control • Remote control light- emitting area p.13 • • On/Off buttons p.14 Indicator Outputs remote control signals. Turns the projector power on/off. Illuminates when remote control signals are being output. • Color Mode button p.18 •... -
Page 10: Rear
Part Names and Functions Rear • [Component] input port p.12 Connects to the component video (YCbCr or YPbPr ) ports • [SCART] input port p.12 of other video equipment. Connects to the SCART ports of • • other video equipment using the [HDMI ] input port p.12 [PC] input port... -
Page 11: Appearance
Appearance Centre of projector Centre of lens 131.5 *1 Distance from centre of lens to suspension bracket fixing point (Lens shift amount: Max. 8.8 mm vertically) *2 Distance from centre of lens to centre of projector (Lens shift amount: Max. 7.7 mm horizontally) Centre of lens 52.8 77.3... -
Page 12: Setting Up
Setting up Adjusting the projection size The size of the projected image is basically determined by the distance from the projector's lens to the screen. Lens shift Offset Centre of lens Offset Lens shift Bottom Adjusting the projection size Screen Projection distance The height from the centre of the lens to the bottom of the screen will vary depending on the lens shift setting. -
Page 13: Projection Methods
Setting up Projection methods Avoid setting the projector up in a place which is very dusty or humid, or where there will be cigarette or other smoke, especially oily smoke. Clean the air filter at least once every 3 months. Clean the air filter more frequently if using the projector in a dusty environment. -
Page 14: Connecting Image Sources
Connecting Image Sources • Turn the power off for both the projector and the signal source before connecting them. If the power for either device is on at the time of connection, damage may result. • Check the shapes of the cable connectors and the device ports before making the connections. -
Page 15: Preparing The Remote Control
Preparing the Remote Control Inserting batteries into the remote control The remote control is not supplied with batteries already inserted. Insert the accessory batteries before using the remote control. Remove the battery cover. Install the battery cover. Insert the tab. While pressing the knob, lift up. -
Page 16: Projecting Images
Projecting Images Turning the power on and projecting images Remote Control Control Panel Turning the power on and projecting images If there is a problem with projection even though the projector is set up and connected correctly, refer to p.15, 35. If you set the "Direct Power On"... -
Page 17: When The Expected Images Are Not Projected
Projecting Images When the expected images are not projected If more than one signal source has been connected, or if no images are projected, use the remote control or the projector's control panel buttons to select the signal source. For video devices, press the [Play] button on the video equipment first, then select the signal source. -
Page 18: Adjusting The Projection Screen
Adjusting the Projection Screen Focus adjustment Fine adjustments to image size (Zoom adjustment) Turn the focus ring to adjust the focus. Turn the zoom ring to adjust the size of the projected image. Wide Tele Projection image position adjustment (Lens shift) Focus adjustment Down Use the two lens shift dials to adjust the... -
Page 19: Correcting Projector Tilt
Adjusting the Projection Screen Correcting projector tilt If the projected images are tilted horizontally, use the front adjustable feet to adjust the projector so that it is horizontal. Extend Retract Extend Retract Correcting keystone distortion (Keystone) When you wish to adjust the projection above or below the range of lens shift adjustment set the projector at an angle. -
Page 20: Basic Image Quality Adjustments
Basic Image Quality Adjustments Selecting the colour mode Selecting the colour mode Press and select the colour mode from the menu. Setting is also possible using the configuration menu. Selecting the aspect Selecting the aspect Press and select the aspect mode from the menu. - Page 21 Theatre (Ideal for viewing computer images.) When you select the colour mode indicated with , the Epson Cinema Filter will be applied automatically to increase the contrast and makes skin tones more natural. Normal TV broadcasts Images recorded by a...
-
Page 22: Advanced Colour Adjustments
Advanced Colour Adjustments If you would like to create your own images with settings adjusted the way you want them, you can adjust "Skin Tone", "Abs. Color Temp.", "RGB/RGBCMY" and/or "Gamma" in the "Color Adjustment" sub-menu of the "Picture" menu. (When "sRGB " is not selected in Color Mode.) The adjustment values can be stored in the memory so that you can retrieve them and apply them to the projected images at any time. - Page 23 This can be used to adjust the skin tones for images of people. The Epson Cinema Filter effect that is automatically applied to images when a "Color Mode" setting is made creates natural-looking skin tones. If you would like to further enhance skin tones, use this "Skin Tone"...
-
Page 24: Rgb Adjustment (Offset, Gain)
Advanced Colour Adjustments RGB adjustment (Offset, Gain) Press and then select "Picture" - The image brightness can be adjusted by adjusting "Color Adjustment" - "RGB/RGBCMY" - the individual R (red), G (green) and B (blue) "RGB" in that order and confirm the components of the dark areas (offset) and bright RGB adjustment (Offset, Gain) areas (gain). -
Page 25: Examining Image Quality Further
Examining Image Quality Further In addition to colour adjustments, adjustments to advanced sharpness and the amount of light from the lamp can also be made to match the image in search of the best picture. Sharpness (Advanced) adjustment Press , and then select "Picture" - Adjust the resolution and contrast of the image. -
Page 26: Viewing Images At A Preset Image Quality (Memory Function)
Viewing Images at a Preset Image Quality (Memory Function) After menu commands such as "Color Adjustment" and "Advanced" have been used to adjust the projected images, the adjustment values can then be saved. In addition, the saved data can be retrieved easily, so that you can enjoy viewing images with the adjusted settings at any time. - Page 27 Viewing Images at a Preset Image Quality (Memory Function) This can be used to save adjusted values for all of the configuration menu items on the left. The "Save Memory" command in the "Memory" menu is used to save the settings. The following describes how to save settings.
- Page 28 Configuration Menu Functions The configuration menus can be used to make a variety of adjustments and settings involving the screen, image quality and input signals. The following two types of menu are available. ■ Full menu ■ Line menu All items in the configuration menu can be checked This lets you adjust some areas of the "Picture"...
- Page 29 Configuration Menu Functions Aspect Auto, Normal, Squeeze, Zoom, Through, Squeeze Through, Wide p.29 Vertical Size Zoom Caption p.29 Zoom Position Tracking p.29 EPSON Super White On, Off Sync. p.29 Progressive Off, Video, Film Position p.30 Output Scaling Advanced p.30 When component video...
-
Page 30: Color Mode
Configuration Menu Functions "Picture" menu Displayed for input sources other than computer Color Mode Seven different settings can be selected for the Color Mode, to match the images being projected or the projection environment. p.18 Input Adjustment These settings can be adjusted if the output level from the connected equipment is weak and the images appear dark. -
Page 31: Aspect
Configuration Menu Functions Only displayed for Computer input (does not appear when signals from the [HDMI] input port are being input) Skin Tone This adjusts the skin tones of people who appear in the images. p.20 RGB/RGBCMY • RGB :This lets you adjust the offset and gain for each of the R/G/B colour components. p.22 •... -
Page 32: Position
DVI-Video Level (Setting is only possible when "EPSON Super White" is set to "Off".) If the projector's [HDMI] input port is connected to the DVI port of a DVD player or similar equipment using an HDMI/DVI cable, set the video level for the projector to match the video level that has been set at the DVD player. -
Page 33: Auto Setup
Configuration Menu Functions Only displayed for Computer input (does not appear when signals from the [HDMI] input port are being input) Auto Setup This sets automatic adjustment to on or off in order to set whether the projector automatically adjusts images to their optimum condition when the input signal is changed. -
Page 34: User's Logo
Configuration Menu Functions High Altitude Mode A fan is set at a certain speed of rotation so as to bring down internal temperature. When using above an altitude of about 1500m, set to "On". User’s Logo You can record your favorite image as a user's logo. The logo will be projected when projection starts and when using the blank function. -
Page 35: Input Signal
Configuration Menu Functions Input Signal Video Signal Sets the signal format in accordance with the video equipment that is connected to the [Video] or [S- Video] input port. If set to "Auto", the video signal format is set automatically. If there is a lot of interference in the image, or if a problem such as no image being projected occurs even though "Auto"... - Page 36 Configuration Menu Functions "Reset" menu Reset All This resets all configuration menu settings to their default settings. The "Save Memory", "Component", "D/SCART" and "Language" settings will not be reset. The "Save Memory" is reset by "Reset Memory". Reset Lamp Hours This initialises the lamp operating time.
-
Page 37: Problem Solving
Problem Solving Reading the indicators The projector is provided with the following two indi- (operation) indicator cators which notify you of the operating status of the projector. The following tables show what the indicators mean and how to remedy the problems that they indicate. * If all indicators are switched off, check that the power cable is connected correctly and that the (warning) indicator... -
Page 38: When The (Operation) Indicator Is Lit Or Flashing
Problem Solving When the (operation) indicator is lit or flashing normal (warning) indicator is off When the : Lit : Flashing Standby condition Orange If you press , projection will start after a brief interval. Warm-up in Green Warm-up time is approximately 30 seconds. progress Power off operations are ignored while warm-up is in progress. -
Page 39: Problems Relating To Images
Problem Solving Problems relating to images ■ No images appear Have you pressed the [Power] Press on the remote control or on the projector’s control button? panel. Is the main power switch Turn on the main power switch at the rear of the projector. turned off? Are all of the indicators Disconnect the power cable and then reconnect it. -
Page 40: The Message "Not Supported." Is Displayed
Problem Solving ■ The message "Not Supported." is displayed If a composite video or S-Video is being input Are the image signal format If projection does not occur when the "Video Signal" menu settings correct? command is set to "Auto", select the signal format that matches the signal source. -
Page 41: Interference Or Distortion Appear In Images
Problem Solving If the projector is suddenly taken from a cold environment to a Has condensation formed on the warm environment or if sudden ambient temperature changes lens? occur, condensation may form on the surface of the lens, and this may cause the images to appear fuzzy. -
Page 42: Image Colours Are Not Right
Problem Solving Set the computer so that the signals that are output are compatible Has the correct resolution been with this projector. selected? "List of Supported Monitor Displays" p.47 Only when projecting Computer documentation computer images ■ Image colours are not right If a composite video or S-Video is being input Are the image signal format... -
Page 43: Problems When Projection Starts
Problem Solving ■ Projection stops automatically When "Sleep Mode" has been set to On, the lamp turns off Is sleep mode active? automatically if no signal is input for about 30 minutes, and the projector switches to standby mode. Press the button on the remote control or the button on the projector's control panel to... -
Page 44: Maintenance
Maintenance This section describes maintenance tasks such as cleaning the projector and replacing consumable parts. Cleaning You should clean the projector if it becomes dirty or if the quality of projected images starts to deteriorate. Be sure to read the separate Safety Instructions/World-Wide Warranty Terms booklet for details on safe handling of the projector during cleaning. -
Page 45: Consumable Replacement Periods
Maintenance Consumable replacement periods Air filter replacement period • If the air filter has been broken or the "Replace" message is displayed even though the air filter has been cleaned. Replace with an optional air filter. Replacing the air filter p.44 Lamp replacement period •... -
Page 46: Replacing Consumables
Maintenance Replacing consumables Replacing the air filter Dispose of used air Press to turn Remove the air filter filters properly in the power off, wait until cover. accordance with the projector cools down, your local and then turn off the regulations. - Page 47 Maintenance Remove the old air Insert the new air filter. Install the air filter cover. filter. Insert the new lamp. Loosen the lamp fixing Remove the old lamp. screws. Make sure that it faces Pull out straight. the correct way. Install the lamp and the lamp cover securely.
-
Page 48: Optional Accessories / Consumables
Optional Accessories / Consumables The following optional accessories / consumables are available for purchase if required. This list of optional accessories / consumables is current as of October, 2006. Details of accessories are subject to change without notice. Varies depending on country of purchase. ■... -
Page 49: List Of Supported Monitor Displays
List of Supported Monitor Displays Depending on the setting, the output screen resolution will change slightly. Component Video 16:9 : Aspect Units: Dots Aspect mode Signal Resolution Squeeze Normal Squeeze Zoom Through Wide through 720×480 960×720 1280×720 1280×720 596×446 794×446 1280×760 SDTV (525i, 720×360 *... -
Page 50: Images From Computer
List of Supported Monitor Displays Images from Computer Units: Dots Aspect mode Signal Resolution Squeeze Normal Squeeze Zoom Through Wide through 640×480 960×720 1280×720 1280×720 640×480 853×480 1280×720 VGA 60 640×360 VESA72/75/ 640×480 960×720 1280×720 1280×720 640×480 853×480 1280×720 85, iMac 640×360 SVGA 56/60/ 800×600... -
Page 51: Specifications
Specifications Home Projector EMP-TW700 Product name 406 (W) × 124 (H) × 310 (D) mm (not including feet) Dimensions 0.7 inch wide Panel size Polysilicon TFT active matrix Display method 921,600 pixels (1280 (W) × 720 (H) dots) × 3 Resolution Analogue Pixel clock : 13.5 - 110 MHz... - Page 52 Specifications ■ Angle of tilt If you set the projector higher than 15 , it could damage the projector and cause an accident. º ■ RS-232C cable layout • Connector shape : D-Sub 9-pin (male) • Projector input connector : RS-232C <At projector>...
- Page 53 According to 47CFR, Part 2 and 15 Class B Personal Computers and Peripherals; and/or CPU Boards and Power Supplies used with Class B Personal Computers : EPSON AMERICA, INC. Located at : 3840 Kilroy Airport Way MS: 313 Long Beach, CA 90806...
-
Page 54: Glossary
Glossary Following is an explanation of some of the terms used in this guide which may be unfamiliar or which were not explained in the manual itself. Further information can be obtained by referring to other commercially-available publications. Aspect HDTV The ratio between an image's length and its height. - Page 55 Glossary Security lock YPbPr A device consisting of a protector case with a hole in it The carrier signal which is contained in the color bar that a commercially-available theft-prevention cable can signal used in high-definition TV (HDTV ) be passed through in order to secure the device to a table transmissions.
-
Page 56: Index
Display ................27,32 Overheating................35 Display Background ............27,32 DVI-Video Level.............. 27,30 [PC] port ............... 8,12,49 "Picture" menu..............26,28 Epson Cinema Filter ............. 21 Port................8,12,49 EPSON Super White............27,30 Position ................27,30 Power cable................14 Power inlet ................. 8,14 Focus adjustment ............... - Page 57 Index Refresh Rate ................27 Warning indicator............... 6,35 Remote control ..............7,13 White Level ..............26,28 Replacing the air filter............44 Wide ..................19 Replacing the battery............. 13 Replacing the lamp..............44 Reset ..............26,27,29,31,33 YCbCr ................12,27 Reset All................27,34 YPbPr ................
- Page 59 (excluding the U.S.) failure to strictly comply with SEIKO EPSON CORPORATION’s operating and maintenance instructions.
- Page 60 Printed in China 410668700 Printed on 100% recycled paper. 06.XX-.XA(G04)
Need help?
Do you have a question about the EMP-TW 700 and is the answer not in the manual?
Questions and answers