Advertisement
Quick Links
Advertisement

Related Manuals for Timeguard ZV700N


Summary of Contents for Timeguard ZV700N
- Page 1 7 Day Digital Light Switch with Optional Dusk Start Model: ZV700N...
-
Page 2: General Information
1. General Information These instructions should be read carefully and retained for further reference and maintenance. 2. Safety • Before installation or maintenance, ensure the mains supply to the light switch is switched off and the circuit supply fuses are removed or the circuit breaker turned off. - Page 3 The LED switching capabilities of this product can be increased to 200W by the addition of the Timeguard ZV900 Automatic switch load controller – sold separately • Minimum Depth of Wall Box: 25mm • Operating Temperature: 0°C to +40°C • Manual light switch, with the option of automatic timed control of lighting on a weekly basis •...
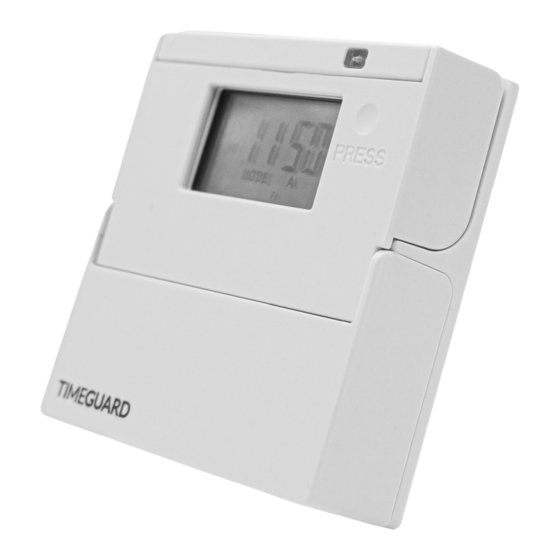
- Page 4 ZV700N – Flap Closed Photocell Large Illuminated Press flap to LCD display override output Flap hinges open ZV700N – Flap / Battery Compartment Open Time button, used in conjunction Adv button, used to with adv and change output mode buttons to status...
-
Page 5: Installation
LED: 50W (Max) No Discharge Lighting Remove the existing light switch, and transfer the wires to the ZV700N according to the following instructions; • If the switch is an ON/OFF type, the supply wire should be inserted into the live terminal (com), and the live out (L1) to the load terminal. - Page 7 Note: an additional connector block may be required. • Restore mains power. Insert 9V battery, press the reset button, then close the cover. Retaining screw on the cover of the battery compartment must be fully closed then screwed fully in. The display will show “--:--”.
-
Page 8: Time And Date
5. Programming Time and Date • From first power up, the screen should show “– – : – –” • Press ‘Time’ and hold for 3 seconds. Whilst holding, the word hold will show. • Once in time program mode, the first option is day light saving (summer/winter changeover), on or off. - Page 9 • Use ‘Adv’ or ‘Mode’ to set the month. • Press ‘Time’ to set the day. The first two digits should blink. Time Time • Use ‘Adv’ or ‘Mode’ to set the day. • Press ‘Time’ to set the time. The hour symbol should blink.
- Page 10 • During programming, when the ‘Adv’ or ‘Mode’ buttons are held down, the adjusted setting will scroll faster. MODE MODE Th Fr Sa Su Th Fr Sa Su • Holding down the ‘Time’ button for 3 seconds will exit the programming time/date mode. This can be done at any time during programming.
- Page 11 • For the 24 hour mode, Mo Tu We Th Fr Sa Su will remain displayed during programming. • For 7 day different mode, the default will start Year MODE Mo Tu We Th Fr Sa Su with Mo, and when programming is complete for Mo, it will move on to Tu, We, Th, Fr, Sa, Su in turn until all are programmed.
- Page 12 • Once program 6 off has been set, press Prog ‘Prog’ to exit program mode. MODE • At any time during programming, if the ‘Prog’ button is held down for 3 seconds, the ZV700N Sa Su will return to operating mode. The display will now show; MODE •...
-
Page 13: Reviewing Programs
• Press and hold ‘Prog’ until the programmed mode shows on the screen. This will show the mode the ZV700N was programmed in. It is possible at this stage to change this mode (say from 24 hr to 5+2) using ‘Adv’ or ‘Mode’, but this may blank any previously entered times. -
Page 14: Operating Mode
The plastic flap presses on the ‘Adv’ button to turn the output on.Note: It is not necessary to open the flap. • The ZV700N has four operating modes. Pressing the mode button scrolls between modes;Auto mode (A): The output will be controlled by the programmed times. -
Page 15: Year Guarantee
Manual mode (M): In manual mode the output is controlled by the Adv button, not the programmed times. 7. Back Light • The back light will turn on when any button is pressed. It will remain on for 30 seconds after the last button press. - Page 16 If you experience problems, do not immediately return the unit to the store. Telephone the Timeguard Customer Helpline; HELPLINE 020 8450 0515 or email helpline @ timeguard.com Qualified Customer Support Co-ordinators will be on-line to assist in resolving your query.
Need help?
Do you have a question about the ZV700N and is the answer not in the manual?
Questions and answers