Pioneer CMX-3000 Operating Instructions Manual
Owner's manual
Hide thumbs
Also See for CMX-3000:
- Operating instructions manual (100 pages) ,
- Operating instructions manual (33 pages) ,
- Service manual (85 pages)
Table of Contents
Advertisement
Quick Links
Advertisement
Table of Contents

Related Manuals for Pioneer CMX-3000


Summary of Contents for Pioneer CMX-3000
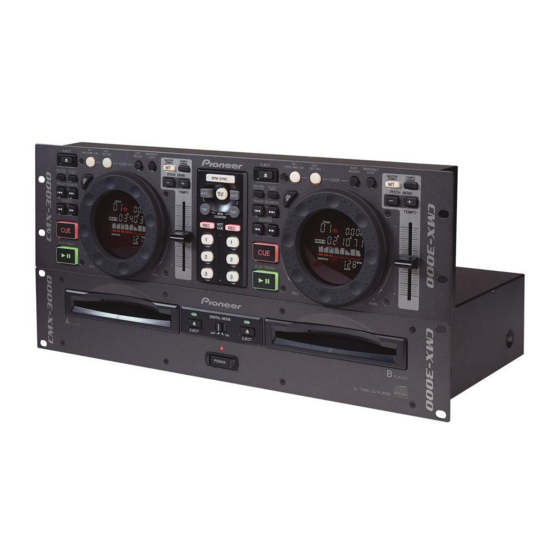
- Page 1 COMPACT DISC PLAYER CMX-3000 Operating Instructions...
- Page 2 Please read through these operating instructions so you will know how to operate your model properly. After you have finished reading the instructions, put them away in a safe place for future reference. In some countries or regions, the shape of the power plug and power outlet may sometimes differ from that shown in the explanatory drawings.
-
Page 3: Important Notice
Read before use IMPORTANT NOTICE The serial number for this equipment is located on the rear panel. Please write this serial number on your enclosed warranty card and keep it in a secure area. This is for your security. <DRB1307>... -
Page 4: Read Before Use
(diluted in five to six parts water), wring the ÷ When the unit is used in a loud-sound environment, e.g., near cloth well, and wipe away the dirt. Use a dry cloth to wipe the a speaker, sound skip may occur. Install the unit away from surface dry. - Page 5 1 Be sure to turn off the power to the CD player and wait edge toward the outer edge. for 1 minute or more before ejecting the disc.
-
Page 6: Table Of Contents
÷ Forced ejection pin ............... 1 Dimensions ÷ Specialized connection cable for the remote controller ..1 Remote controller ....482 (W) x 132 (D) x 82 (H) mm ÷ Limited warranty ..............1 18-31/32 (W) x 5-3/16 (D) x 3-7/32 (H) in. -
Page 7: Features
FEATURES The Pioneer CMX-3000 is a twin CD player designed for use by DJs which provides not only the features and performance required in a discotheque sound system in a CD player but also provides new features only possible in a CD player. -
Page 8: Panel Facilities
1 Manual ejection hole (see p. 5) 5 DIGITAL MODE switch (see p. 11) Set to On when the digital output is to be used. When set to 2 Disc insertion slot (see p. 11) On, the DJ functions do not function. (Functions marked * do When using 3 inch/8 cm discs, discs must be inserted in the not operate in this mode.) And the muted pause mode is... - Page 9 (see p. 15) numerals, and certain symbols. The array displays either the Use to select the memory (1, 2, 3) into which you wish to disc title or the track title. When disc title is displayed, the program hot cue point information and loop information.
-
Page 10: Connections
Using the audio cables provided with your CMX-3000 CD player system, insert the white plugs into the left (L) jacks and the red plugs into the right (R) jacks. Note that it is also possible to use the CMX-3000 control cord to control the CMX-3000 from a mixer to make it possible to use fader startup or back cueing. -
Page 11: Disc Loading/Unloading
4. Connecting the power cord When all connections have been made, connect the power cord to the AC inlet on the rear panel of the player and connect the power plug to an AC wall outlet or to a power receptacle on the rear panel of the amplifier. -
Page 12: Dj Player Operation
Operations indicated by * cannot be used when the DIGITAL DJ PLAYER OPERATION MODE switch is set to on (and the digital output terminal is used). Playing discs on Player A Once the first track has been played, the player will... -
Page 13: Fast Forward And Rewind
Once a cueing point has been stored in memory, it can be used ¶ The rate of change in playback speed (tempo) is shown in the to place the player in a state where it is ready to begin playback display. -
Page 14: Jog Dial Functions
÷ Rotating the jog dial causes the player to begin searching in 1-frame units. ÷ Rotate the jog dial at a fixed speed in the FWD+ direction for playback at normal speed. 4. Rotating the jog dial after pressing the SEARCH... -
Page 15: Applications
MODE switch is set to on (and the digital output terminal is used). Hot Cue (*) Remote control unit Up to three Hot Cue points (1, 2, 3) can be programmed in the JOG MODE HOT CUE REC memory, allowing you to begin playback instantly from either of those points. -
Page 16: Loop Playback
Loop Playback (*) the loop out-point will be set 4 seconds after the loop in-point. ¶ If either of the above conditions (4 beats later or 4 7 Defining a loop 1. Press the PLAY/PAUSE button (3 8) to begin seconds later) occurs later than the track end, the track end will be set as the loop out-point. -
Page 17: Mixing (Segueing) Different Tracks
BPM displayed for track B is the same as the number of BPM displayed for track A. ¶ If you do not wish to change the pitch or key of track B, TRACK press the Player B MASTER TEMPO button before SEARCH (4,¢) -
Page 18: Fader Start Playback
(or Inc), and the amount of tempo deviation. To reduce the tempo deviation to zero, move the tempo control slide to the "–" side if dEc is displayed, and to the "+" side if Inc is 1. With the unit power off, use a control cord to displayed. -
Page 19: Troubleshooting
There are also times when the problem in question may be caused by something else other than your CD player, and at times like these you should check any other electronic devices being used at the same time. -
Page 20: Appendix Troubleshooting
3 inch/8 cm disc adapter. (Note that attempting to replay such discs may result in damage or breakdown.) ÷ The BPM value measured by the CMX-3000 may differ from the BPM value recorded on a CD or from our DJ mixer, but this difference is a result of differences in the BPM value measurement method;...
Need help?
Do you have a question about the CMX-3000 and is the answer not in the manual?
Questions and answers