Table of Contents
Advertisement
Advertisement
Table of Contents

Related Manuals for Beko WM5101


Summary of Contents for Beko WM5101
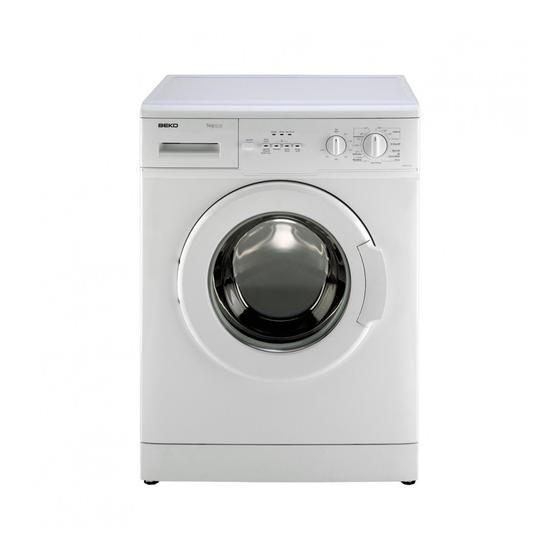
- Page 1 Automatic washing machine WM5101W...
- Page 2 It is marked with this label to indicate the used appliances that should not be mixed with other waste. This way, the appliance recycling organised by your manufacturer will be done under the best possible conditions, in compliance with European Directive 2002/96/EC on Waste Electrical and Electronic Equipment.
-
Page 3: Table Of Contents
General Safety First Use 6 Quick instructions for Intended use daily use Safety instructions If there are children in your house... 7 Cleaning and care 3 Installation Detergent drawer The loading door and the drum Removing packaging reinforcement Body and control panel... -
Page 4: Your Washing Machine
Overview Figure 1 Top Lid Height-adjustable Feet Detergent Drawer Door Control Panel Filter Cap... -
Page 5: Specifications
1000 Specifications of this appliance may change without notice to improve the quality of the product. Figures in this manual are schematic and may not match your product exactly. Values stated on the machine labels or in the documentation accompanying it are obtained in laboratory in accordance with the relevant standards. -
Page 6: Warnings
Otherwise, your laundry • If the power cable or mains plug is may come out hot at the end of the damaged you must call Authorized washing process and may wear out. Service for repair. •... -
Page 7: Safety Instructions
• Never force open the locked door! The door will be ready to open just a few minutes after the washing cycle comes to an end. • Unplug the machine when it is not in use. -
Page 8: Installation
• Place the machine on a firm surface; 2. Remove transportation safety bolts do not position it on a long pile rug by turning them gently. or such like surfaces. Adjusting the feet Do not use any tools to loosen the lock nuts. -
Page 9: Connecting To The Water Supply
Connecting to the drain The water discharge hose can be attached to the edge of a washbasin or bathtub. The drain hose should be firmly fitted into the drain as to not loosen in its housing. Important: • Open the taps completely after... -
Page 10: Electrical Connection
The hose should manufactured from recyclable materials. be pushed into the drainage for more than 15 cm. If it is too long Disposing of the old machine you may have it shortened. Dispose of your old appliance in an • The end of the hose should not be... -
Page 11: Initial Preparations For Washing
• Keep laundry items made of Angora Laundry items with metal attachments wool in the freezer for a few hours such as, bras, belt buckles and metal before washing. This will reduce buttons will damage the machine. -
Page 12: Loading Door
Tablecloth (Compartment no. I). Towel A programme without pre-wash should Evening gown not be selected if a detergent bag or Underclothing a dispensing ball is going to be used. Men’s overalls You can place the detergent bag or Men’s shirt the dispensing ball directly among the laundry in your machine. - Page 13 Liquid detergent When using liquid or gel washing detergents, please note the following: • The liquid detergent may leave stains on your laundry if time delay feature is selected. • Do not use liquid detergent if you want to wash using the time delay feature. • Do not use liquid detergent for the main wash in a cycle with pre-wash.
-
Page 14: Selecting A Programme And Operating Your Machine
4 Selecting a programme and operating your machine Control panel 5 - On/Off Button 1 - Spin Speed Adjustment Knob * 6 - Programme Follow-up Indicators 2 - Start/Pause/Cancel Button 7 - Child-proof Lock Indicator * 3 - Auxiliary Function Buttons 4 - Programme Selection Knob *According to your machine’s model... -
Page 16: Spin Speed Selection
• A Class 40 This programme washes for a longer period at 40°C and gives the same result as the “Cottons 60°C” programme, thus it saves energy. It is suitable for clothes for which you cannot use the “Cottons 60 °C”... -
Page 17: Programme Selection And Consumption Table
The auxiliary functions in the table may differ according to the model of your machine. -
Page 18: Auxiliary Functions
The symbol that is in order to prevent your clothes become lit up at the far right of the series of wrinkled. After this process you may symbols indicates the step that is spin your laundry by pressing “Start/... -
Page 19: Changing The Programme After The Programme Has Started
Adding/removing laundry in standby of clothes under higher or lower mode temperatures. If you want to add more laundry into the For example; machine after the washing cycle has Press and hold the “Start/Pause/ started, put the machine into “Pause”... -
Page 20: Child-Proof Lock
3 sec. Ending the programme through cancelling The programme which is selected first will keep on going even if the position of the programme selection button is changed. A new programme can be selected or started after “Programme is cancelled” in order to change the washing programme. -
Page 21: Quick Instructions For Daily Use
Quick instructions for daily use Preparation 1. Turn the tap on completely. Check if Machine allows adding more laundry the hoses are connected tightly. during a later step only if the water 2. Place the laundry in the machine. level is low enough to open the 3. - Page 22 3. Set the spin speed if spin speed adjustment is available on your machine. 4. Press “Start/Pause/Cancel” button. After the programme is finished 1. “Spin/End ” lamp will light up on the programme follow-up indicator. The lid can be opened after 2 minutes when the “Spin/End ”...
-
Page 23: Cleaning And Care
2. Wash the dispenser drawer Inlet water filters and the siphon with plenty of There is a filter at the end of each lukewarm water in a washbasin. water intake valve at the back side of Wear protective gloves or use an... -
Page 24: Draining Any Remaining Water And Cleaning The Pump Filter
• Remove the nuts of the water intake If it is composed of one piece, hold it hoses to clean the surfaces of the from both sides and open it by pulling filters on the water intake valves with out. an appropriate brush. • If the filters are very dirty, you can pull them out by means of pliers and clean them. - Page 25 If your product is not supplied with an emergency drain hose, do the following as shown in the figure below: • Place a large container in front of the filter to receive water flowing from the filter. • Loosen pump filter (anticlockwise) until water starts to flow out of it. Direct the flowing water into the container you have placed in front of the filter. You can use a piece of...
-
Page 26: Troubleshooting
This is from the It is not harmful to your machine. machine. quality control process and is normal. Be sure the seals of the water inlet hoses are There is water securely fitted. There might be problems coming from... - Page 27 The machine will wait until there is a sufficient Water pressure may be amount of water, which may lengthen the low. washing time to avoid poor washing results due to insufficient water.
- Page 28 The machine will wait until there is a sufficient water: amount of water to avoid poor washing results Timer will not countdown due to lack of water. Then the timer will start to until the machine is filled count down. with the correct amount of water.
- Page 29 Washing mes. Leave the detergent dispenser drawer as performance is Oily accumulations on the well as the loading door of the machine ajar after poor: drum may have stuck to each washing. Thus, a humid environment Oily stains the laundry.
- Page 30 Dry the detergent drawer before putting in put in wet dispenser detergent. drawer. Detergent may have Store detergent in a closed and dry place. Do gotten damp. not keep them under high temperatures. Detergent Water pressure might be residue in the...
- Page 31 Use only sufficient amount of detergent. a small amount of lightly soiled laundry. Detergent may have been Store detergent in a closed and dry location. Do stored improperly. not store in excessively hot places. There is too Type of material being much foam.
- Page 33 Your new Beko product is guaranteed domestic household premises. against the cost of breakdown repairs • The product must be correctly for twelve months from the date of the installed, located and operated in original purchase. accordance with the instructions contained in the User Instructions What is covered? Booklet provided.
- Page 34 Service Please keep your purchase receipt agreement document. Otherwise please or other proof of purchase in a safe call the appropriate number above place; you will need to have it should where service can be obtained at a the product require attention under charge. guarantee. Should you experience any difficulty in You should also complete the details obtaining service please contact the below; it will help us assist you when...
Need help?
Do you have a question about the WM5101 and is the answer not in the manual?
Questions and answers