Table of Contents
Advertisement
Advertisement
Table of Contents

Related Manuals for Beko DWD5411


Summary of Contents for Beko DWD5411
- Page 1 Dishwasher DWD 5411...
- Page 2 Please keep these instructions in a safe place for your future reference If you have any questions, or if you are not sure about any information contained in this booklet please contact us - details are on the back cover.
-
Page 3: Table Of Contents
6. Operating the dishwasher / specification Hot Air Drying Standards and testing information / EC Declaration of conformity 7. How to clean your machine 19 Upper spray arm 2. Warning and safety Lower spray arm information 8. Before calling service Electrical Safety Children’s Safety... -
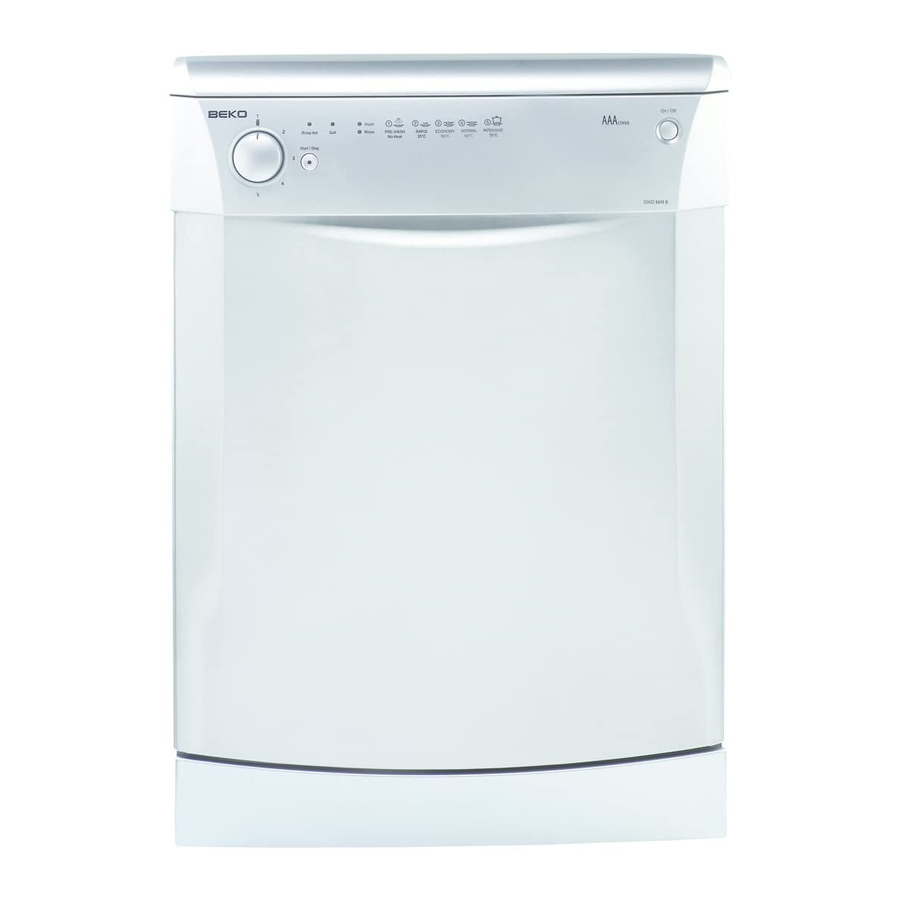
Page 4: Know Your Dishwasher / Specification
Know your dishwasher / specification ��������� �������� �������������� ����� ������������ ��������� ������������������������ ��������������� ���������������� ��������� ������������������� ����� ������������ ��������� �������������� ������� ������������������� ������������� ��������� ���������� ��������� ������������������ ����� ������������������������������� �������������������������� ������������������������ ������������������������ � ������������������������� �������� � � � � �... -
Page 5: Standards And Testing Information / Ec Declaration Of Conformity
The request can be done by e-mail through: dishwasher@standardloading.com Please do not forget to write the model code ,stock code and serial number information of the appliance besides your contact information in the e-mail. The model code, stock code and serial number information can be found on the rating label, which is placed on the side of the door. -
Page 6: Warning And Safety Information
Warning and safety information Electrical Safety Never allow your children to play on or sit onto the front door when the front The dishwasher should only be door is open. operated on the voltage specified. For electrical safety, only earthed plugs After unpacking your machine, keep and sockets should be used. -
Page 7: Recycling
Start your dishwasher after fully loading the machine. Do not After using the dishwasher always use the pre-wash programme unless close the door as an open door can be required. Make your programme a hazard. selection as per the programme chart and quick reference guide supplied. -
Page 8: Before First Use
completed. -
Page 9: Warning
If in fitted. doubt contact a qualified electrician. Destroy the old plug, which is cut off as a plug with a bared cord could cause a ����������������... -
Page 10: Water Inlet Hose Connection
The hose should be placed between minimum of 0.3 and a maximum of 10 50 cm and 110 cm from the floor level bars. and must not be extended otherwise the machine may not empty the waste Connect the straight end to your water water. -
Page 11: Installation Of Dishwasher
Remove all packaging before When inserting the machine, ensure positioning the machine. that the water inlet and drain hoses are not linked or squashed. See the following diagram. Ensure there is a clearance each side of the... -
Page 12: How To Use
Setting this system correctly will increase the washing effectiveness. To find out the water hardness level of water in your area, contact your local Water Board or Determine water hardness level by the help of test strip provided. -
Page 13: Water Hardness Level Adjustment Table
If the hardness level of the water that you use is below 9°dF (French standard for water hardness), there is no need to use salt in your dishwasher. If this is the case, “No Salt Warning Indicator” (if any) illuminates continuously on the panel of your machine. -
Page 14: Filling The (Water Softener) Dishwasher Salt
Ensure 1lt of as a 6 clarke degrees. - Page 15 “1” and apply rinse aid. detergent, rinse aid and water- When the rinse aid is used up, softening salt. add more rinse aid to the rinse aid Two-in-one: These products contain dispenser. detergent and either rinse aid or water- •...
-
Page 16: Filling Detergent Dispenser
• Put your appliance’s rinse aid setting at “1” and apply rinse aid. When the rinse aid is used up, add more rinse aid to the rinse aid dispenser. • If you use combined detergents with a rinse aid setting higher... -
Page 17: Rinse Aid
Fill up with rinse aid until the container is full to level of ’max’ mark . Put the lid (E) on and ensure you hear the clicking sound. Remember to CLOSE the lid after every refill. Make sure you clean any rinse aid that you might have spilled. -
Page 18: Loading The Dishwasher
Put forks, small and medium size knives and spoons in the cutlery � basket. Place tall, narrow items in the middle of the racks. Long-stemmed glasses should lean against the basket, the racks, or the supports not against the dishes. -
Page 19: Folding Plate Support Rods
(unloaded) The factory fitted position of the upper basket is the higher position. That is lower wheels are engaged. According to the size of the dishes you can change the position of the upper basket. To do this. Release the latches on both the right and left tracks by turning them sideways. -
Page 20: Operating The Dishwasher
/ stop indicator light Unloading dishwasher comes on. Dishes should be allowed to cool for about 15 - 30 minutes after the end of ! Do not open the dishwasher door the programme. whilst the appliance is in operation. -
Page 21: How To Clean Your Machine
Micro filter To remove the coarse and micro filter assembly to clean, turn it anti clockwise as far as it goes and lift it up. Then press the two tongues in wards and pull out the coarse filter. Pull the main filter off. -
Page 22: Upper Spray Arm
Place the coarse filter into the micro running water. filter. Ensure the marks align properly. Put the spray arm back on and screw on the nut turning clockwise until a Turn the coarse filter clockwise until clicking sound is heard. -
Page 23: Before Calling Service / Trouble Shouting
Before calling service / Trouble shouting Before calling service check the following & Trouble shooting guide supplied on the following page. � ������������������������������������� �������������������������� ������������������������ ������������������������������ � ��� ���� ���������� ������� ������ ������������������������������� ������ ���� ������������ ��� ����� ���������� ����������������������������������... - Page 24 Use detergent within one to two months of purchase. To assure freshness, buy detergent as needed and Old detergent. no more than one or two at a time. Store in a cool, dry place. Chipping and Load with care following the instructions for use.
- Page 25 Your new Beko product is guaranteed • Your Beko product is designed and against the cost of breakdown repairs built for domestic household use for twelve months from the date of the only. original purchase. • The guarantee will be void if the...
- Page 26 Service once the manufacturers Please keep your purchase receipt guarantee has expired. or other proof of purchase in a safe place; you will need to have it If you have purchased an extended should the product require attention guarantee please refer to the under guarantee.