Advertisement
Quick Links
Steps to program your radios
System: Windows 10
Tool download addr : https://dwz.cn/QykdpEcO
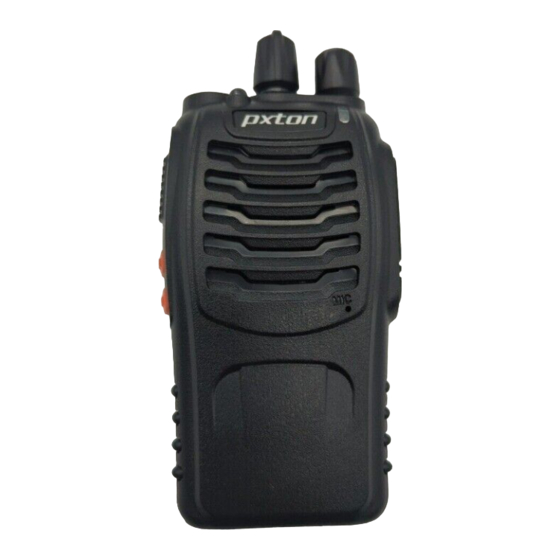
1. This is the guide for programming Pxton PX-888S walkie-talkies with
Windows 10. The programming cable enclosed in the package uses
CH340
chip which is fully compatible with Windows 10 and no driver is
needed. For older Windows system versions like Windows XP/7/8/8.1,
CH340
please install the drivers for
chip manually (
).
included in the folder
Fig.1
Fig.1
2. Once the programming cable is ready, turn on your radio to any
channel, plug the 2-pin end into the earpiece jack of the radio (BF-480
Series share the earpiece jack for data transfer.), the other USB end goes
to your computer USB port.
Advertisement

Summary of Contents for Pxton PX-888S
- Page 1 Steps to program your radios System: Windows 10 Tool download addr : https://dwz.cn/QykdpEcO 1. This is the guide for programming Pxton PX-888S walkie-talkies with Windows 10. The programming cable enclosed in the package uses CH340 chip which is fully compatible with Windows 10 and no driver is needed.
- Page 2 Steps to program your radios System: Windows 10 3. Double click the “Programming Tool.exe” in the “BF-480 Series Tool” folder to start the program, follow the steps to set the model information (see Fig.2 Fig.2...
- Page 3 Steps to program your radios System: Windows 10 4. Select “BF-480(UHF)” from the Model Type drop-down menu and select the “400-470MHz” Frequency ( Fig.3 Fig.3...
- Page 4 Steps to program your radios System: Windows 10 5. Once programming cable is properly connected, follow the steps below to select the communication port from the drop-down menu: Fig.4 and Fig.5 Fig.4 The program will automatically detect the available communication port while in some cases you will need to manually assign it.
- Page 5 Steps to program your radios System: Windows 10 6. After having done the previous steps, check the COM port is available and follow the steps below to load data from your radios: (see Fig.6 Fig.6...
- Page 6 Steps to program your radios System: Windows 10 When transferring data, you can see the LED indicator on the radio flash, a list of channels data will show when loading complete ( Fig.8 Click into any of the cells Please do not disconnect the cable during the process to edit channel data, please ensure frequency consistency while writing data to different radios in order to make them work together.
- Page 7 Steps to program your radios System: Windows 10 8. More options to enable advanced features or batch edit your channel frequencies ( Fig.9 Fig.9...
- Page 8 Steps to program your radios System: Windows 10 9. Batch setting interface. Input your starting Rx(receive) and Tx(Transmit) frequency and frequency space between each channel, advanced feature options(eg. CTCSS/DCS) can be set together, once finish, press OK button to edit 16 channels at one time.( Fig.10 Fig.10...
- Page 9 Steps to program your radios System: Windows 10 10. Advanced feature setting interface: ( Fig.11 Fig.11 Note: Some models of BF-480 series no longer support VOX function.
- Page 10 Steps to program your radios System: Windows 10 Finally, when all settings are done, don’t forget to write your data into your radios to save all changes. ( Fig.12 Fig.12 Thank you for reading ...
Need help?
Do you have a question about the PX-888S and is the answer not in the manual?
Questions and answers