
Related Manuals for DynaQuip WaterCop pro


Summary of Contents for DynaQuip WaterCop pro
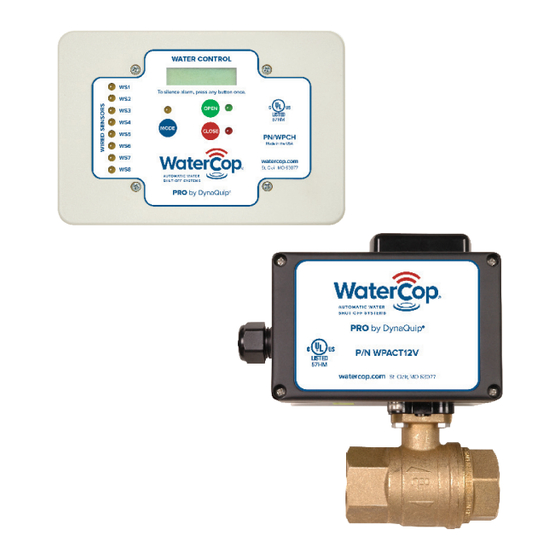
- Page 1 Quick Start Guide The proven leader in household leak protection: WaterCop® is there when you’re not.
- Page 2 Before Installing the Valve 10. Change valve position by pressing the UNLIT “OPEN” or “CLOSE” button. Press the UNLIT indicator, either 1. To mount the valve on the actuator, place the “OPEN” or “CLOSE”, whichever one does not have O-ring on the valve in the circular indentation a LIT light next to it to tell the actuator to perform around the stem.
- Page 3 8. Test each sensor probe by shorting it until the 7. Repeat steps 3-6 for each sensor to add them all Water Control Panel display shows that the probe into the system. has shorted and then removing the short and 8.
- Page 4 WPC & WPCH RJ45 Connection Hardwired Sensor for security/automation (10' cable) attached here integration and/or use with wall switch and CAT5E cable MAIN WATER CONTROL Classic and Pro Interface Contacts 1 - - - - - - - - - - - - 8 REMOTE VALVE 12V RLY ALARM TROUBLE...
Need help?
Do you have a question about the WaterCop pro and is the answer not in the manual?
Questions and answers