Advertisement
Quick Links
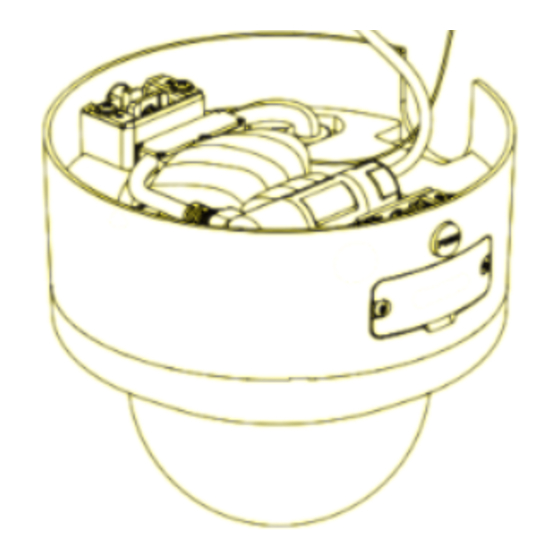
Route the cable through the ceiling
1
Select a rubber ring that fits the network cable
size. Refer to the figure on the back of the
adapter plate for details.
Route the network cable through the rubber
ring, and waterproof the network cable with
the jacket.
For other interfaces in use, wrap the waterproof
tape (self-prepared) around the cable connector
tightly.
FRONT
Installation Notes
Route the cable through the
side outlet
Select a conduit joint according to
the actual size of the conduit.
= 20 mm
= 25 mm
Align the triangle mark on the device
with that on the adapter plate.
Press the device onto the adapter
plate, and when you hear "click", fix
the device and the adapter plate with
screws.
Click!
Click!
Advertisement

Related Manuals for HIKVISION DS-2CD2787G2H-LIPTRZS


Summary of Contents for HIKVISION DS-2CD2787G2H-LIPTRZS
- Page 1 Installation Notes Route the cable through the ceiling Route the cable through the Align the triangle mark on the device side outlet with that on the adapter plate. Select a rubber ring that fits the network cable size. Refer to the figure on the back of the Press the device onto the adapter Select a conduit joint according to adapter plate for details.
- Page 2 PTRZ Settings Notes Remote angle adjustment: max. 1000 cycles. Click "Lock" after you complete PTRZ settings. Note: For the actual number of cycles, refer to the product datasheet. The lens adjustment is shown below. PTRZ Lock Tilt Rotate Tilt SLOW FAST Zoom Note: The user interface may differ due to product updates.
Need help?
Do you have a question about the DS-2CD2787G2H-LIPTRZS and is the answer not in the manual?
Questions and answers