Advertisement
Quick Links
Specifications
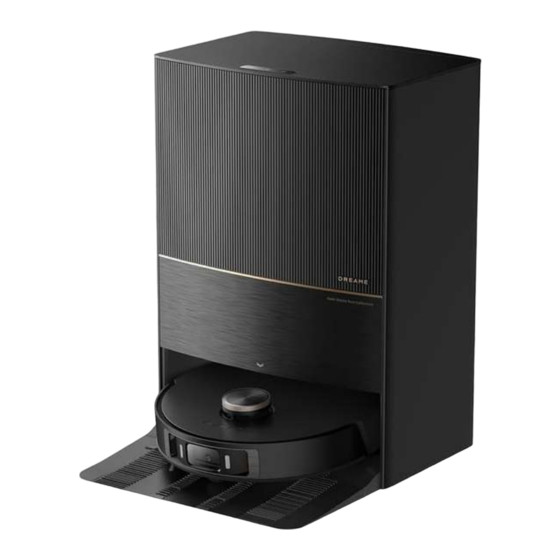
Product Name: L20 Ultra Complete Robot Vacuum and Mop
Features: Auto-Empty, Mop Self-Cleaning
Model: RLX41CE
Laser Safety Class: Class 1 Laser Product
Product Information
The L20 Ultra Complete is a versatile robot vacuum and mop thatoffers auto-empty and mop self-cleaning
functionalities. It comes with advanced sensors and features for efficient cleaning.
Package Contents
Robot
Power Cord
Cleaning Tool (Stored in the base station storage bin)
Base Station
Base Station Ramp Extension Plate
User Manual
Robot Overview
The robot features various sensors and components:
Advertisement

Related Manuals for Dreame L20 Ultra Complete


Summary of Contents for Dreame L20 Ultra Complete
- Page 1 Model: RLX41CE Laser Safety Class: Class 1 Laser Product Product Information The L20 Ultra Complete is a versatile robot vacuum and mop thatoffers auto-empty and mop self-cleaning functionalities. It comes with advanced sensors and features for efficient cleaning. Package Contents...
- Page 2 Camera Indicator Charging Contacts Cliff Sensors Microphone Carpet Sensor Base Station Overview The base station includes: Dust Tank Cover Washboard Ramp Extension Plate Base Station Buttons (Leave / Dock Button) Child Lock Feature Robot Usage 1. Press any button on the robot to pause cleaning or while it’s returning to charge.
- Page 3 ensure safe operation and to avoid any risks. Cleaning and maintenance shall not be performed by children without supervision. The appliance is only to be used with the power supply unit provided with the appliance. This appliance contains batteries that are only replaceable by skilled persons. Clear the area to be cleaned.
-
Page 4: Product Overview
CONSUMER LASER PRODUCT EN 50689:2021 Hereby, Dreame Trading Tianjin Co., Ltd. declares that the radio equipment type RLX41CE is in compliance with Directive 2014/53/EU. The full text of the EU declaration of conformity is available at the following internet address: https://global.dreametech.com... - Page 5 Base Station...
- Page 6 Note: The water hookup kit for auto refilling and draining needs to be purchased separately. (Only available in specific regions) Preparing Your Home...
- Page 7 Note When operating the robot for the first time, follow it around while cleaning to remove any potential obstacles in time. LED fill lights will provide auxiliary lighting in dimly lit environments. Before Use 1. Connect to an Electrical Outlet Insert the power cord into the base station and plug it into the socket.
- Page 8 Note: To prevent water stains from wetting wood floors or carpets, placing the base station on tile floors or marble floors is recommended. 3. Remove the Protections Remove the two stickers on front and back of the robot, then take down the robot cover to remove the protective strip.
- Page 9 Note: It is recommended to fully charge the robot before its first use. When the robot cannot be turned on after the battery is depleted, manually connect the robot with the base station to charge it. 6. Install the Cleaning Solution Bottle Remove the cap of the cleaning solution bottle, and tear off...
-
Page 10: How To Use
Scan the QR code on the robot, or search “Dreamehome” in the app store to download and install the app. Only 2.4 GHz Wi-Fi is supported. Due to upgrades in the app software, the actual operations may differ from the directions in this manual. Please follow the instructions based on the current app version 2. - Page 11 the robot onto the base station, the robot should turn on automatically and begin charging. To turn off the robot, move the robot away from the base station and press and hold the button for 3 seconds. Fast Mapping After configuring the network for the first time, follow the instructions in the app to quickly create a map. The robot will start mapping without cleaning.
- Page 12 To ensure the robot can easily return to the base station after cleaning, it is recommended to make the robot start from the base station. The mop pads will be cleaned before the robot starts mopping, please wait patiently. Do not move the base station, the clean water tank, the used water tank , or the washboard during operation.
-
Page 13: Routine Maintenance
Vacuum then Mop Select “Vacuum then Mop” in the app, and the robot will automatically remove the mop assembly on the base station to vacuum the floor. After vacuuming is completed, the robot will return to the base station to install the mop assembly and the base station will automatically start emptying the dust box. - Page 14 Part Maintenance Frequency Replacement Period Used water tank After each use Clean water tank Main brush Every 6 to 12 months Side brush Once every 2 weeks Every 3 to 6 months Mop pad holder Dust box’s filter Every 3 to 6 months Washboard Base station’s signaling area Base station’s charging contacts...
- Page 15 Part Maintenance Frequency Replacement Period Line laser sensor AI visual sensor LED fill lights Edge sensor Bumper Once every month Omnidirectional wheel Carpet sensor Cliff sensors Bottom of the robot Recommended to clean after re Cleaning solution adding inlet moving the cleaning solution (bot tle) Dust box Clean it as needed...
- Page 16 2. Remove the washboard and rinse it with clean water. 3. Press and hold the button for 3 seconds to add water to the bottom of the base station. Then use the included cleaning tool to clean it.
- Page 17 4. Press and hold the button for 3 seconds to pump out the used water in the bottom of the base station, dry it with a soft and dry cloth, and then put the washboard back. Dust Bag 1. Unlock the dust tank cover and then remove it. 2.
- Page 18 Note: Pulling outwards on the handle will seal the dust bag to prevent the dust and debris from accidentally falling out. 3. Remove the dust and debris from the filter with a dry cloth. 4. Install a new dust bag. Then install back the dust tank cover and lock it Used Water Tank 1.
- Page 19 2. Rinse the used water tank with clean water, and use the provided cleaning tool to clean the inner wall of the used water tank. Note: The float ball in the used water tank is a movable part. Do not apply too much force when cleaning it to avoid damaging it.
- Page 20 2. Pull out the brush covers at both ends of the brush as shown in the figure. Use the provided cleaning tool to remove any hair tangled in the brush. Reinstall the brush covers on both ends of the brush, and then reinstall the brush.
- Page 21 Use a tool such as a small screwdriver to separate the axle and tire of the omnidirectional wheel. Do not use excessive force. Rinse the omnidirectional wheel under the running water and put it back after drying it completely. Dust Box 1.
- Page 22 Robot Sensors and Charging Contacts Wipe sensors and charging contacts of the robot by using a soft and dry cloth, as shown in the below figure: Note: A wet cloth can damage sensitive elements within the robot and the base station. Please use a dry cloth for cleaning.
-
Page 23: Troubleshooting
Mop Pad Remove the mop pad from the mop pad holder to replace it. Cleaning Solution Adding Inlet If the cleaning solution adding inlet is dirty, wipe it with a soft and dry cloth. Battery The robot contains a high-performance lithium-ion battery pack. Make sure that the battery remains well-charged for daily use to maintain optimal battery performance. - Page 24 Problem Solution The battery is low. Recharge the robot on the base and try again. The robot will not The temperature of the battery is too low or too high. It is recommended to operate the appl iance at a temperature between 32 ℉ (0°C) and 104 ℉ (40°C). turn on.
- Page 25 Problem Solution The robot cannot be turned off when it is charging. It is recommended to move the robot fro m the base station, and then press and hold the button for 3 seconds to turn it off. The robot will not If the robot cannot be turned off...
-
Page 26: Specifications
Problem Solution Make sure that the robot is not set to the Do Not Disturb (DND) mode, which will prevent it f The robot will not rom resuming cleaning. The robot will not resume cleaning after you manually return the ro resume cleaning bot to the base station to charge, which includes manually placing the robot on the base sta after charging.
Need help?
Do you have a question about the L20 Ultra Complete and is the answer not in the manual?
Questions and answers
добрый день !Бокавая швабра которая должна выезжать не выезжает ,напишите где в настройках надо ее активировать .Спасибо