Whynter FIM-450HS - ICE MAKER Manual
- Instruction manual (12 pages) ,
- Instruction manual (13 pages)
Advertisement
- 1 FEATURES
- 2 PARTS
- 3 REQUIREMENTS
- 4 OPERATION
- 5 USING THE CONTROL PANEL
- 6 CLEANING AND MAINTENANCE
- 7 SPECIFICATIONS
-
8
TROUBLESHOOTING
- 8.1 The machine won't operate.
- 8.2 The water doesn't feed in after the ice maker starts.
- 8.3 Machine makes ice, but bin does not fill up with ice
- 8.4 Water is leaking out the unit.
- 8.5 Cubes are partially formed--are white at the bottom.
- 8.6 Noise during operation
- 8.7 The icemaker stops suddenly while making ice.
- 8.8 The body of the ice maker is electrified
- 8.9 Scale builds up quickly inside the machine.
- 8.10 The ice storage bin is filled with water
- 8.11 Unit is overfilling / Water overflow
- 9 SAFETY PRECAUTIONS
- 10 Documents / Resources
FEATURES
With the Whynter FIM-450HS Ice Maker, you can produce up to 44 lbs of ice per day, while buffering up to 7.7 lbs of ice; making this ice maker the perfect solution for convenient and fresh ice. This efficient direct plumbing ice maker allows you a constant supply of bullet-shaped ice at a much higher rate relative to manual fill ice makers. When entertaining guests or just for daily use, never again have to wait or rush to the store to purchase overpriced ice.
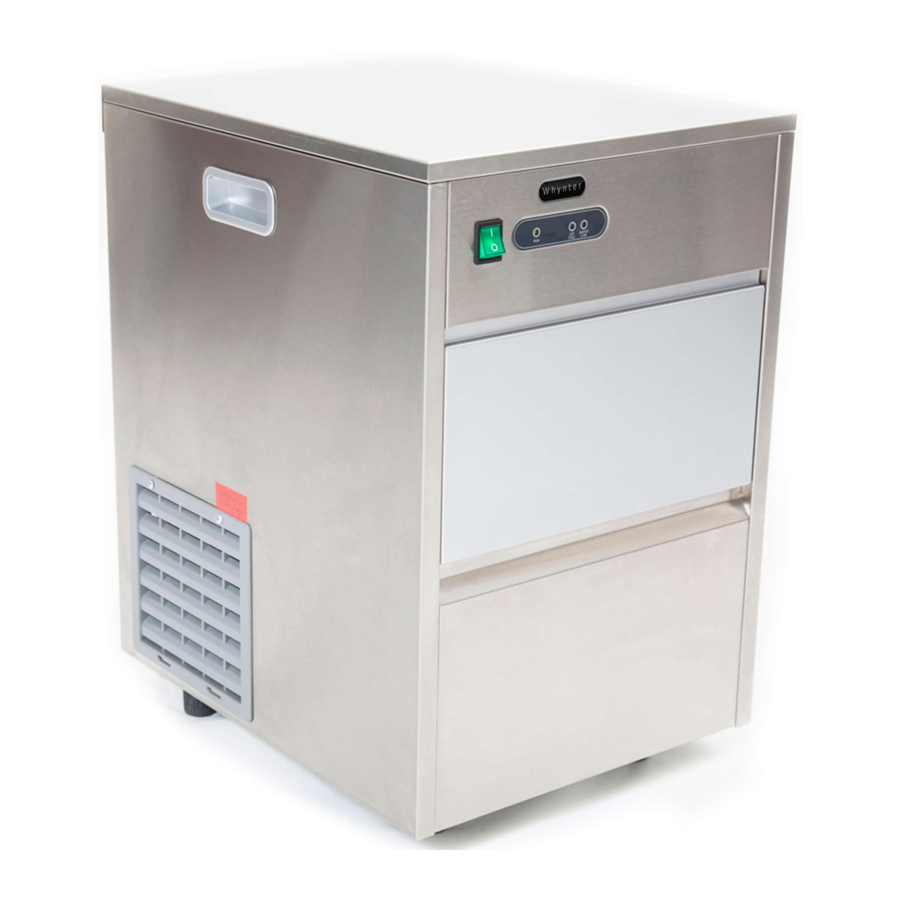
Attractive and compact, this full stainless steel exterior ice maker is a great highlight to any space and fits easily were needed the most.
In case of water shortage or ice full in cabinet, the indicator on the operation board will light on accordingly and the ice maker will stop operation automatically. The ice storage cabinet is PU foamed, so it is insulated well and it could prevent the ice from melting.
Including a plastic ice scoop, water hose, and drain hose, this ice maker is great for making sure you get the ice you need. The adjustable leveling leg at the bottom of the ice maker allows you to place the unit in any environment without it being uneven. Ideal for any household, this ice maker will be sure to be the hit of the party with your guests.
PARTS

- Power Switch
- Ice Maker Door
- Air Outlet
- Display Panel
- Ice Level Sensor
- Ice Storage Container
- Ice Scoop
- Bottom Floor Feet
- Power Cord
- Water Inlet Valve
- Drain Outlet
- Water Hose
- Drain Tube
- Copper Water Inlet Adaptor

TO REDUCE THE RISK OF FIRE, ELECTRICAL SHOCK, OR INJURY WHEN USING YOUR ICE MAKER, FOLLOW THESE BASIC PRECAUTIONS:
- READ ALL INSTRUCTIONS BEFORE USING THE ICE MAKER.
![]()
RISK OF DANGER TO SMALL CHILDREN AND SMALL ANIMALS. ENTRAPMENT AND SUFFOCATION DANGER IF NOT PROPERLY SECURED. DISPOSED OR ABANDONED APPLIANCES ARE STILL DANGEROUS- BEFORE YOU DISPOSE OF YOUR ICE MAKER: REMOVE THE DOOR TO PREVENT CHILDREN FROM CLIMBING INTO THE UNIT.
- NEVER ALLOW CHILDREN TO OPERATE, PLAY WITH, OR CRAWL INTO THE APPLIANCE.
- NEVER CLEAN ICE MAKER PARTS WITH FLAMMABLE FLUIDS. THE FUMES CAN CREATE A FIRE HAZARD.
- DO NOT STORE OR USE GASOLINE OR ANY OTHER FLAMMABLE VAPORS AND LIQUIDS IN THE VICINITY OF THIS OR ANY OTHER APPLIANCE. THE FUMES CAN CREATE A FIRE HAZARD.
 |
| Do not remove any safety, warning, or product information labels from your ice maker |
Before you begin
Preparing the Ice Maker for use before you plug the ice maker in to a power supply, be sure to let it stand upright for at least 24 hours to allow the compressor's oils to settle.
Unpacking the Ice Maker
Carefully remove the packaging materials. Remove any shipping tape and glue from your ice maker before using. Do not use sharp instruments, rubbing alcohol, flammable fluids, or abrasive cleaners to remove tape or glue. These products can damage the surface of your ice-maker. Check to make sure the ice scoop and hoses are included. If any parts are missing, please contact our customer service. Put the ice maker on a level and flat surface away from direct sunlight and other sources of heat such as a stove, furnace, radiator, etc. The appliance must be positioned so that the power plug is accessible.
REQUIREMENTS
Installation Requirements
The ice maker has been designed for free-standing installation which will allow you to install the unit in almost any place you desire. Please make sure to follow the instructions for clearance, water and electrical requirements.
Clearance and Environment Requirements
- Choose a well-ventilated area with temperatures above 50°F and below 90°F. Operation outside these temperatures may result in lowered production or may cause other adverse effects.
- This unit MUST be installed in an area protected from the elements, e.g., wind, rain, water spray or drips. Theicemaker should not be located next to ovens, grills or other high heat sources.
- The unit should be located on a firm and level surface that is able to support the ice maker's total weight with water.
- This is a freestanding appliance; all ventilation is located at the back and rear sides. Please note that without proper clearance and circulated airflow around the vents, the unit may not operate properly. Built in application is not recommended.
Water Requirements
- Only use potable water or water suitable for drinking.
- The temperature of the water should be between 51°F and 90°F.
- Change the water in the water reservoir every 24 hours to ensure a reasonable hygiene level. Note: The add water light uses an electronic sensor that may not detect purified, filtered, reverse osmosis, or distilled water. You may need to add a pinch of salt to the water to increase the mineral content.
Electrical Requirements
Read all safety precautions listed at the beginning of this manual. It is recommended that a separate circuit serving only your ice maker be provided. Use receptacles that cannot be turned off by a switch or pull chain.
The ice maker is equipped with a power supply cord having a 3-prong grounding plug. To minimize possible shock hazard, the cord must be plugged into a mating 3-pronged and grounding-type wall receptacle providing 110-120V, 60Hz, grounded in accordance with the National Electrical Code and local codes and ordinances. If a mating wall receptacle is not available, it is the personal responsibility of the customer to have a properly grounded, 3-prong wall receptacle installed by a certified electrician.
OPERATION
| |
| Discard the first batch of ice produced by the freestanding ice maker. Direct sunlight may cause the ice full infrared sensor to malfunction. If the unit continues to produce ice even though the basket is full, you may need to move the unit away from the sunlight |
Before using your ice maker, it is strongly recommended to clean it thoroughly. Read and follow the Cleaning and Maintenance section of the manual before proceeding.
Follow the steps below to start using your ice maker.
- Open the door and remove any packaging tape that may be holding down the ice case, ice shovel, and ice scoop. Remove the ice scoop.
- Clean the ice storage container.
- Connect the direct water line into the water inlet assembly.
- Close the door lid.
- Plug the ice maker's power plug in to a grounded outlet.
- Press the On/Off power switch on the Control Panel.
- Ice will be created and fill the ice storage container.
Notes: If the water pump is unable to detect or pump water, the unit will stop automatically, and the "Water Low" indicator will be lit. Make sure that the water line has the correct amount of pressure (water pressure must be a minimum 14.7psi and a maximum of 55psi and restart the unit by pressing the On/Off button twice. The ice maker will continue making ice until the ice basket is full. When the ice basket is full "Ice Full" indicator will be lit
USING THE CONTROL PANEL

| Switch | Function |
| POWER | Turns the unit on or off |
| Indicator | Function |
| RUN | Ice Production is in process. |
| ICE FULL | Indicates ice basket is full. |
| WATER LOW | Indicates low water level in water in the reservoir. |
How the Freestanding Ice Maker Produces Ice
After the unit is powered on, the ice maker begins with rotating the ice case into a horizontal water fill position under the evaporator rods. The water pump is engaged and fills the ice case with water. Water overflows for a few seconds before the compressor turns on. The compressor then pumps refrigerant and the fan will turn on automatically after the condenser heats up. The unit will be producing bullet shaped ice around the stainless steel evaporator rods. When the batch of ice has been fully formed, the ice maker stops the freeze cycle and begins the harvest cycle. A valve opens diverting hot refrigerant gas into the evaporator rods. The gas heats the rods, causing the ice cube bullets to slide off the evaporator. The hinged ice case will move out of the way for the formed ice cubes to drop onto the slide and be deposited into the ice bin. The ice case will then resume its horizontal position and be filled with water for the next batch of ice to be made. The ice maker will then produce ice until ice reaches the ice full sensor. Once enough of the ice has melted, the ice maker will automatically start making more ice. The ice maker is insulated but not refrigerated. Harvested ice will slowly melt and drain through the gravity drain. The ice maker will automatically begin making more ice.
Installing the Water Line
The direct water line can be installed into the ice maker for a continuous flow of water, preventing you from refilling a water tank every time you need more ice. The ice maker is designed with a direct water line for continuous operation. The internal ice tray does not require manual filling.
NOTE: All the required or customized hardware is not provided for installation so it is necessary to hire a professional licensed plumber to complete the installation.
- Connect the water line to your water source and be sure to tighten the connection to avoid leaking.
- Hand screw the water line into the water inlet valve on the back of the ice maker.
- Connect the drainage tube on water outlet valve.
- Lightly tighten the compression fitting around the water line with an adjustable wrench or similar tool.
Draining the unit
This unit operates in a gravity drain system which clears excess water from the ice maker to ensure a continuous supply of ice. A water drain hose is provided with this unit. Firmly attach the drain hose to the drain outlet. Please note that the outlet of drain hose should be lower than ice maker so the water can flow out easily.
Normal Sounds
Your new ice maker may make sounds that are not familiar to you. Most of the new sounds are normal. Hard surfaces like the floor, walls can make the sounds seem louder than they actually are. The following describes the kinds of sounds that might be new to you and what may be making them.
- The ice case motor will make a whirling noise when the ice case and shovel are moving.
- Rattling noises may be produced from the flow of the refrigerant.
- The compressor may make a pulsating or high-pitched sound.
- The compressor may also produce a low tone humming sound.
- Water that is being pumped into the ice case will make trickling, dripping or splashing sounds.
- As each cycle ends, you may hear a gurgling sound due to the refrigerant flowing.
- You may hear fan noise and air being forced over the condenser by the condenser fan.
- During the harvest cycle, you may hear the sound of ice cubes falling into the ice basket.
- If the ice maker is run without water, the water pump will make a screeching noise.
Note: Do not run the unit without water!
Leveling the Ice Maker

It is important for the ice-maker to be leveled in order to work properly. It can be raised or lowered by turning the four feet on the bottom of the machine. We recommend using a carpenter's level to check the machine.
- Place a carpenter's level on top of the product to see if the ice maker is level from front to back and side to side.
- Adjust the height of the feet as follows:
- Turn the leveling feet to the right to lower that side of the ice maker
- Turn the leveling feet to the left to raise that side of the ice maker.
CLEANING AND MAINTENANCE
The ice maker must be thoroughly cleaned if it has been left unused for a long time
DO NOT turn the ice machine upside down to dry! This will cause the oils from the compressor to shift, which can result in the machine breaking or becoming inoperable.
Periodic cleaning and proper maintenance will ensure efficiency, top performance, and long life.
Never use a solvent-based cleaning agent. These cleaners may transmit taste to the ice cubes, or damage and discolor the interior.
ALWAYS unplug the unit before cleaning the exterior and interior.
Before using your ice maker, you are strongly recommended to clean it thoroughly. (This process should clean the unit of any impurities that may have been left behind during the manufacturing process.)
- Unplug the water line from the ice maker.
- Clean the interior with a diluted cleaning solution, warm water and a soft cloth. (DO NOT use any caustic or abrasive solutions) (Do not clean your ice maker with flammable fluids.)
- The outside of the ice maker should be cleaned regularly with a mild detergent and warm water.
- Dry the interior and exterior with a soft cloth.
If the ice has a strange or plastic taste
If the ice has an unappealing taste, or the unit develops a musty odor, try cleaning the water line of the ice maker with a mild white vinegar solution or lemon juice, and then soak the line in hot water. After that, run a few cycles with plain water to eliminate all traces of the vinegar or lemon juice. Throw out the first two ice batches after cleaning.
If you find the bad taste remains after this procedure, use a solution of 2 tablespoons of baking soda and hot water to soak the water line. Leave overnight to absorb any remaining odors/tastes. Drain the solution, rinse the line with water, and dry the line thoroughly.
Routine maintenance
- Add a mild cleaning solution mixture to the ice storage container. Use a 10:1 ratio of water to either white vinegar or lemon juice.
- Scrub the interior of the ice maker (including evaporator rods) with the solution.
- Remove the water line from the ice maker. Use the solution to clean the water line as well.
- Drain the solution from the ice maker. Wipe down ice maker interior and water line with hot water.
- Run the ice maker to make a few batches of ice. Discard the ice.
- Your ice maker is now clean and should provide clean ice.
If the ice maker will not be used for an extended period of time, you should unplug the unit from power, drain the water from the reservoir and dry the interior with a clean soft cloth.
Note: Do not touch the power plug when your hands are wet. Note: Never unplug the unit by pulling on the plug.
SPECIFICATIONS
| Description of product | Freestanding Ice Maker |
| Voltage/Frequency | AC 115V~60Hz |
| Ice-Making / Ice-Harvest rated current | 1.2A / 3.5A |
| Color | Stainless Steel |
| Ice Storage capacity | 7.7 lbs |
| Ice-making capability | 44 lbs/ day * |
| Refrigerant | R134a |
| Dimensions (Width x Depth x Height) | 14 7/8" x 18 13/16" x 23 3/16" |
| Weight | 60 lb |
Note: Technical data and performance information provided for reference only.
Specifications are subject to change. Check the rating label on the ice maker for the most accurate information.
* The actual quantity of ice produced in a 24hour period will vary with room and water conditions.
Notes on ice storage
The ice maker will automatically shut off when the ice bin is full. The ice bin compartment is insulated, but not refrigerated and the ice in the bin will slowly. Once enough of the ice has melted, the ice maker will automatically start making more ice.
TROUBLESHOOTING
Many common ice maker problems are easily resolved. Try the troubleshooting suggestions below to see if the problems can be resolved before having to contact the service department.
| Problem | Possible Cause | Probable Correction |
The machine won't operate. |
|
|
The water doesn't feed in after the ice maker starts. |
|
|
Machine makes ice, but bin does not fill up with ice |
|
|
Water is leaking out the unit. |
|
|
Cubes are partially formed--are white at the bottom. |
|
|
Noise during operation |
|
|
The icemaker stops suddenly while making ice. |
|
|
The body of the ice maker is electrified |
|
|
Scale builds up quickly inside the machine. |
|
|
The ice storage bin is filled with water |
|
|
Unit is overfilling / Water overflow |
|
|
SAFETY PRECAUTIONS
Read all of the instructions before using this appliance. When using this appliance, always exercise basic safety precautions, including the following:
- Do not use if the power supply cord is damaged. If damaged, it must be replaced by qualified technician/electrician.
- Ensure the ice maker is unplugged before cleaning or if not in use.
- To clean the ice maker use only mild detergents or glass cleaning products. Never use harsh chemicals or solvents.
- Do not use this ice maker with an extension cord or power strip. Please ensure that the appliance is plugged directly into the electrical outlet.
- Close the ice maker door immediately after opening.
- Avoid placing the ice maker near external heat sources or direct sunlight.
- Make sure the ice maker is placed on a flat, level, and solid surface.
- Make sure that the surface on which the ice maker is placed is strong enough to hold the ice maker once it is fully loaded with ice.
- The ice maker is an electrical appliance. To avoid serious injury from electrical shock, do not operate the ice maker with wet hands, while standing on a wet surface, or while standing in water.
- Do not expose this appliance to rain or excessive moisture.
- Do not turn the ice maker upside down, on its side, or 45° or more off level.
- Never pull the power cord to disconnect the unit from an outlet. Grasp the plug directly and pull it from the outlet.
- This ice maker is designed for non-commercial use only.
- When use for the first time or when restart after long period of unused, the ice made for the first two times is not edible
- Do not plug this ice maker into the power socket before setup is completed.
- The cord should be secured behind the unit and should not be left exposed or dangling.
- Do not move this ice maker without securing the door.
- Performance may vary based on operational and ambient conditions.
Please retain the original proof of purchase in order to obtain warranty services.
Warranty begins from the original date of purchase.
To obtain service or information, contact Whynter via email at service@whynter.com or call 866-WHYNTER.
Product contents and specifications may change without notice.
www.Whynter.com
Documents / Resources
References
Download manual
Here you can download full pdf version of manual, it may contain additional safety instructions, warranty information, FCC rules, etc.
Advertisement


Need help?
Do you have a question about the FIM-450HS and is the answer not in the manual?
Questions and answers