Advertisement
Quick Links
Advertisement

Related Manuals for Andersen A3


Summary of Contents for Andersen A3
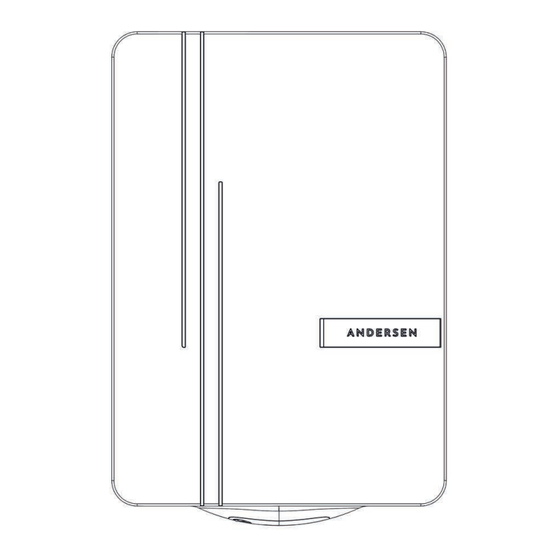
- Page 1 Installer Manual line drawing A3 www.andersen-ev.com Revision 1.0...
- Page 2 A N D E R S E N D I S C L A I M E R The Andersen A3 should only be installed by an electrician with the appropriate knowledge and qualifications. The installation must comply with the current editions of the IET Code of Practice for Electric Vehicle Charging Equipment installation and IET BS 7671 Requirements for Electrical Installations.
-
Page 3: Tools Required
Tools Required Included in Pozidrive screwdriver fitting kit 1x 25mm Compression allen key Gland for cable entry M5 x12mm for front fascia M3 x8mm for terminal cover SETUP MULTI-FUNCTION OPERATION Reset RCM (Two button presses) Enter Network setup mode (Three button presses) Multi-function button located on the bottom, Exit Network setup mode (One... - Page 4 OPERATION LED STATUS LIGHT Solid white LED - charge point is in standby mode Solid magenta LED - waiting for scheduled charge to start Solid orange LED - waiting for sufficient solar to start charge Pulsating green LED - vehicle is charging Solid green LED - vehicle has finished charging Solid blue LED - charge point is locked by user Solid red LED - charge point has detected an error...
- Page 5 Solar CT Clamp (if applicable) M25 Compression Gland Terminal Cover Fitting Screws Preparation - Recommended Steps: Carefully Remove A3 From Box Check A3 For Any Damage Remove Front Fascia Remove Lower Panel & Terminal Cover Prepare To Mount To Wall Any damage identified must be reported to Andersen.
- Page 6 Step 1: Remove A3 Front Fascia & Lower Panel Remove the 2 screws, lift and remove the front fascia. Remove the 2 screws in both the lower panel & the lower cable guide. Pull the lower panel forward and down to release and remove cable guide.
-
Page 7: Connection Point
Step 2: LED Loom Connection Point Note: With new installations this plug will be delivered disconnected. - Page 8 Step 3: Mount A3 Assembly To The Permanent Structure The mounting hardware (screws, wall plugs etc) must RECOMMENDED be selected and be appropriate for the specific structure. 6mm penny washer 6mm washer We don’t provide these screws or washers. Re fit lower panel &...
-
Page 9: Step 4: Cable Entry
Step 4: Cable Entry 1x 10mm Cable can enter the unit Compression from 2 positions. One on the Gland for cable entry pre-installed underside through provided for any separate data cable. gland or rear entry into this compartment. Note: Any cables entering the unit should be adequately sealed. - Page 10 Step 5: Terminate Sensor Cables Solar Solar Advanced CT Basic/Adaptive Fuse sensor cable CT sensor cable Optional Optional Please note: This plug can be gently pulled downwards and removed, to make terminations easier, before replacing. Please ensure you follow the installer guides to commission this feature correctly.
-
Page 11: Step 6: Mains Supply Connection
Step 6: Mains Supply Connection Note: Any stranded cables are recommend to be ferruled and crimped. TORQUE SETTING: 1.2Nm... - Page 12 Step 7: Refit Terminal Cover x8 PZ1 Screws TORQUE SETTING: 0.7Nm...
- Page 13 Step 8: Connect LED Loom Insert plug from the front fascia into the socket on the core of the unit. Gently push ensuring you hear a click to confirm connection. Note: Dress the cables carefully, making sure they are not trapped when fitting the front fascia.
- Page 14 Step 9: Refit Front Fascia -CONNECT LED LOOM -REFIT FRONT FASCIA Locate the fascia hooks bottom and top into the core and gently lower into place. Fit and tighten M5 x12mm long screws.
-
Page 15: What You Will Need
Connecting your charge point to Wi-Fi C o m m i s s i o n i n g a n A n d e r s e n A 3 c h a r g e p o i n t What you will need A smart phone (iPhone or Android) with Bluetooth enabled... - Page 16 C o m m i s s i o n i n g Open the Andersen App Ensure you are logged out Press the toolbox located in the bottom right of the screen. Follow the steps on the next screen to connect...
- Page 17 C o m m i s s i o n i n g On your charge point, find and firmly press the multi-function button three times. You should now see the LED status light repeatedly flash a cyan blue.
- Page 18 C o m m i s s i o n i n g The Andersen App will Once the Andersen App start scanning for your has found all available charge point using networks, please select Bluetooth. Tap the the Wi-Fi you wish to ‘Connect’...
- Page 19 C o m m i s s i o n i n g Once you have connected to the Wi-Fi network successfully your signal strength will be displayed here along with confirmation of connection.
- Page 20 C o m m i s s i o n i n g You will now be prompted to enter a pin number. If you are a current Andersen affiliate you may already have this pin. Altentively, please contact us.
- Page 21 C o m m i s s i o n i n g We recommend you become an Andersen affiliate. Please scan the QR code below to submit an application to allow us to fully support you.
- Page 22 CT CLAMP POSITIONS Solar Basic / Adaptive Fuse - Position the CT clamp around a live conductor Potential to monitor reading for positions for the whole property and any Grid CT clamp generation. Electricity Meter EV Consumer unit Mains isolation switch Property Joint...
- Page 23 CT CLAMP POSITIONS Solar Advanced - Position the Solar CT clamp around the live conductor to monitor Potential positions reading for solar for the Solar CT generation only clamp Electricity Meter EV Consumer unit Mains isolation switch Property Joint Consumer Block unit ...
- Page 24 Technical Data The mounting wall must be capable of supporting at Mounting Location least four times the weight of the unit (44kg) and must be fire resistant. Charging Mode Mode 3 (IEC 61851-1 complaint communication protocol RGB Status lights- Amenity light. White, Hall sensor Display operated and internal courtesy light.
- Page 25 Electrical Specifications Rated Power 7.2kW (1-phase) Rated Supply Voltage 230V AC Single Phase Voltage Tolerance / Frequency 230 VAC +10% -6% 50Hz Rated Current 32 Amps PEN fault detection Conforming to 722.411.4.1 (iii) (iv) Earth Leakage Protection Internal 6mA DC protection (EN 62955) 30mA AC Standby Power 10 Watts CT Sensor Voltage...
- Page 26 Dimensions Unboxed 494 x 348 x 148 mm (metal) 156mm (wood) Mounting Height Installed between 0.75m - 1.2m from ground level Maximum extended length 30 metres unshielded CAT5/6 OR 50 metres shielded CAT6 data cable CT Sensor Cable Any shielding to be suitably earthed 40A RCBO (BSO EN 61009)) or Type A RCD / RCCB (BSO EN Recommended Upstream Protection 61008) + 40A MCB (BSO EN 60898) - B curve...
- Page 27 DANGER Danger to life due to electrical voltage! Injuries due to electric shock! and/or burns, possibly resulting in death, are possible. During all work, make sure at all times that power to the system is switched off and secured so it cannot inadvertently be switched on. Before commissioning the device, check that all screw and terminal connections are tight.
- Page 28 W e ' r e h e r e t o h e l p Send us an email helpdesk@andersen-ev.com Call us Mon-Fri 08:00 - 19:00 Sat 09:00 - 14:00 +44 (0) 1234 916125 www.andersen-ev.com...
Need help?
Do you have a question about the A3 and is the answer not in the manual?
Questions and answers