Jump-N-Carry JNC325 - Starter and Power Supply Manual
- Operator's manual (37 pages)
Advertisement
SAFETY SUMMARY

Failure to follow instructions may cause damage or explosion, always shield eyes. Read entire instruction manual before use.
This product can expose you to chemicals, including Vinyl-Chloride, Styrene and Acrylonitrile, which are known to the State of California to cause cancer. For more information go to www.P65Warnings.ca.gov.
We have taken numerous measures in quality control and in our manufacturing processes to ensure that your product arrives in top condition, and that it will perform to your satisfaction. In the rare event that your product contains a damaged or missing item, does not perform as specified, or requires warranty service, please call Technical Service at (913) 310-1050. Save your purchase receipt, it is required for warranty service.
This unit has a sealed lithium-based battery that should be kept at full charge. Recharge when first received, immediately after each use, and every three months if not used. Failure to perform maintenance charges may cause the battery life to be reduced.
SAVE THESE INSTRUCTION
 | Read these instructions completely before using the Jump Starter and save them for future reference. Before using the Jump Starter to jump start a car, truck, boat or to power any equipment, read these instructions and the instruction manual/safety information provided by the car, truck, boat or equipment manufacturer. Following all manufacturers' instructions and safety procedures will reduce the risk of accident. |
 | Working around lead-acid batteries may be dangerous. Lead-acid batteries release explosive gases during normal operation, charging and jump starting. Carefully read and follow these instructions for safe use. Always follow the specific instructions in this manual and on the Jump Starter each time you jump start using the Jump Starter. All lead-acid batteries (car, truck and boat) produce hydrogen gas which may violently explode in the presence of fire or sparks. Do not smoke, use matches or a cigarette lighter while near batteries. Do not handle the battery while wearing vinyl clothing because static electricity sparks are generated when vinyl clothing is rubbed. Review all cautionary material on the Jump Starter and in the engine compartment. |
 | Always wear eye protection, appropriate protective clothing and other safety equipment when working near lead-acid batteries. Do not touch eyes while working on or around lead-acid batteries. |
 | When not using the unit to jump start, remove and properly store output cables. Leaving clamps connected and improperly storing the unit may cause the clamps to come into contact with each other or a common conductor, causing the battery to short and generating high enough heat to ignite most materials. |
 | Use extreme care while working within the engine compartment, because moving parts may cause severe injury. Read and follow all safety instructions published in the vehicle's Owner's Manual. |
 | While the battery in the Jump Starter is a sealed unit with no free liquid acid, batteries being jump started with the Jump Starter unit likely contain liquid acids which are hazardous if spilled. |
PERSONAL PRECAUTIONS
Someone should always be within range of your voice or close enough to come to your aid when you work near a lead-acid battery.
Have plenty of fresh water and soap nearby in case battery acid contacts skin, clothing or eyes. Protective eyewear should always be worn when working near lead-acid batteries.
If battery acid contacts skin or clothing, wash immediately with soap and water. If acid enters eye, immediately flood eye with running cold water for at least 10 minutes and get medical attention immediately.
Be extra cautious to reduce risk of dropping a metal tool onto a battery. It might spark or short circuit the battery or another electrical part that may cause explosion.
Remove personal metal items such as rings, bracelets, necklaces and watches when working with a lead-acid battery. A lead-acid battery can produce a short-circuit current high enough to weld a ring or the like to metal, causing a severe burn.
Use the Jump Starter for jump starting lead-acid batteries only. Do not use for charging dry-cell batteries that are commonly used with home appliances. These batteries may burst and cause injury to persons and damage to property.
NEVER charge or jump start a frozen battery.
To prevent arcing, NEVER allow clamps to touch together or to contact the same piece of metal.
IMPORTANT SAFETY INSTRUCTIONS

Never use an output cable/clamp assembly other than the one that was included with your unit. The included cable/clamp assembly incorporates numerous critical safety features. The use of another cable/clamp assembly could result in personal injury and/or property damage.
Use of an attachment not recommended or sold by the manufacturer may result in a risk of damage to the unit or injury to personnel.
When using the wall charger or power extension cord, pull on the plug and never on the wire when disconnecting.
Do not recharge the Jump Starter with a damaged wall charger or power extension cord. Replace them immediately.
To reduce risk of fire or burns, do not disassemble, crush or puncture internal battery, short external contacts, or dispose of in fire or water.
The Jump Starter may be used under any weather condition – rain, snow, hot or cold temperatures.
Do not submerge in water.
Do not operate with flammables such as gasoline, etc.
If the Jump Starter receives a sharp blow or is otherwise damaged in any way, have it checked by a qualified service person. If the Jump Starter is leaking battery acid, do not ship it. Take it to the closest battery recycler in your area.
Do not disassemble the Jump Starter. Have it checked by a qualified service person.
The Jump Starter should never be left in a completely discharged state for any period of time. Damage to the battery could be permanent, with poor performance as a result. When not in use recharge every three (3) months.
Do not use a battery pack or appliance that is damaged or modified. Damaged or modified batteries may exhibit unpredictable behavior resulting in fire, explosion or risk of injury.
Under abusive conditions, liquid may be ejected from the battery; avoid contact. If contact accidentally occurs, flush with water. If liquid contacts eyes, additionally seek medical help. Liquid ejected from the battery may cause irritation or burns.
OPERATION AND MAINTENANCE
Jump Starter Operating and Safety Features
The Jump-N-Carry can serve as a vehicle jump starter when the included cable/clamps are connected through the jump starting port. Only use the supplied safety cables with your Jump-N-Carry.
The Jump-N-Carry incorporates a LED flashlight with multiple light patterns for use at night or in an emergency.
The Jump-N-Carry is an ideal power supply for powering and/or recharging small electronics connected through its USB power port. It can recharge multiple devices on a single charge. The Jump-N-Carry can also supply DC power (15V nominal, 14.8V actual) to power a variety of accessories and devices.
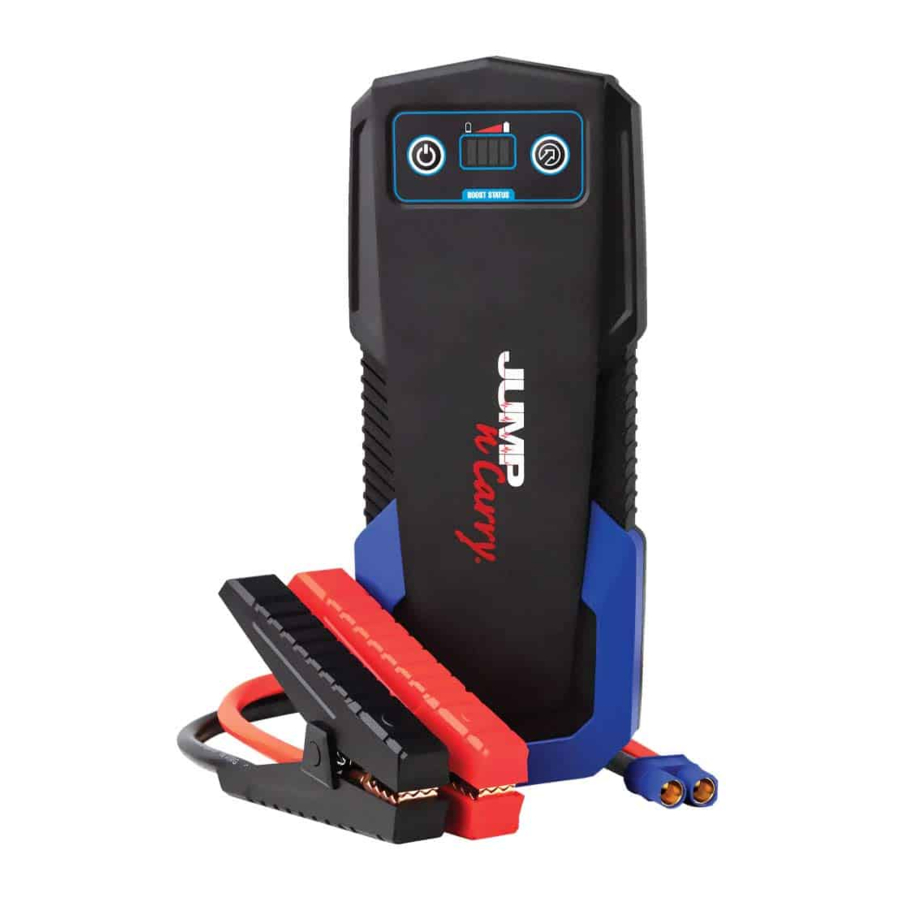
The Jump-N-Carry features a Status/Power button and LED lights to display the unit's state of charge.
The Jump-N-Carry features a variety of safety features, including reverse polarity protection, backfeed protection, short circuit protection, over voltage protection and under voltage protection.

Jump Starter Specifications
| Battery Type: | Lithium Ion |
| Battery Capacity: | 14.8V/74Wh |
| Operting Temperature: | -10˚F - 140˚F |
| Charging Temperature: | 40˚F - 140˚F |
| Recharge Input: | 5V/2A; 9V/2A (Quick Charge) |
| USB Output: | 5V2.4A, 5V1.0A |
| Jump Starting Output: | 14.8V/74Wh |
| DC Pin Output: | 14.8V/10A |
| Power Indicator: | LED Display |
| Safety Features: | Built-in |
| Approvals: | SGS (Conforms to UL2743) |
UNIT STATUS AND RECHARGING PROCEDURES
 Note: Upon initial purchase, your Jump Starter should be charged for a minimum of 6 hours. The Jump Starter should be charged every three months when not in use.
Unit Status Indication
Press the Status/Power Button on the front of the unit to power the battery status LEDs and see the unit's state of charge. The unit's state of charge status is indicated by the number of status LEDs lit: 1 LED - 25%; 2 LEDs – 50%; 3 LEDS – 75%; 4 LEDs – at or near 100%.
- If the unit has below 75% state of charge, it should be charged soon.
- If the unit has below 50% state of charge, it should be charged immediately.
It is recommended that the unit be at or near 100% state of charge when using as a jump starter. This will greatly improve your jump starting success.
Recharging Your Jump Starter
Never use a charger other than the one that was included with your unit. Using an incompatible charger could damage the internal battery, which could result in property damage or injury.
When charging the internal battery, work in a well ventilated area and do not restrict ventilation in any way.
- Connect the USB type C jack at the end of the included AC adapter cord to the jump starter through the input port marked "USB-C IN."
- Connect the USB A end of the charging cord to the included AC adapter. Connect the male end of the AC adapter to the AC outlet.
- Using this method, the unit will be brought to full charge automatically without overcharging.
OPERATING INSTRUCTIONS
Used as a USB Power Supply
Your jump starter can be used to power or recharge a wide variety of small electronic devices.
- Connect your device's charging cable to the device.
- Connect the USB end of the charging cable into the USB port on the jump starter.
- Press the Status/Power Button on the front of the unit to activate USB charging.
Used as a DC Power Supply
Your unit can be used to power a variety of DC accessories using the included DC
Female Adapter. Please note that the typical output voltage of this port is 15VDC (nominal, 14.8V actual), which is similar to the voltage seen from a vehicle's power port when the vehicle is running.
- Connect the male plug from your DC powered device to the DC Female Adapter.
- C onnect the pin jack at the end of the DC Female Adapter cord to the output port marked "15V10A Output".
Used as a Flashlight
Avoid direct exposure of LED light to eyes. Do not shine into the eyes of people or animals. Keep away from children.
To turn on the LED Flashlight, press the status / power button and hold for 3 seconds. Successive pushes of the button will change the light pattern from solid to strobe to SOS to off.
Used as a 12 Volt Jump Starter
Note: For optimum performance, do not store your Jump Starter below 50°F when using as a jump starter. Never charge or jump start a frozen battery.
Note: When using as a jump starter, it is recommended that the unit be at or near 100% state of charge as indicated on the unit's display.
Never use an output cable/clamp assembly other than the one that was included with your unit. The use of another cable/clamp assembly could result in personal injury and/or property damage.
- Use in a well ventilated area.
- Shield eyes. Always wear protective eyewear when working near batteries.
- Review this instruction manual and the instruction/safety manual provided by the manufacturer of the vehicle being jump started.
- Connect output cables/clamps to the jump starter through the covered jump starting port. Be sure that the cable connection is fully engaged and secure.
- Turn ignition off before making any vehicle connections.
- Clamp the positive (red +) clamp to the positive terminal on the vehicle battery (for negative ground system), or an alternate vehicle starting point as recommended by vehicle manufacturer.
- Clamp the negative (black, –) clamp to the a vehicle ground (unpainted portion of the chassis or non-moving metal engine part). Never connect to the fuel line, fuel injector or carburetor as the engine ground.
![warning]() Note: Many vehicles feature alternate starting points, away from the battery. Always use the alternate starting points whenever available.
Note: Many vehicles feature alternate starting points, away from the battery. Always use the alternate starting points whenever available.
![warning]() Note: Make sure the cables are not in the path of moving engine parts (belts, fans, etc.).
Note: Make sure the cables are not in the path of moving engine parts (belts, fans, etc.). - Upon making a vehicle connection, the BOOST STATUS indicator LED will light solid green, indicating a proper battery connection has been made.
- If the BOOST STATUS indicator LED lights solid red and sounds an audible alarm after the vehicle connection has been made, this indicates a reverse connection. Disconnect from vehicle immediately and correct the issue.
- If the BOOST STATUS indicator LED does not activate after the vehicle connection has been made, this indicates that the vehicle's battery is too low to allow the unit to activate (<1.0V) or a potential shorted connection. Disconnect from vehicle and determine the cause of the issue before proceeding.
![warning]() Note: Before moving to the steps outlined below, please note that activating the override feature removes all safety from the unit – it is critical that you check all connections and verify that the only issue is a totally dead battery.
Note: Before moving to the steps outlined below, please note that activating the override feature removes all safety from the unit – it is critical that you check all connections and verify that the only issue is a totally dead battery.
If you check that all connections are correct and that the problem is a totally dead battery, you can override this safety feature by pressing and holding the override button for over 3 seconds but less than 6 seconds. A successful override is the BOOST STATUS indicator LED lighting solid green.
- Start the vehicle (turn on the vehicle ignition).
![warning]() Note: If the vehicle doesn't start within 6 seconds, let the unit cool for 3 minutes before attempting to start the vehicle again or you may damage the unit.
Note: If the vehicle doesn't start within 6 seconds, let the unit cool for 3 minutes before attempting to start the vehicle again or you may damage the unit.
![warning]() Note: During very cold conditions, the unit may not start on the first attempt. We suggest attempting to start a second or third time, as the starting attempt will warm the internal battery and improve your starting chances.
Note: During very cold conditions, the unit may not start on the first attempt. We suggest attempting to start a second or third time, as the starting attempt will warm the internal battery and improve your starting chances.
![warning]() Note: Do not attempt to jump start after four attempts – either the unit does not have sufficient power to start the vehicle or there is a more extensive problem with the vehicle than simply a depleted battery.
Note: Do not attempt to jump start after four attempts – either the unit does not have sufficient power to start the vehicle or there is a more extensive problem with the vehicle than simply a depleted battery. - When the vehicle is started, disconnect the negative (–) battery clamp from the vehicle frame. Then, disconnect the positive (+) clamp.
- Disconnect the cable/clamp set from the jump starter and properly store them for the next use.
SERVICE, STORAGE AND TRANSPORTATION
If your unit receives a sharp blow or is damaged in another way, have it checked by a qualified service person. Only identical OE replacement parts should be used in the repair of the product. This will ensure that the safety of the product is maintained.
When storing the unit, disconnect output leads from unit and return all components to zipper case for protection. Do not expose the product to fire or excessive temperatures above 130˚C/265˚F, which may cause explosion or other harm.
Care should be taken in the transport of your jump starter to follow safe practices. Always transport the unit in its storage case with output leads disconnected. Care should be taken to avoid crushing or puncturing the unit or exposing it to fire or temperatures above 130˚C/265˚F.
TROUBLESHOOTING
| Problem | Answer |
| I charged the unit when the % charged display indicated that the unit's charge was low, but after several hours, there is no change in status. | Suspect a faulty charger. |
| While charging, the % charged display indicates full charge has been reached. But, when the unit is remove from the charger and Status Button pressed, the unit appears to not be charged. | Suspect a battery problem. |
QUESTIONS & ANSWERS
Question: How many jump starts can a fully charged unit provide before needing to be recharged?
Answer: 1 to 20. Factors impacting this answer are temperature, the general condition of the vehicle being jump started, the engine type and size of vehicles being jump started and more.
Question: Can the battery in the unit be replaced?
Answer: No, the battery connections inside the unit make it impossible to replace the battery.
Question: What is the ideal in-use temperature for the jump starter?
Answer: Room temperature. It will also operate at low and high temperatures, however its capacity could be reduced. For instance, high heat will increase self-discharge of the unit's battery.
Question: I have a regular 10 amp battery charger, can I use it to recharge the unit?
Answer: No, only the supplied AC adapter should be used.
Question: After jump starting, can I leave the unit hooked to the battery to recharge the jump starter while the engine is running?
Answer: No. Attempting to recharge the jump starter by this method is not possible.
Safety circuitry inside the jump starter and its cables will prevent charging current from coming back into the unit.
Question: Is the jump starter goof proof?
Answer: No, jump starting instructions must be followed. Read and understand all safety and operating instructions in this manual and those found in the owner's manual of any vehicle being jump started before using your jump starter.
Question: How long should I charge the unit?
Answer: It should be charged for a minimum of 6 hours when new. When recharging, the unit should be charged until full charge is indicated.
Question: How often should I charge the unit?
Answer: It should be charged whenever the battery status display indicates the unit is low. Otherwise, it should be charged every 90 days.
FOR WARRANTY OR SERVICE
Jump Starter Repair
8600 NE Underground Drive, Pillar 248
Kansas City, MO 64161
800.328.2921 913.310.1050
For best service and to receive periodic product updates, follow the instructions below to register your purchase:
please visit: www.cloreregistration.com
Click on the Jump-N-Carry logo. Complete the information in the web form and click "submit." It's that easy!
For answers to questions concerning use, out-of-warranty service, or warranty/service information on this or other Clore Automotive products, contact us at 800.328.2921 (913.310.1050).
Documents / Resources
References

Download manual
Here you can download full pdf version of manual, it may contain additional safety instructions, warranty information, FCC rules, etc.
Download Jump-N-Carry JNC325 - Starter and Power Supply Manual
Advertisement


Need help?
Do you have a question about the JNC325 and is the answer not in the manual?
Questions and answers