Advertisement
- 1 Product Contents
- 2 Diagram
- 3 Specifications
- 4 Operating Guide: Charging
- 5 Operating Guide: Vaping Dry Herbs
- 6 Operating Guide: Timer
- 7 Operating Guide: Toggles & Indicators
- 8 Operating Guide: Vaping Extracts
- 9 Cleaning: Light Clean
- 10 Cleaning: Deep Clean
- 11 Sterilising in 3 steps
- 12 Nectar Club Subscription
- 13 Warnings
- 14 YouTube Support Videos
- 15 Nectar Customer Support
- 16 Documents / Resources
Product Contents
1x Nectar Platinum
1x Cleaning Kit
1x Charging Cable
1x Filter Kit
1x 18650 Battery
1x QR Code Card
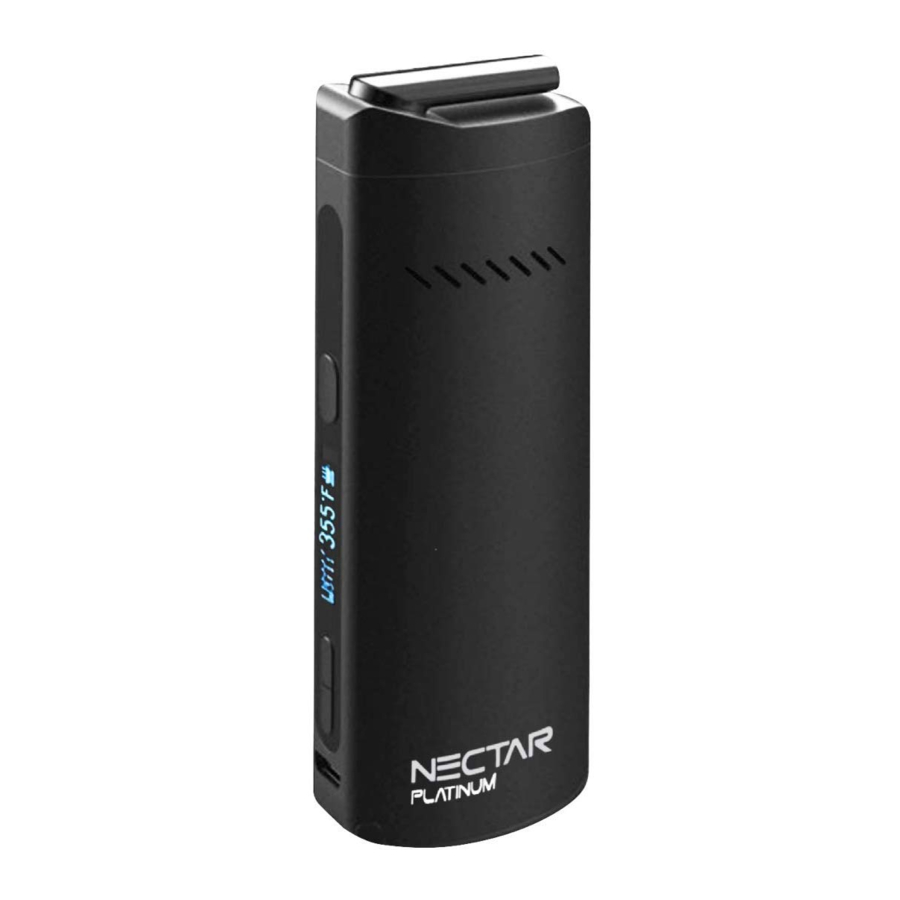
Diagram

Specifications

Dimensions
11.3cm x 3.9cm x 2.4cm

Device Weight
136g

Colour
Matte Black

Battery Capacity
3500mAh (20A)

Compatible Ingredients
Dry Herbs + Extracts (Resin/Wax/Hash*)

Materials
Ceramic Chamber / Aluminium Body / Zirconia Mouthpiece

Temperature Range
100°C - 240°C / 212°F - 464°F

Temperature Precision
1°C Increments
*Please check your local jurisdictions for legality.
Operating Guide: Charging
It is recommended to charge your Nectar Platinum for 1 hour before its first use. When charging, the OLED screen will light on and show the battery charging gauge which will blink whist charging. The OLED screen will indicate a full gauge and will stop blinking when the battery is fully charged.
Note: Avoid overcharging to protect and extend the battery life.

Charging Time: 2 hours
After using the device allow it to cool down before storage. Store it in a dry and cool place to protect it against the effects of weather and avoid damage to the battery. Store out of reach of children.
Operating Guide: Vaping Dry Herbs
- Sterilising
Before using your Nectar Platinum and after charging it you should sterilise it.
![]()
- Packing your chamber/bowl
Grind your herbs. Detach the cooling unit and pour your herbs into the chamber (at least half full for best results). Press the herbs softly to compact them slightly but avoid overcompacting as this will restrict airflow.
![]()
- Turning your device on
Hold and press the power button for 5 seconds to turn on the device. The device will begin to heat up. Whilst the device is heating you should see the "![]() " sign blink continuously.
" sign blink continuously.
![]()
- Setting the temperature
Press the 'up' and 'down' buttons to increase and decrease your desired temperature. Once the desired temperature has been reach the device will vibrate and the "![]() " will become solid.
" will become solid.
![]()
- Vaping your herbs
Once the desired temperature has been reached, wait another 20s in order to give your herbs time to heat evenly. When ready, take long, slow and smooth tokes - lasting around 5-10s per toke (without pressing any buttons).
![]()
- Choosing a temperature
When it comes to temperature there is no one size fits all solution. We recommend starting at 180°C and increasing your temperature by 10°C each session until you've found your preference.
![]()


Operating Guide: Timer
The Timer
The device is automatically set to a timer which automatically turns the device off after 5 minutes to ensure the battery is conserved and the device does not overheat. Once the timer is reached and the device turns off, another vibration will alert you that the device has turned off.

Operating Guide: Toggles & Indicators
To toggle the timer setting between the 5 minutes and 10 minute settings, hold the 'power' button and 'up' button together for 2 seconds.

To toggle the temperature setting between Celsius and Fahrenheit, hold the 'power' button and 'down' button at the same time for 2 seconds.


Operating Guide: Vaping Extracts
- Place the Wax Pad into the Chamber
If recently used, allow your device to cool down before cleaning it to ensure the chamber is free of any loose leaf and/or resin. Place the provided extract/concentrate/wax pad into the chamber. - Adding extracts onto the pad
Place a small amount of extract onto the pad, roughly half a grain of rice & gradually increase to the size of two grains of rice to find your preferred amount.
Note: Too much wax may cause an overspill and block the airflow holes. - Heating the Concentrate/Wax
Concentrates tend to have a higher boiling point than dry herbs so set the temperature of your device to 230°C-240°C. Once your device vibrates, wait an additional 20s and then take long, slow and smooth tokes (each toke should last between 5-10s depending on how strong you desire the hit to be).
Cleaning: Light Clean
Perform a light clean once every 5 sessions (Steps 1 to 3).
- Prepare for cleaning
Before cleaning your device, it is important to allow your device to completely cool down in order to avoid injuries. Once cooled, detach your coiling unit and prepare your device for cleaning by brushing away any loose leaf.
![]()
- Cleaning the mouthpiece
Soak a pipe cleaner with isopropyl alcohol (ISO) and scrub the inside of the mouthpiece. Wipe away the ISO and excess particles by using a clean and dry pipe cleaner. You can clean the outside of the mouthpiece with an alcohol pad.
![]()
- Cleaning the heating chamber
Soak a cotton swab or cleaning brush with ISO. Insert into the chamber and scrub the sides and bottom with a circular motion and repeating the process until you are satisfied. Then dry using a clean and dry cloth or cotton swab.
![]()


Cleaning: Deep Clean
Perform a deep clean once every 20 sessions (Steps 1 to 6).
- Dismantle the Cooling Unit
![]()
- Pull the rubber holder out of the cooling unit.
- Begin to invert the rubber holder.
- Push out the rubber holder filter and ceramic holder
- Pull out the horseshoe slip.
- Detach the ceramic mouthpiece
- Method 1: Cleaning the filters
There are different ways to clean your filters depending on the level of residue. We recommend starting with Method 1: Use alcohol pads to rub away any residue and clean each part individually. Put your device back together, sterilise and use.
![]()
- Method 2: Cleaning the filters
Method 2: Soak all ceramic and metal parts from the cooling unit into a container filled with ISO. Scrub each part clean using a brush soaked in ISO. Rinse off each part with lukewarm water and then dry using a clean cloth. Put your device back together, sterilise and use.
![]()


Note: Isopropyl alcohol deforms rubber. Do NOT soak rubber parts for more than 30s.
Sterilising in 3 steps
- Prepare for Sterilising
Before sterilising your device, ensure it has been sufficiently charged. If sterilising after a clean, ensure your parts have been wiped dry with a clean cloth before proceeding to the next step. - Setting your temperature
Set your vaporizer to the maximum temperature (240°C) by holding the temperature 'up' button until your desired temperature is reached. - Sterilising
Allow the device to heat for 5 minutes with an empty chamber in order to sterilise it. The device has a built in 5-minute timer and hence it will turn itself off once the sterilisation process in complete.
Repeat this step twice. Once without the cooling unit detached and once with the cooling unit attached.
Nectar Club Subscription
Designed to pay for itself.
"Receive a FREE upgrade/vaporizer once every 2 years"

Scan the QR Code to see our monthly plans. Sign up now to receive:
- Receive a refurbished version of your device every year.
- Lifetime Insurance (Covers Accidental Breakage).
- Receive products worth up to £613.19 every 2 years.
- Receive a FREE upgrade/vaporizer once every 2 years.
- Receive a lifetime discount (up to 15% off sitewide).
+ MORE!

nectarmedicalvapes.com/nectar-club-pricing/
Warnings
Liquids & Extracts
Do not submerge the whole device or its chamber into water, isopropyl alcohol (ISO), or any other substance. Do not use the device with viscous liquids/oils as this may block the airflow holes. Extracts can be used with the device only whilst using the wax pad as advised.
Error Codes
The device may indicate an issue with the battery by present the error message "out short" or "low voltage". Replacing the battery with an original battery should fix the issue. If not, then please contact our customer service via WhatsApp.
Charging
Do NOT charge your device with a charger consisting of more input than 5V/1A. Do not leave your device with no charge for periods over 2 months as this will cause a reduction in future capacity and possibly battery failure.
Law & Age
This device can be used for various herbs and extracts, some of which may be considered restricted or illegal in some countries. Please check your local jurisdictions for legality and minimum age restrictions.
YouTube Support Videos
Scan the QR Codes below to watch the relevant videos and/or subscribe to our channel.
Watch our support videos
How to Clean
Length: 6mins

How to Change Filters
Length: 3mins

How to Use
Length: 8mins

Subscribe to our channel

Nectar Customer Support
Scan a QR Code or click the icons below to get in touch:
WhatsApp

 +44 773 2415 188
Avg. Response: 0.5 hours
Email

 info@nectarmedicalvapes.com
Avg. Response: 2 hours
Telephone

+44 207 050 0737
Avg. Response: 30 seconds
Documents / Resources
References
![nectarmedicalvapes.com]() Nectar Club | The Vape Subscription Designed to Pay for Itself
Nectar Club | The Vape Subscription Designed to Pay for Itself![www.nectarmedicalvapes.com]() Dry Herb Vaporizers UK - Vaporizers, CBD & More | Same Day Dispatch
Dry Herb Vaporizers UK - Vaporizers, CBD & More | Same Day Dispatch
Download manual
Here you can download full pdf version of manual, it may contain additional safety instructions, warranty information, FCC rules, etc.
Advertisement


Need help?
Do you have a question about the Platinum and is the answer not in the manual?
Questions and answers