Advertisement
FEATURES
Real-time Air Quality Display
The air quality sensor allows you to check the "Indoor Air Quality (IAQ)" in real-time through the four-level color display.

Superior Air Cleaning
Coway Airmega 230 is equipped with a powerful Green True HEPA filter and smartly optimizes filter system to remove contaminants according to the room's current air quality.

Filter Replacement Indicator for Cleaning and Replacement
It notifies the filter cleaning and replacement cycles for customers' filter management convenience.

- Pre-filter, Max2 filter
Customizable High-Performance Filter System
Its structure allows customers to remove the filter easily for cleaning/replacement.

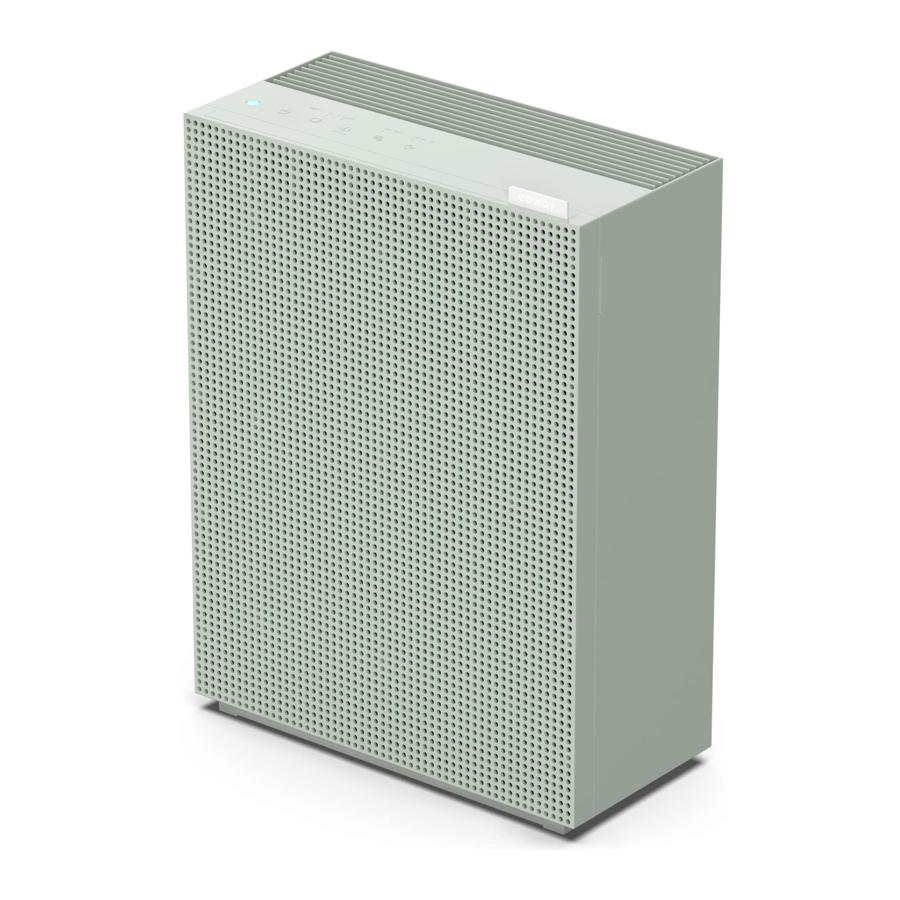
Sophisticated Design
Slim and sophisticated design that fits everywhere.

PART NAMES
Front/Rear

Top

Accessories

AIR PURIFICATION PROCESS
Pre-filter
Removes large dust particles, mold, hair, and pet hair.
Max2 filter (Activated Carbon + Green True HEPA)
Captures and reduces more than 99% of VOCs and odors such as NH3, CH3CHO, CH3COOH. It also captures and reduces up to 99.97% of airborne particles, allergens, and contaminants down to 0.3 microns in size.

BEFORE USE
Please check before use!
 This product is for 120 V~, 60 Hz only.
Make sure to connect the power plug to a grounded 120 V~, 60 Hz outlet.
How to Install Filter
 Tips
Tips
- Be sure to remove the packaging plastic wrapping before installing the filter.
- Use the filter indoors only.
- Unplug the power cord from the outlet when not using the product.
- Check the front of the filter when installing it.
- Open the front cover.
Pull the top of the front cover to open it.
![]()
- Take out the filter and remove the packaging plastic wrapping.
Remove the packaging plastic from all filters except the pre-filter and assemble the product according to the filter assembly sequence.

- Close the front cover.
Align the two projections on the bottom of the front cover with the grooves and push in the cover to fix it.
* The product will not operate if the front cover is not fixed correctly.


INDICATORS AND BUTTONS
Indicators

- SMART Mode Indicator
It turns on when the SMART mode is activated.
![]()
- Speed Indicator
It shows the current fan speed. Each indicator is turned on as per its airflow speed.
![]()
- Sleep Mode Indicator
It turns on when sleep mode is activated.
![]()
- Filter replacement Indicator
Replace the filter when this indicator is on.
Refer to filter replacement cycle for each filter.
![]()
- Timer Indicator
It turns on when the timer is activated.
![]()
- Air Quality Indicator
It displays the current pollution level of the room.
![]()


Buttons

- Power Button
Use this button to turn the air purifier on or off.
*To power off, press and hold the power button for one second.
![]()
- Mode Button
Use this button to adjust the fan speed. Available settings for the fan speed are SMART → 1 → 2 → 3 → SLEEP.
![]()
- Light / Child lock Button
Use when turning ON / OFF the Air Quality Indicator. The Air Quality Indicator is turned off after pressing the button once. The Air Quality Indicator is turned on after pressing the button one more time.
Press and hold for 3 seconds to lock all functions on the control panel.
Press and hold for 3 seconds again to unlock.
![]()
- Filter reset Button
When the filter replacement indicator is turned on, press the corresponding button for more than 3 seconds after cleaning and replacing the filter.
The indicator stays on during the filter cleaning/replacement cycle. When the cleaning cycle or life becomes less than 2%, the corresponding indicator will emit an orange color light.
![]()
- Timer Button
Touch the timer button until the indicator light displays the desired time.
![]()


HOW TO USE
Tips
- Plug the air purifier into an outlet before operating the product.
- The product operates in SMART mode by default when turned on.
Manual & SMART Mode
Press the Power button and then select the speed of the fan by pressing the Speed button.
(SMART → 1 → 2 → 3 → SLEEP)

How to Use SMART Mode
Press the Power button and select the SMART mode by pressing the Speed button.

SMART Mode
Automatically optimizes the speed setting 1 through 3 based on the level of indoor air quality detected by dust sensor. This mode is recommended for general users.
| Pollution Level 1 | Pollution Level 2 | Pollution Level 3, 4 | |
| Speed | Auto Level 1 | Auto Level 2 | Auto Level 3 |
ADJUST PARTICLE SENSOR
How to adjust the sensitivity of the air quality sensor
The air quality sensor is set to standard sensitivity when the product is shipped out. If the pollution level stays at the highest level after 2 hours of operation or remains at the lowest level for more than 1 hour when the air does not seem clean. In that case, users can adjust the sensitivity of the air quality sensor as follows.
- While the product is operating, press the Mode button and the Light button at the same time for more than 2 seconds.
![]()
- The speed indicator flashes at an approximately 0.5 second interval.
![]()
- Press the Mode button to adjust to the desired sensitivity.
The speed indicator blinks as shown below once sensor sensitivity is selected.
![]()


| Level 1 | Level 2 | Level 3 |
| High | Standard | Low |
- Press the Mode button and the Light button simultaneously for more than 2 seconds, the selected sensitivity will be inputted, and the product will start operating normally.
* If the Mode button and the light button are not pressed for 10 seconds, the selected sensitivity of the sensor is automatically entered.
![]()

HOW TO CLEAN
Tips
- Always unplug the air purifier before cleaning.
- Do not use detergents that contain organic solvents (solvent, thinner, etc), bleach, chlorine, or abrasives.
- Do not put the air purifier in water or spray water directly on it.
Cleaning the Air Quality sensor
Cleaning the Air Quality sensor every 2 months
- Use a soft brush or vacuum cleaner to clean the air quality sensor's air inlet and outlet.
![]()
- Open the air quality sensor cover on the right-hand side of the product. Wipe the lens, dust inlet, and dust outlet with a dry cotton swab.
* Without regular cleaning, the performance of the air quality sensor deteriorates.
* The cleaning cycle differs depending on the operating environment. When using the product in a dusty environment, clean the sensor more often.


How to Clean Front Cover

Use a soft cloth or brush to wipe off the dust on the surface of the front cover.
* Use a slightly wet cloth to wipe when contamination is high (Do not use abrasive).
How to Clean Main Body of Product

Use a dry and soft cloth to wipe it.
* Use a slightly wet cloth to wipe when contamination is high (Do not use abrasive).
Tips
- Always unplug the air purifier before cleaning the filter.
- The pre-filter can be restored by removing dust or washing with water.
- Failure to clean the pre-filter for a long time may result in poor product performance.
- The Max2 filter cannot be restored by cleaning. Never wash these filters with water.
Pre-filter
(every two weeks)
- The pre-filter can be easily removed without disassembling the product. Pull the Pre-filter handle to take it out.
![]()
- Remove dust with a vacuum cleaner or water depending on the degree of pollution.
![]()
- Dry the pre-filter entirely and install the filter on the product.
* You may hang dry the wet pre-filter on the front cover of the product using the hook at the top of the pre-filter.
* To install the pre-filter, insert it entirely into the product.
![]()


HOW TO REPLACE FILTER
How to Replace
- Refer to the filter installation method in "BEFORE USE" section to replace the filter.
- Be sure to check the front side when installing the filter.
- Use a genuine Coway filter to maintain the optimal performance of the product.
- Always unplug the power cord before replacing the filter.
Filter Cleaning and Replacement Cycle
| Filter | Cycles | Method |
| Pre-filter | Every 2~4 weeks | Cleaning |
| Max2 filter | Every 1 year | Replacement |
* It is based on 8-hour use per day at level 3 speed.
* Filter replacement cycle is a recommendation and may vary depending on the environment.
Tips
- The cover with the filter attached may damage if it is dropped while moving, so do not move it upside down.
- Max2 filters are consumables.
How to Replace Max2 filter
(Replace every 12 months)
PRE LED: Pre-filter
MAX2 LED: Max2 filter

- Open the front cover and remove the filter set entirely.
* It prevents dust generation inside the space.
![]()
- Move to where the filter replacement is possible and separate the Max2 filter.
![]()
- Clean / Wash the area except for the filter and dry it before assembling the new filter.
* Check the front display of the filter.
* Assemble the Max2 filter
* Put the Max2 filter, then push the fastening material areas of the frame.
![]()
- After assembling to the product, close the front cover.
![]()
- Reset the indicator by pressing the air quality indicator light on/offbutton & filter replacement button for 3 seconds.
![]()


TROUBLESHOOTING
The air purifier may operate abnormally not because of the product malfunction but because of minor causes or because the user is not familiar with the product use. In such a case, problems can be solved easily even without help from the service center just by checking the following. If the problem persists after checking the following, contact the service center.
| Problems | Check | Possible solutions |
No air is blowing |
| Connect the power cord to an electric outlet for 120 V~, 60 Hz. |
| Press the power button and then select the desired function. | |
| Use the air purifier after the power comes back on. | |
| Close the front cover properly. | |
The airflow speed does not change |
| Set the desired operating mode. |
The airflow speed is significantly weaker than before |
| Check the filter cleaning and replacement cycles and then clean / replace the filter(s) if necessary. |
A bad smell comes out of the air outlet |
| Check the filter cleaning and replacement cycles and then clean / replace the filter(s) if necessary. |
| The color of the air quality indicator always stays the same |
| Clean the lens of the air quality sensor. |
| Adjust the sensitivity of the air quality sensor to Insensitive or standard. | |
| Adjust the sensitivity of the air quality sensor to sensitive or standard. | |
The air quality indicator is flashing |
| |
When other functional problems are detected |
| |
- For more information, please contact us: INFO@COWAYMEGA.COM / 1-800-285-0982
SPECIFICATION
| Product name | Air Purifier |
| Model name | Airmega 230(W), Airmega 230(K) |
| Rated voltage | 120 V~, 60 Hz |
| Power consumption | 60 W |
| Filter | Washable Pre-Filter + Max2 filter set (Activated Carbon + Green True HEPA) |
| Installation location | Indoor |
| Coverage area | 403 ft2 |
| Size (WxDxH) | 16.7 x 8.3 x 22.8 inch (42.3 x 21 x 58 cm) |
| Product weight | 21 lb (9.5 kg) |
- There may be slight changes to the specifications for improving the product's performance.
- The energy efficiency of this ENERGY STAR certified model is measured based on a ratio between the model's CADR for Smoke and the electrical energy it consumes, or CADR/Watt.
SAFETY INFORMATION
The following information is for user safety that should be observed.
It is to ensure user safety and prevent property damage. Please read the precautions carefully and use the product correctly.

120 V~, 60 Hz only

Failing to follow the precautions below may result in serious injury or even death.
Do not use damaged power plugs or loose sockets.
The power plug must be plugged into 120 V~, 60 Hz.
Do not pull on the power cord to move the device.
Do not touch the power plug with wet hands.
To avoid damaging or warping the power cord, do not use excessive force to bend the power cord or put heavy objects on top of it.
Do not repeatedly connect and disconnect the power plug.
If water enters the power supply, unplug the power and completely dry before using again.
Be sure to unplug the power during product repair, maintenance or part replacement.
If the power plug's pins or contact area become covered in dust or water, wipe them thoroughly.
Do not plug several electric appliances into one socket, and use only a dedicated socket.
Unplug the power when not used for a long time.
Do not carelessly connect or tamper with the power cord.
If the power cord is damaged, do not replace it yourself. Contact a service center to have it replaced.
Do not install near electric heaters.
Do not put on top of electric products like heaters or televisions.
Do not install in places with a lot of humidity or dust or places where water (rainwater) splashes.
Do not use or store combustible gases or flammable materials near this product.
If there is a strange sound, burning smell, or smoke from the device, immediately unplug the power plug and contact a service center.
Never immerse the product in water.
Do not spray flammable materials such as insecticides or air fresheners on the intake.
Do not open, repair, or modify the device yourself.
Do not put bowls of water, chemicals, food, small metal objects, or flammable materials on top of this product.
Unplug the power before cleaning.
If the purifier falls over and gets wet during use, A/S maintenance is required before further use.
Do not spray water directly on the device or use benzene, thinners, etc. to wipe it during cleaning.
Do not insert sharp objects such as picks into the air quality sensor.
Do not put fingers or foreign matter (pins, sticks, coins, etc.) into the vent.
Do not let children hang from or climb on the purifier.
Be careful that children do not put their hands in the vent.
Replace the filter with a new one when the time comes.
Do not spray water directly on the purifier.

Failing to follow the precautions below may result in considerable physical injury or property damage.
Do not unplug by pulling on the power cord.
Plug into a power socket connected to an earth leakage circuit breaker (current sensitivity 30 mA or less).
If extending the power cord, only use with sockets and cords of 250V / 15A and use by itself.
Do not use in baths, showers, swimming pools, or other areas where the purifier may be in direct contact with water.

Failing to follow the precautions below may result in slight physical injury or property damage.
Do not unplug the power or move the purifier while it is operating.
If unusual sound, odor, or smoke comes from the purifier, immediately unplug the power and call our service center.
Do not install on a slope.
Do not excessively impact or use excessive force on this product.
Use at least 20 cm away from walls or other objects on each side.
Install the purifier in a place where it is not blocked on any side so air can circulate well.
Install at least 2 m away from TVs and other electronic items.
Do not use in BBQ or other restaurants where odor, smoke, or oil may occur.
Do not use in direct sunlight.
Do not install in a high place.
Do not use extreme force on the purifier.
Do not push or lean on the purifier. The purifier may fall over.
Do not use for a long time in places that are sealed or where children, the elderly, or sick people are.
Do not block the vent with laundry or curtains.
Remove dust from the pre-filter with a vacuum cleaner or water.
Periodically wash the pre-filter and dry it well in a shady place with good ventilation.
People with physical, sensory, or mental impairment as well as children must be supervised or guided while using the device.
It is advisable to supervise children so they do not play with the device.
This appliance can be used by children aged from 8 years and above and persons with reduced physical, sensory or mental capabilities or lack of experience and knowledge if they have been given supervision or instruction concerning use of the appliance in a safe way and understand the hazards involved.
 This appliance has a polarized plug(one blade is wider than the other). To reduce the risk of electric shock, this plug is intended to fit in a polarized outlet only one way. If the plug does not fit fully in the outlet, reverse the plug. If it still does not fit, contact a qualified electrician. Do not attempt to defeat this safety feature.
READ AND SAVE THESE INSTRUCTIONS
Documents / ResourcesDownload manual
Here you can download full pdf version of manual, it may contain additional safety instructions, warranty information, FCC rules, etc.
Advertisement


Need help?
Do you have a question about the Airmega 230 and is the answer not in the manual?
Questions and answers