Advertisement
Table of Contents
Contents
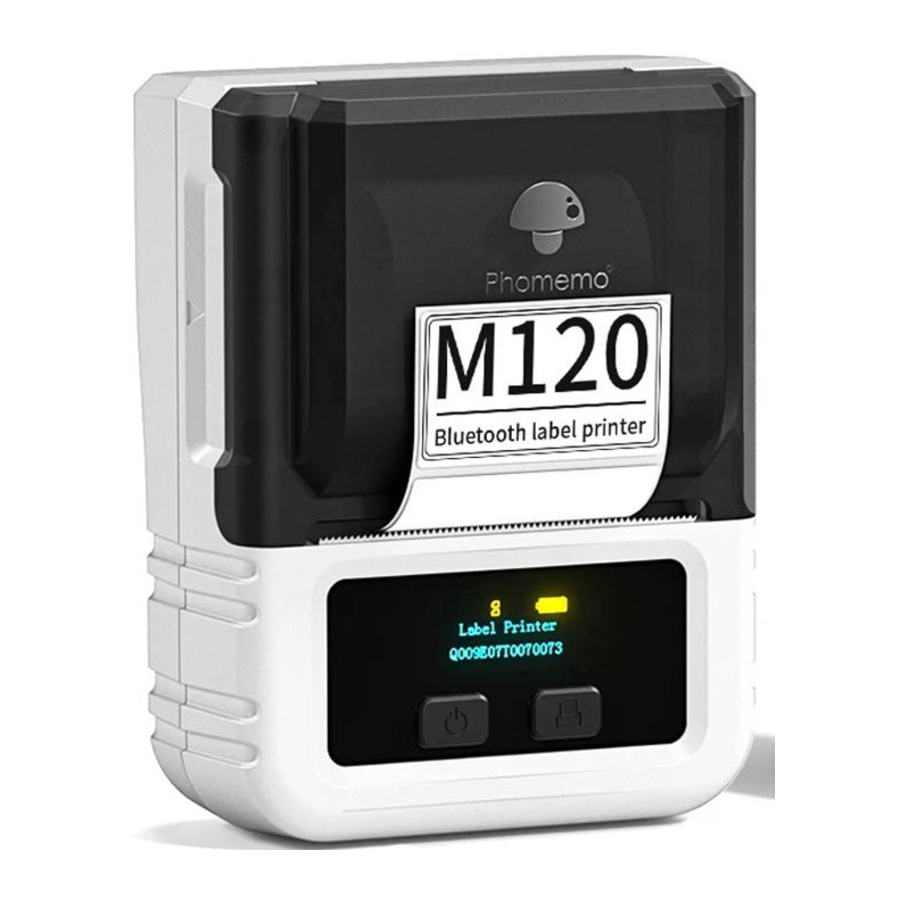
Phomemo M120 - Portable Label Printer Manual
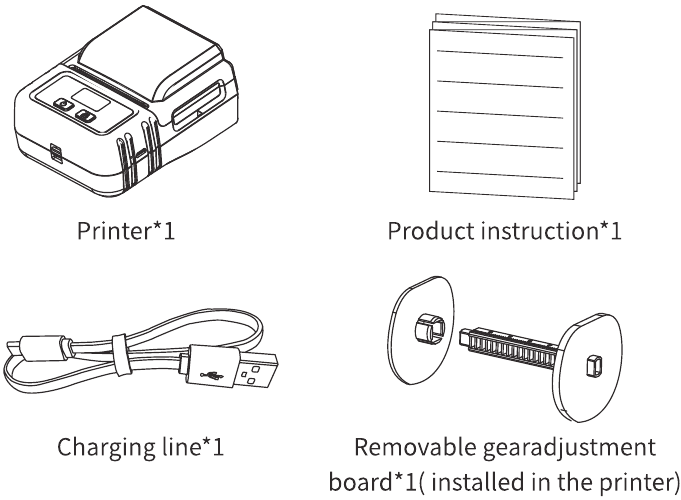
Packing List
 NOTE
NOTE
- The number of paper rolls in the list is subject to the actual shipment.
Product Specifications
| Name | Portable label printer |
| Model | M120 |
| Print technology | Thermal printing |
| Effective printing width | 20-50mm |
| Supported consumables | Pre-cut paper, black mark paper, continuous paper |
| Consumable specifications | 57mm X 50mm (Max width X Max diameter) |
| Print speed | 20-45mm/s(switchable, level 1-5) |
| Printing density | Switchable, level 1-15 |
| Print resolution | 203dpi |
| Print head service life | 50KM |
| Communication interface | Bluetooth 4.2 |
| Micro USB | |
| Product size | 111*86*59mm (4.37*3.38*2.32inch) |
| Power input | 5V  2A 2A |
| Power supply method | Micro USB |
| Lithium battery | |
| Supported operating system | Android |
| iOS | |
| Instruction set | ESC/POS/TSPL |
| Bar code | 1D bar code & 2D bar code |
| Working environment | 5°C~50°C |
| Storage environment | -20°C~60°C |
| Working humidity | 20%~85% |
| Storage humidity | 2%~95% (Non condensation) |
Product Appearance Introduction

| Button function introduction | |||
| Diagram | Button | Operating | Features |
 | Power Button | Long press 3s | Power on/off |
| Continuous click | Switchable home menu | ||
 | Feed Button | Click on (Consumables are Pre-cut paper and black mark gape) | Take a label, position and adjust it to the beginning of the next label |
| Click on (Consumable is continuous paper) | Press the paper feed button to feed the paper, release the paper feed key and stop the paper feed. | ||
| Long press 3s | Automatically return to the main menu interface. | ||
| Continuous click | The power button switches the homepage menu, and can be used to switch sub-menus. | ||
Component Description
Display settings home menu
| Options | Parameter |
| Language | English, Spanish, French |
| Print density | 1(weakest), 2,3,4(weak),5,6(Normal),7,8,9,10(Dark),11,12,13,14,15(Darkest) |
| Print speed | 1(Slowest),2(Slow),3(Normal),4(Fast),5(Fastest) |
| Paper gap type | Continuous, Gap, Black mark |
| Auto power OFF | No Close, 5 Minutes, 15 Minutes, 30 Minutes, 1 Hour, 2 Hour, 4 Hour, 8 Hour, 24 Hour |
| Restore to Factory Settings | Press power button to restore |
| Firmware version | Display Firmware version |
| Device address | Display device address |
Screen hint
| Content | State |
| Shutting down | Battery lower than 1% |
| Printing... | Printing regularly |
| Feeding... | Press Feed button |
| High temperature please wait | Print head is overheated |
| No Paper... | No paper in the bin or paper is installed incorrectly |
| Paper cover is opened | The paper cover is opened |
Paper Roll Installation
- Long press the power button for 3s.

- Hold both sides of the printer paper compartment cover (both sides of paper outlet) with the hand, and open the paper compartment cover forcefully with finger cushion upwards.

- Take out the label paper mounting bracket in the paper compartment.

- Remove the left baffle, put in the label paper roll (label printing side down), and push the left baffle to right.

- Align the installed label roll holder with the card slots on both sides, and put it into the paper compartment.

- Pull out part of the paper (approximately 15mm above the paper exit), and close the paper compartment cover.

- The printer feeds paper automatically to position the gap of label paper, and then the paper roll installation is complete.


NOTE
- After the first operation or each time you replace the consumables, the printer will automatically feed the paper, so that the printer can position the label to avoid there will be incomplete printing, missing, non-aligned, etc.
App Download Method

NOTE
- This product needs to be connected to the printer in the App.
- Due to the requirements of mobile phone system, the Android mobile phone will use the user's geographic location when connecting, so that the user needs to turn on the GPS and confirm the authorization.
Method l:
Please use your mobile phone to scan the QR code to download the App.

Method II:
Search "Print Master" to download App.


Device Connection
- Turn on GPS (Android mobile phone only).

- Open the App.

- Click to search
![]() for the device.
for the device.

- Connect immediately.


 for the device.

NOTE
- When connecting device in the App, please make sure that your printer is turned on and Bluetooth of your mobile phone is turned on.
- Due to the requirements of mobile phone system, the Android mobile phone will use the user's geographic location when connecting, so that the user needs to turn on the GPS and confirm the authorization.
Confirm the Label Size
The device can start printing after the label size is set through the App or a template is selected. Please follow the instructions below to determine it.
Method l:
Check the label paper packaging.
Please refer to the actual size used.

Method II:
Use a ruler to measure.

Printing Guide
New Label
- After clicking "New", customize the label size and paper type.

- Customize the label size.

- Click "(T)" to input text.

- After editing, click to "Print".


Select the Label Template
- Click "Label"

- Select the label paper template.

- Click "(T)" input text.

- After editing, click to "Print".


NOTE
- If the matching template is not selected, there will be undesirable situations such as half printed.
Edit function description

NOTE
- App functions will be updated with new functions in irregular, please refer to the actual function.

How to Deal with Common Problems
| Serial | Common problem | Treatment |
| 1 | With paper fed into the bin, still no paper is detected on the screen. What's the matter? | Referring to the instructions, check whether the paper is in place on the right side of the printer. Pull out the paper a bit from the outlet, allowing it in between the upper and lower paper sensors, and close the bin cover. |
| 2 | Long press the power key but no response | The printer may be in power failure. Restart it after charging for half an hour. |
| 3 | What if automatic shutdown of the unit |
|
| ||
| 4 | What if the unit refuses to charge |
|
| ||
| ||
| ||
| ||
| 5 | What if the unit refuses to charge |
|
| ||
| 6 | What if the paper is blank after printing |
|
| ||
| 7 | Fuzzy printed content |
|
| ||
| 8 | Indirect skip or incomplete printing content occurs |
|
| ||
| ||
| 9 | How to solve the problem that the printer does not run smoothly or feeding failure in the process of paper feeding or printing? |
|
| ||
| 10 | What if multiple mobile phones are simultaneously connected, but can't be functioning? |
|
|
Documents / Resources
References
Download manual
Here you can download full pdf version of manual, it may contain additional safety instructions, warranty information, FCC rules, etc.
Advertisement


Need help?
Do you have a question about the M120 and is the answer not in the manual?
Questions and answers