Advertisement
- 1 Features
- 2 Description of parts
- 3 Assembly
- 4 Using your device
- 5 Using the hose and pet brush
- 6 Using the hose and multi tool
- 7 Emptying the cylinder
- 8 Cleaning the filters
- 9 Changing the belt
- 10 Clearing blockages
- 11 How to store your product
- 12 Troubleshooting
- 13 Electrical Connections
- 14 Fitting a new plug
- 15 Technical data
- 16 Customer Support
- 17 IMPORTANT SAFEGUARDS
- 18 Documents / Resources
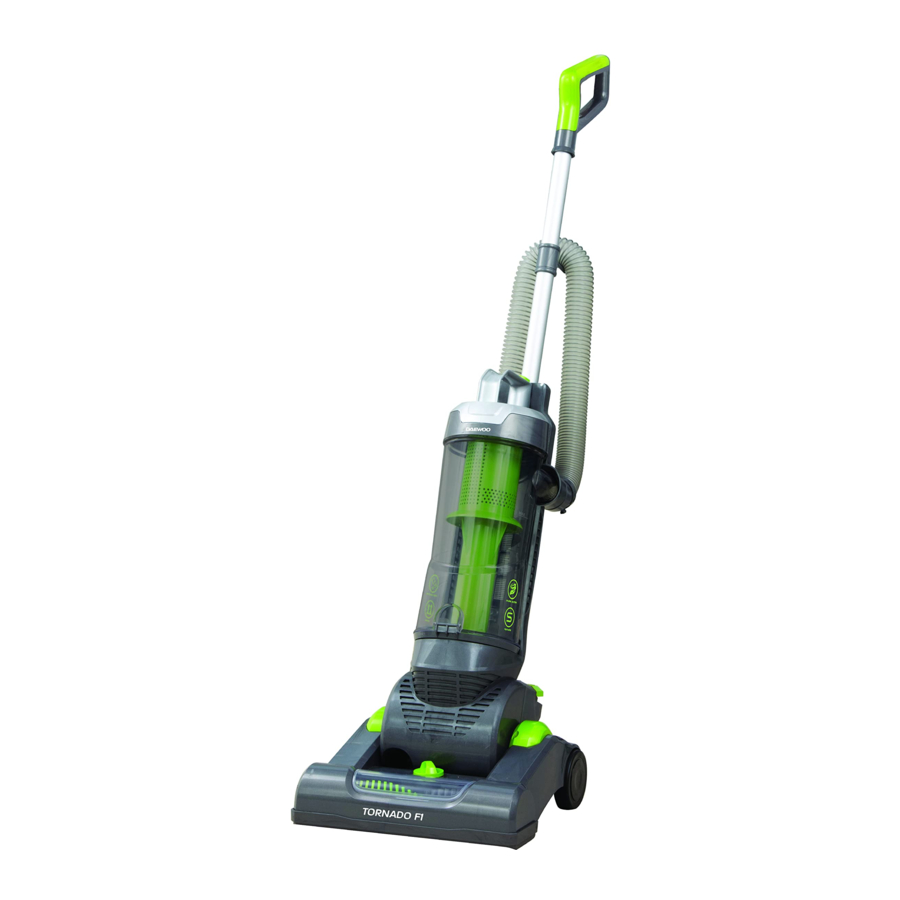
Features

CYCLONIC SUCTION

750 POWER

FLEXI HOSE

LIGHT WEIGHT

7M CORDED

WASHABLE FILTER
Description of parts

Assembly

Align the handle pole with the top of the vacuum body and insert until the screw hole in the body aligns with the screw hole in the pole.

Insert the screw (supplied) using a pozidrive screwdriver (not supplied) and tighten.
Using your device
NOTE: Ensure the vacuum cleaner is fully assembled before use.

The floor head of the vacuum cleaner can be raised or lowered to suit the floor surface to be cleaned.
Turn the selector dial clockwise to raise the floor head and anti clockwise to lower the floor head.

Unravel the cable from the storage hooks. To do this simply rotate the upper storage hook through 180 degrees and pull the cable away, then unhook from the lower cable hook.

Insert the plug into a suitable socket outlet
For upright use, place your foot on the floor head and pull back gently on the handle then turn on by pressing the power ON/OFF button with your foot. (see below)


Using the hose and pet brush
For difficult to remove soiling on upholstery such as pet hairs, the pet brush can be used.
This should be fitted onto the hose as shown below.
The fixed combs and rotating pneumatic brush clean up even the most stubborn or matted hairs.

Using the hose and multi tool

Remove the end of the hose from the hose connector by twisting anti clockwise and pulling upwards

Attach the multi tool to the hose by simply sliding onto the end of the hose
The multi tool can be used as a crevice tool or as an upholstery brush.
To use the upholstery brush, slide to the end of the multi tool unit until it locks into place.


To retract the uphostery brush, push the button on the side of the tool and push the brush back

Note: To improve stability of the vacuum cleaner when using the hose, hook the hose anti topple ring on the hose onto the hose anti topple hook, which is on the lower cable storage hook.
When cleaning stairs always place the vacuum cleaner at the bottom of the stairs so it is always positioned below you and up against the bottom stair (see below).
Clean the stairs using the multi tool attachment or just the hose as conditions demand.
Note: The brushroll rotates constantly when the vacuum cleaner is on.
When upright the wheels will raise the brushroll from the floor. To avoid damage to your floor, ensure the vacuum is upright when using the hose.
Turn the vacuum cleaner on and off using the power ON/OFF button.

Emptying the cylinder

To release the cylinder from the main body of the vacuum cleaner, press the cylinder release button at the top of the cylinder and pull the cylinder away from the top.

To empty the cylinder, hold over a dustbin and release the catch on the bottom of the cylinder.
Shake the cylinder until all of the dust is removed from the cylinder.
Cleaning the filters
Cylinder HEPA filter

Remove the cylinder from the vacuum cleaner as described above.
Rotate the cylinder lid anti clockwise while holding on to the cylinder body and pull the cylinder head and filter assembly away.

Remove the filter assembly from the cylinder lid by rotating the lid anti clockwise.
The HEPA filter is located in the filter assembly and can be simply pulled out.
Tap the filter assembly and filter over a dustbin to remove excess dust and debris

Rinse the filter, filter assembly and cylinder under warm water until thoroughly clean.
Leave to dry for 24 hours before reassembling
Once all parts are thoroughly dry, reassemble the cylinder.

Place the HEPA filter back into the filter assembly and re-attach the filter assembly to the cylinder lid.
Ensure all parts click back into place by aligning the arrow on the filter assembly with the open padlock symbol on the lid then turning in the direction of the closed padlock
Rectangular HEPA filter
To access the rectangular HEPA filter, remove the cylinder as described. The rectangular filter is located in the body of the vacuum cleaner behind the cylinder.

To remove the filter from the vacuum cleaner body, press down on the catch at the top of the filter and pull the filter towards you.

Tap the filter over a dustbin to remove any excess dust and debris then rinse under warm water until the water runs clear.
Leave to dry for 24 hours before refitting to the vacuum cleaner.
Sponge filter
To access the sponge filter, remove the cylinder and empty. The filter is located at the base of the filter assembly.

With your thumb and forefinger, pinch the filter and pull out towards you.
It is important to regularly clean the filters. A clogged filter reduces the suction power and can shorten the life of the appliance.
| Filter Type | Recommended cleaning times |
 Cylinder HEPA filter |
|
 Rectangular HEPA filter |
|
 Sponge filter |
|
Changing the belt
NOTE: Before starting any maintenance on the belt, ensure the vacuum is switched off and disconnected from the mains supply.
Lay the vacuum on the floor face down so the base can be accessed.

Remove the four retaining screws circled right (1) and remove the brush guard (2)

Unhook the belt by sliding it off and away from the motor spindle as shown.

Remove the brushroll from the vacuum casing

Hook the replacement belt over the motor spindle and over the brushroll. Ensure the belt sits in the middle section in between the two grooves on the brushroll.

Pull the brushroll down and back into the casing. Ensure the flat edge of the brushroll is facing outwards.
Rotate the brushroll by hand to check there is free movement
Clearing blockages
Ensure the upright vacuum is turned off and disconnected from the mains supply before checking for blockages. The upright vacuum would only become blocked if the cylinder is full (Beyond the MAX level), the filters are clogged or a large object has been sucked up.
- Check the cylinder and empty if necessary.
- Check the filters, remove any debris or dust and wash if necessary.
- If the multi tool has been used, detach it from the hose and check for blockages.
- Detach the hose from the vacuum by rotating the white plastic ends and pulling them away from the vacuum. (see below)
Lay the hose flat and look through it to see if there are any blockages. If there are, use a broom handle or similar to clear them taking care not to damage the hose in the process.
![]()
- Check the hose sockets and clear any blockages.
- Check the brushroll for any hair or thread which may have become wrapped around the roller. Cut away with a pair of scissors.

How to store your product
- Turn off the power at the mains supply and unplug.
- Place the vacuum in the upright position.
- Remove the crevice/brush multi tool if last used and place in it's holder.
- Wrap the cord around the upper and lower storage hooks on the back of the vacuum.
- Store the vacuum away safely in a dry place.
Troubleshooting
| Problem | Possible cause | Solution |
Unit fails to turn on | The unit may not be properly plugged in or the fuse may have tripped. | Ensure the plug is fully inserted into the socket and the socket is switched on. Check the fuse on the mains board, if it has tripped, reset it. |
Low suction or poor pick-up | Cylinder is full. Filters are clogged. Blockage in the hose. Belt is worn. The vacuum is set at the wrong floor setting. | Empty the cylinder. Check and clean the filters. Check the hose and clear if necessary. Check the belt and replace if necessary. Check the floor setting dial and adjust as required. |
The unit is making a hissing sound | The airflow is restricted | Check for blockages and clear. Clean the filters. |
The device is difficult to push | The vacuum is set to the wrong height for the floor type. | Adjust the floor setting dial as necessary. |
Electrical Connections
This appliance is fitted with a fused three-pin plug to BS 1363. If the plug has to be removed, it should be cut off and carefully disposed of immediately.

To avoid a possible shock hazard, do not insert the discarded plug into a mains socket.
Fitting a new plug
If for any reason you need to fit a new plug, the flexible mains lead must be connected as shown below. The wires in the mains lead fitted to this appliance are coloured in accordance with the following code:

- Ensure the outer sheath of the mains lead is securely held by the cable clamp
- The Blue wire must be connected to the terminal marked N or coloured Black.
- The Brown wire must be connected to the terminal marked L or coloured Red.
- Check that there are no cut or stray strands of wire inside the plug.
- Use a 13 Amp BS 1362 fuse, only use BSI or ASTA approved fuses.
- If you are in any way unsure which plug or fuse to use, always refer to a qualified electrician.
- After replacing or changing a fuse on a moulded plug, the cover must be refitted to the plug; the appliance must not be used without a fuse cover.
Technical data
| Voltage | 220-240V AC 50Hz |
| Rated power | 750 W |
| Sound level | 77dB |
| Model No. | FLR00049 |
Customer Support
Should you require any product information, replacement parts or accessories, please contact out customer care team at help@daewooelectricals.com or call 0161 831 7879.
IMPORTANT SAFEGUARDS
When using electrical appliances, basic safety precautions should always be followed. These instructions should be saved for future reference:
- Read and familiarise yourself with all operating instructions before using this Vacuum Cleaner.
- Before plugging your unit into the mains, visually check that the unit is intact and has not suffered any transit damage.
- Check that the voltage indicated on the data plate corresponds with that of the local network before connecting the appliance to the mains power supply.
- This appliance can be used by persons with reduced physical, sensory or mental capabilities or lack of experience and knowledge if they have been given supervision or instruction concerning use of the appliance in a safe way and understand the hazards involved.
- Children shall not play with the appliance.
- Keep the appliance and its cord out of reach of children less than 8 years when it is energised or cooling down.
- Do not immerse the appliance or its cord in water or any other liquids.
- Do not leave the appliance unattended during use.
- Do not leave the appliance unattended whilst connected to the mains supply.
- Do not use this appliance outdoors.
- It is imperative to unplug the power cord after the appliance has been used, before it is cleaned and whilst being repaired.
- Repairs to electrical appliances should only be performed by a qualified electrician. Improper repairs may place user at serious risk.
- Do not operate this appliance with a damaged plug or cord, after a malfunction or after being dropped or damaged in any way.
- Regular, periodic checks should be carried out on the mains cable to
- ensure no damage is evident. Should there be any signs of damage the appliance should not be used.
- If the power cable is damaged, it should only be replaced by the manufacturer or a suitable qualified after-sales-service in order to avoid a hazard
- Do not allow the mains cable to hang over sharp edges or come in contact with hot surfaces.
- Allow the unit to cool before storage.
- Before cleaning, disconnect the appliance from the mains supply and allow to cool.
- This appliance is intended for household use only and should not be used for industrial purposes.
- Do not use any accessories or attachments with this appliance other than those supplied or recommended by supplier.
- Do not use this appliance for anything other than its intended use.
![shock hazard]() Do not push objects into any openings as damage to the appliance and/or electric shock may occur.
Do not push objects into any openings as damage to the appliance and/or electric shock may occur.- Unplug after each use. Grasp the plug, not the cord.
- Do not pull or carry the Vacuum Cleaner by the electrical cord, use the handles provided.
- Ensure fingers and other objects are never placed in any part of the vacuum cleaner. Clothing or hair may become trapped if the vacuum is used improperly.
- Keep hair, loose clothing, jewellery, fingers and all parts of the body away from openings and moving parts.
- Keep all air vents clear and free of dust, lint, hair and anything else that may reduce airflow.
- Avoid directing the appliance towards naked flames as the air discharged may extinguish gas fires or pilot lights and may disturb ashes in open fires.
 Do not push objects into any openings as damage to the appliance and/or electric shock may occur.
ESG Ltd
Manchester M3 1JS
www.esgltd.com

Documents / Resources
References

Download manual
Here you can download full pdf version of manual, it may contain additional safety instructions, warranty information, FCC rules, etc.
Advertisement


Need help?
Do you have a question about the FLR00049 and is the answer not in the manual?
Questions and answers