
Related Manuals for YitaHome DGJH-V1


Summary of Contents for YitaHome DGJH-V1
- Page 1 F T L F C T - 0 0 1 9 - E D G J H - V 1 F T L F C T - 6 0 0 3 F T L F C T - 6 0 0 3 - E F T L F C T - 6 0 1 6 F T L F C T - 6 0 1 6 - E F T L F C T - 0 0 4 9...
- Page 2 Reference Image Qty. Reference Image Qty. Notice: Item no. Item no. Referenzbild Menge Referenzbild Menge 1.Follow the installation instructions. Please confirm all accessories are preset before installation. Image de référence Qté. Image de référence Qté. N° d'article N° d'article Immagine di riferimento Immagine di riferimento Articolo No.
- Page 3 Explosion diagram Reference Image Qty. Reference Image Qty. Item no. Item no. Explosionszeichnung Referenzbild Menge Referenzbild Menge Image de référence Qté. Image de référence Qté. N° d'article N° d'article Diagramme d'explosion Immagine di riferimento Immagine di riferimento Articolo No. Articolo No. Qtà...
- Page 4 × √ Arrow 4PCS 1PCS Arrow steps 1 steps 2 steps 3 Step 1/2/3 Tighten clockwise until all Arrow of their threads are engaged. The two plates fit vertically, place and match their holes with Ziehen Sie die im Uhrzei- then tighten clockwise.
- Page 9 2PCS 2PCS 2PCS 8PCS 2PCS 1.Insert two Ⓒ into ❸ to connect to ❺ and ❻. Ensure A of ❺ ❻ are installed in the corresponding holes. 1.Insert two Ⓒ into ❸ to connect to ❺ and ❻. Ensure Ⓐ are installed in the corresponding holes. 2.Insert two Ⓑ...
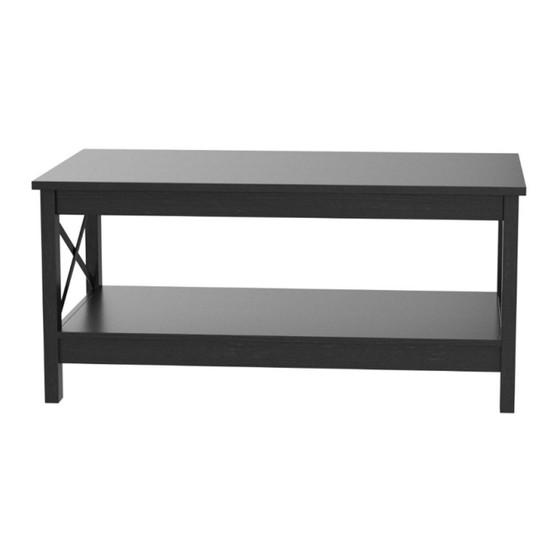
- Page 11 VITAHOME µl Installation Completed Installation Abgeschlossen Installation Compl仓te lnstallazione Completata lnstalaci6n Completa...
Need help?
Do you have a question about the DGJH-V1 and is the answer not in the manual?
Questions and answers