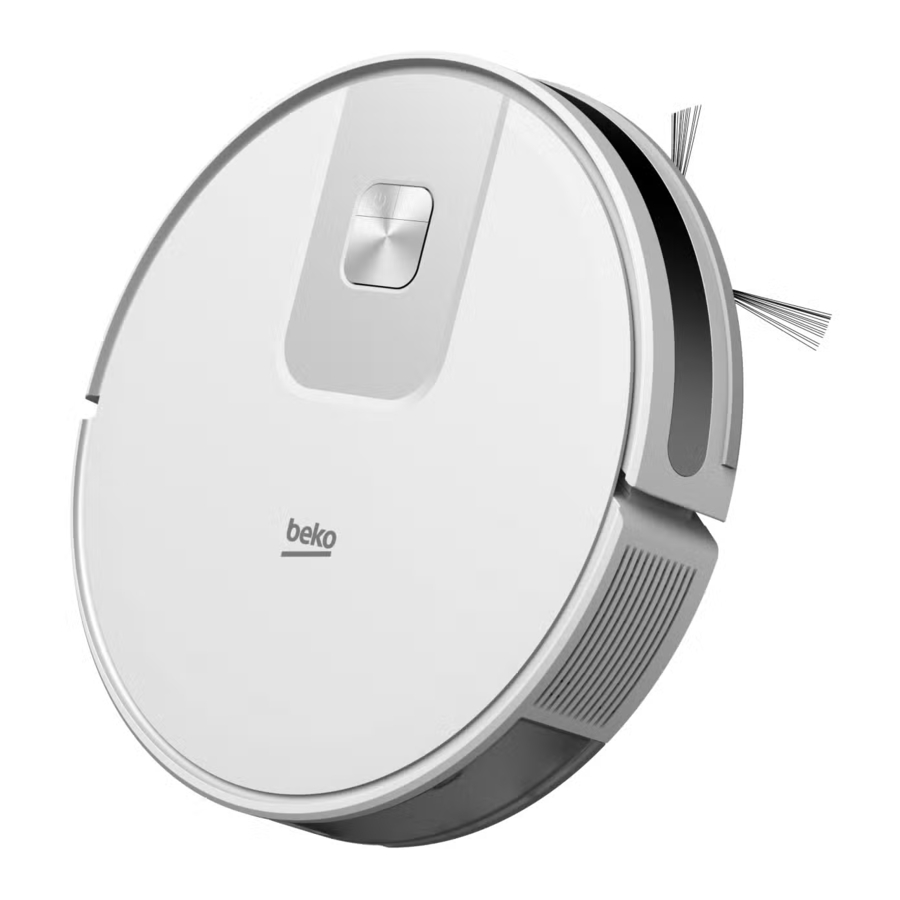
Beko VRR 60314 VW - Robot Vacuum Cleaner Manual
- User manual (33 pages) ,
- User manual (181 pages)
Advertisement
Symbols and their meanings
Following symbols have been used throughout this guide:
 | Important information and beneficial advices regarding the usage of the device. |
 |  Warnings about dangerous situations regarding safety of life and property. |
 | Protection class against electric shock. |
Box content

| Spare accessories supplied | |
 | 1 side brush |
 | 1 mopping cloth |
 | 1 filter |
Overview
Checks and components

- Upper body
- Central body
- Start Cleaning-Pause Button / Sending to Charging Stand button
- Recharge Sensor
- Front bumper
- Charging pins
- Fall prevention sensor
- Charging pins
- Front rotating wheel
- Rotating brush
- Rotating brush cover
- Rear wheel
- Side brush
- Charging dock
- Charge adaptor
- Robot vacuum container EPA filter opening lid
- Mop water container filling lid
- Robot vacuum dust container ejection button
- Mop water container
- Dust container
- EPA filter
- Cleaning brush
- Mopping tool
- Mopping cloth
Technical data
| Adapter voltage | 100-240V~, 50/60 Hz |
| Adapter output | 19 V 0.6 A |
| Battery | Li-ion: 14.4V / 2.6 Ah |
| Charging period: | 4.5-5.5 hours |
| Operation time | Up to 150 minutes (in mute position) |
| Dust container capacity | 0.4 L |
| Water tank capacity | 0.3 L |
| 2.4G Wi-Fi frequency range | 2.400-2.4835 GHz |
| Supported Connections | WLAN IEEE 802.11 b/q/n wireless |
| 2.4G Wi-Fi maximum RF output power | 17.5 dBm |
| RF exposure information | 2.4G Wi-Fi maximum |
| 2.4G Wi-Fi maximum RF output power | 13 dBm |
| Operating time | Maximum: 80 mins Powerful: 90 mins Standard: 120 mins Quiet: 150 mins |
| Parameter of External Power Supply | |
| Manufacturer: | E-TEK Electronics Manufactory Co., LTD |
| Model Identifier | ZD012A190060BS |
| Input Voltage | 100-240V~ |
| Input Frequency | 50/60Hz |
| Input Current | 0.5A |
| Output Voltage | 19.0V DC |
| Output Current | 0.6 A |
| Output Power | 11.4W |
| Average active efficiency | 86.37% |
| Efficiency at low load(10%) | 85.71% |
| No-load power consumption | 0.074W |
Installation
- Remove the protective sponges.

- Remove the protective film
Remove the protective film on the front of the front impactbumper before use.

- Install the side brush
Side brush installation: align the holes and press gently to fix the side brush on the device.

- Install the charging station.
Install the adaptor plug to the charging station and set the cables up to prevent the adaptor cable from wrapping around the machine during vacuuming.


Install the charging station in a location where it can easily be accessed by the vacuum cleaner. Install the charging station on a hard and level ground rather than a carpet.
To ensure a smooth operation of the robot, it is advised that no obstacles are present within 1.5 m on the front and within 0.5 m on the left and right sides.

Always keep the charging station plugged, otherwise the robot vacuum cleaner cannot return to the charging station automatically.
For a smooth charging operation, do not move the charging station.
Operation
Please charge the machine before first use.
Intended use
This appliance is intended for household use and it is not suitable for industrial use. Press and hold the  for 3 seconds to turn on. Press and hold the for 3 seconds to turn off.
- Place the appliance to the charging station so that it shall be aligned with the charging communication pins.


Charging starts when the white indicator on the charging station goes off, charging will begin.
Operation
Press and hold the for 3 seconds to turn on. Press and hold the for 3 seconds to turn off.
Starting the cleaning
Short press the to start the automatic cleaning mode. The robot will leave the recharging dock after being turned on, clean in "Z" route, and then clean the area along the wall, and delimit another 4m x 4m area.
It repeats the above process continuously till cleaning of the whole room is completed, and additionally cleans areas uncovered in the process, and returns to the recharging dock after cleaning.

If the charging level is too low, the cleaning cannot be started. Please charge the appliance before starting the cleaning.
Before the cleaning, tidy up all cables to prevent disconnections due to entanglement/pulling of the cables and to prevent damage to the furniture.
In the auto mode, by default the machine will do sweeping twice if the sweep duration is shorter than 10 minutes.
Do not move the charging dock during cleaning and make sure that the station is plugged; otherwise the robot vacuum cleaner may not be able to return for recharging.
Pausing
Pressing any button will stop the robot while working.
Automatic charging: The robot vacuum cleaner returns automatically to recharge after the cleaning is completed.
Manual charging:
- Please press
![]() shortly when pausing to begin automatic recharging.
shortly when pausing to begin automatic recharging. - Please manually put the robot back to recharging dock if the robot is stuck or cannot find the recharging dock.

Spot Cleaning (Supported with the relevant mobile application only)
Move the sweeping robot to the area to be cleaned, press the twice. After the mode is activated, the sweeping robot will sweep the circular area with a diameter of 1.5 m calculated from its own position.
The sweeping robot cannot enter the fixed-point sweeping mode on the recharging dock.
Vacuum power selection
(Supported with the relevant mobile application only)
You may select the desired cleaning power from the application:
- Quiet
- Standard
- Powerful
- Maximum
Remote controlled cleaning
(Supported with the relevant mobile application only)
You may direct the robot vacuum cleaner to the area to be cleaned by using the manual remote control mode through the application.
Sleep
If it is inactive and the charging dock is not connected for 10 minutes, the machine will automatically switch to hibernation mode.
The robotic vacuum cleaner will switch to the sleep mode automatically if there is operation within 10 minutes after it is fully charged.
Resetting the system
For APP account delete, the customer can press "remove the product and clear the account" button on the APP to delete all the data on the APP and cloud like clean histories, shared machine, WIFI account password...etc.
Press "  " button for 15 seconds in standby position to reset the system. When the system is reset, the original settings on the robot vacuum cleaner are deleted.
Operation with the application
Download the application
To download the application, search for "HomeDirect-SDA" application in the mobile app store. Review the mobile application manual for detailed information.


Reset Wi-Fi
Press " " "  " buttons simultaneously until you hear the aural warning and see the light blinking.
Add a device
- Open the app, create a new account and follow the instructions in the application.
- Before setting up the Wi-Fi, ensure that the robot vacuum cleaner and the Wi-Fi network meet the following requirements.
- Robot Vacuum Cleaner:
- The charging level of the robot vacuum cleaner shall be over 20% or the robot vacuum cleaner shall be placed on the charging dock.
- Wi-Fi network:
- Make sure the password of your wireless network (router) is correct.
- Do not use any VPN (Virtual private Network).
- Wi-Fi router shall support, 802.11b/g/n and IPv4 protocols.
- The router shall be in the 2.4GHz frequency band or a dual-band router that supports the 2.4GHz band shall be used. The robot vacuum cleaner does not support the 5GHz frequency band.
- If the robot vacuum cleaner cannot connect the 2.4/5GHz dual-band Wi-Fi network, please select 2.4GHz network for Wi-Fi settings. You may switch back to the other frequency band when the setting is completed.
- If you are connecting to a hidden network, please ensure that you enter the network name [SSID (sensitive to capitalization)] correctly and that you are connected to a 2.4GHz wireless network.
- If you are using a wireless network extender, please ensure that the network name (SSID) and the password are the same with the main network.
Wi-Fi connection error
| Wi-Fi Status Indicator | Cause | Solution |
| White indicator normally on | The robot has been connected to the router, but cannot connect to the network. |
|
| Flashing slowly in white | The robot cannot connect to your wireless router. |
|
| Your Wi-Fi connection has been reset or not yet set previously. |
| |
| Flashing rapidly in white | The robot cannot receive a network signal. |
|
- If other operations are triggered during the networking process, the indicator light changes, and the device still maintains the network configuration status.
- If the connection between the mobile phone and the robotic vacuum cleaner fails, you can reset the Wi-Fi to enter the network configuration mode and add the device again.
- Due to version upgrades and updates, please follow the APP internal guide for actual operation.
Network security requirements:
Use TKIP, PSK and AES/CCMP encrypted WPA and WPA2 networks.
Operation of the mop
Do not use the mopping mode on a carpet.
Do not put bleach or detergent in the water tank. These chemicals may damage the liquid channels that ensure the water flow in the robot vacuum cleaner or the pump.
Remove the mopping unit while the robot vacuum cleaner is being charged or when it is not operated.
Remove the mopping unit immediately after the mopping operation is completed to prevent damage to your wooden floors.
The robot vacuum cleaner cuts off the water automatically when mopping is paused or ended. However, the mop remains wet and thus it shall not be kept at this condition for a long period and removed without delay.
Installation of the wet mopping unit

Remove the dust container and the water tank assembly (2 in 1).

Remove the dust container.

Remove the rubber plug and add water to the water tank from the water inlet.

Remove the swab on the mop retainer as it is shown.

Moisten the swab before each mopping.

Place the swab to the mop retainer.

Install the mop retainer to the dust container and the water tank assembly (two in one) in the direction of the arrow.

Install the dust container and the water tank assembly (two in one) to the appliance, their places in the direction of the arrow.
Wet mopping setting
You may start the cleaning operation by selecting the cleaning mode and set the level of wetness during mopping as desired in the application.
It is suggested remove carpets from the floor to prevent the device from wetting the carpet when mopping the floor.
Cleaning and maintenance
Turn off the appliance and unplug it before cleaning it.
Never use gasoline, solvent, abra- A sive cleaners, metal objects or hard brushes to clean the appliance.
Cleaning the dust container and filters
You may call our call center to order a new filter when your filter reaches the end of its expected life, is deformed or needs to be replaced for a reason.
To achieve the maximum performance with EPA filter, clean it with a brush after each cleaning.
EPA filter is a replaceable accessory.
If you performed a cleaning operation in a space where there is construction dust and dust with very tiny particles, replace your filter with a new one in order not to experience a loss of performance.
- Remove the dust container and the water tank assembly (2 in 1) by pressing the button as shown below.

- Remove the dust container by pulling it in the direction of the arrow.
![]()
- Open the dust container as it is seen below and empty it as it is shown.
![]()
- Remove the high performance filter and clean the filter using the cleaning brush provided together with the appliance.

- Wash the water tank, dust container and filter assembly periodically with cold water as required as per the frequency of operation.

- Leave the water tank, dust container and filter assembly to dry after washing, and ensure that they are completely dried.


Drying may take 24 to 48 hours.
- Assemble the water tank, dust container and filter assembly after drying them and then install the assembly to the vacuum cleaner.
Do not operate the robot vacuum A cleaner without installing the filter group. Otherwise, the appliance may get damaged
Cleaning of the brush
- Open the upper cover of the main brush by pressing on the tabs. Pull and remove the main roll upwards. Cut the hair lapped on the roller brush with the cutting and sharp side of the cleaning brush. Then clean the dusts on the roller brush with the bristles of the cleaning brush.

- Replace the brush after cleaning it and close the cover in the direction of the arrow.


Cleaning and installation of the side brush

In the long term use, wash the side brush with warm water in order to eliminate the shape deformation. Install it to the robot as it is shown after it has dried.
Cleaning of the Sensors & Front wheel

Clean the sensors and charging pins/electrodes regularly and remove the dust using a dry and soft cloth or a cleaning brush.
Information: You get a notification via the application when sensor cleaning is required.

Cleaning of the mopping unit
We recommend that you remove the mop holder from one side, drain the water tank, rinse the mop with water and then leave it to dry after each operation of the mopping unit. You may wash the mop in a washing machine.

Troubleshooting
The power indicator will flash in red and the buzzer will give a beep in case that there is an abnormality in the operation of the sweeping robot. Please check the table below to solve your problems.
| Voice Prompts | Solution |
| The robot cannot start. |
|
| The robot suddenly stops working. |
|
| Cannot make a sweep schedule |
|
| Suction too weak |
|
| Cannot charge the machine |
|
| The robot cannot return to the charging dock. |
|
| The rolling brush does not rotate |
|
| Abnormal action or sweep route of the robot |
|
| No water released during mopping |
|
| The machine cannot connect to your Wi-Fi network. |
|
Please contact our customer service promptly if any fault cannot be eliminated with the above measures.
Important safety instructions
This section contains safety instructions to prevent hazards that can result in injury or property damage.
Any warranty is void if these instructions are not followed.
General safety
- This appliance complies with international safety standards.
- This appliance can be used by children 8-years-old over 8 years of age, people with physical, sensory or mental challenges or people with lack of experience or knowledge; as long as control is ensured or information is provided regarding safe usage of the device and the hazards involved. Children must not play with the appliance. Cleaning and user maintenance should not be carried out by unattended children.
- Do not use the appliance if the power cord or the appliance is damaged. Contact authorised service.
- Keep the appliance and its cable out of the reach of children under 8 years of age.
- Do not power your device with multi socket.
- Your mains power supply should be in align with the specified information on the type tag of the appliance.
- Do not use the appliance with an extension cord.
- To prevent damage to the power cord, prevent it from being pinched, crimped or rubbed against sharp edges.
- Do not touch the plug of the appliance with damp or wet hands while the appliance is plugged in.
- Do not pull on the cord while unplugging the appliance.
- Do not vcuum flammable materials and ensure that the cigarette ashes are cooled down before vacuuming them.
- Do not vacuum water and other fluids.
- Protect the appliance against precipitation, humidity and heat sources.
- Do not use the appliance in or near explosive or flammable environments and substances.
- Unplug the appliance before cleaning and maintenance.
- This product is not designed for commercial use, it is intended for use at home and in applications as follows:
- In the staff kitchens of the stores, offices and other working environments,
- In farm houses,
- By customers in hotels, motels or other accommodation facilities;
- In hostels, or similar environments.
- Sleeping places and breakfast environments
- Do not immerse the appliance or its power cord in water for cleaning.
- Do not disassemble the appliance.
- Use only original parts or parts recommended by the manufacturer.
- To prevent blockage of the filter or damage to the motor, do not vacuum cement, plaster or fragments of compressed paper.
- Use the appliance with the adapter delivered with the appliance only.
- Do not use the appliance without filters, it may get damaged.
- If you keep the packaging materials, keep them out of the reach of children.
- This appliance is not intended to be used by persons, including children, with physical, sensory and mental disabilities or those who have not adequate experience and knowledge regarding its use, unless they are under the supervision of a person responsible for their safety or they are informed about the operation of the appliance.
- The children shall be supervised to prevent them from playing with the appliance.
- Unplug the adapter and remove the battery pack before any cleaning or maintenance procedure.
- To avoid any risk of hazard, a damaged adapter shall be replaced by the manufacturer, the authorised representative of the manufacturer or a similarly qualified technician.
- Keep your fingers, hair and loose clothes away from moving parts or clearances while vacuuming.
- Please discard used batteries in accordance with local laws and regulations.
- The batteries in this appliance may only be replaced by the authorised service.
- Do not use batteries of different types or old and new batteries together.
- Do not short circuit the supply terminals.
- Shall be used with ME1XXFG CM 2600 mAh batteries only.
- This appliance shall not be operated by children and people with limited physical, sensory and cognitive skills or people with lack of experience and knowledge unless they are under supervision or they are provided with the relevant instructions.
- The children shall be supervised to prevent them from playing with the appliance.
- Do not put weight on the appliance. Make sure that the children and domestic animals do not get on the appliance.
- Do not run the appliance on high grounds like table or chair.
- The appliance is only to be used with the unit provided.
- The appliance is not to be used by persons (including children) with reduced physical, sensory or mental capabilities, or lack of experience and knowledge, unless they have been given supervision or instruction.
- This appliance can be used by children aged from 8 years and above and persons with reduced physical, sensory or mental capabilities or lack of experience and knowledge if they have been given supervision or instruction concerning use of the appliance in a safe way and understand the hazards involved.
- Children being supervised not to play with the appliance.
- Cleaning and user maintenance shall not be made by children without supervision.
- This appliance contains batteries that are only replaceable by skilled persons.
What to do for energy saving
- When using your appliance, adjust the speed settings according to the surface, in order to save energy.
- Normally, lower speeds are used when cleaning hard surfaces while high speeds are used for cleaning carpets.
Plug Wiring
The moulded plug on this appliance incorporates a 13 A fuse. Should the fuse need to be replaced an ASTA approved BS1362 fuse of the same rating must be used. Do not forget to refit the fuse cover. In the event of losing the fuse cover, the plug must not to be used until a replacement fuse cover has been fitted. Colour of the replacement fuse cover must be the same colour as that visible on the pin face of the plug Fuse covers are availabe from any good electrical store.
Fiting a different plug
- As the colours of the wires in the mains lead of this appliance may not correspond with the coloured markings identifying the terminals on your plug, proceed as follows:

- Brown cable = L (Live)
- Blue cable = N (Neutral)
- Green/yellow cable must be connected to ground (E)
![]() line
line - With the alternative plugs a 13 A fuse must be fitted either in the plug or adaptore or in the main fuse box. If in doubt contact a qualified electrician.

 line
line
Documents / Resources
References
Download manual
Here you can download full pdf version of manual, it may contain additional safety instructions, warranty information, FCC rules, etc.
Advertisement
Thank you! Your question has been received!


Need Assistance?
Do you have a question about the VRR 60314 VW that isn't answered in the manual? Leave your question here.