Advertisement
Quick Links
Install RDO cap.
1
Remove the RDO cap
from the storage canister.
2
Wire RDOX instrument to monitor.
Isolate the monitor from power before moving forward. There is a risk of electrical shock if you
do not isolate the monitor before installing wires.
Connect RDOX to Twist-
Lock cable. Twist cable
until it clicks into place.
Getting Started
Remove red dust cap.
Unscrew and remove
nose cone from the
instrument.
Ensure monitor is
isolated. Remove cover.
Unscrew cable gland cap.
RDOX Quickstart Guide
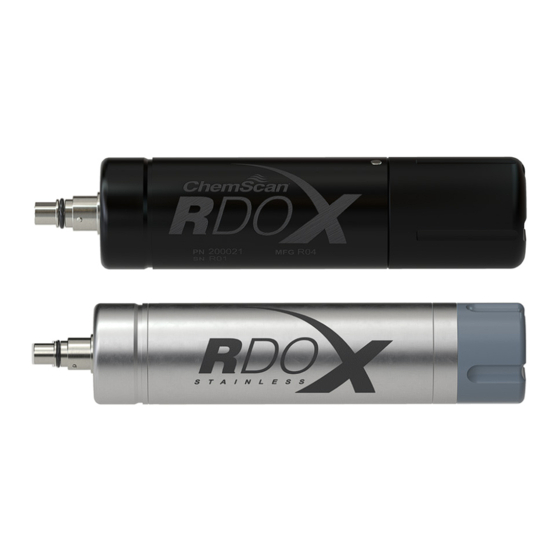
Box Contents
• RDOX instrument (stainless steel or plastic)
• RDO cap
Tools, Supplies, & Accessories (Not Included)
• Flathead & Phillips head screwdrivers
• Wire cutters
• 7300 monitor or other monitor
Align
with cap
Align RDO cap's flat edge
with instrument's flat
edge. Slide on cap.
Insert flying leads cable
through cable gland cap.
Replace the nose cone.
Identify brown and white
cables. Cut these unused
wires close to their base.
2023-11-08 | 2000212
Advertisement

Related Manuals for In-situ RDOX


Summary of Contents for In-situ RDOX
- Page 1 RDOX Quickstart Guide Box Contents • RDOX instrument (stainless steel or plastic) • RDO cap Tools, Supplies, & Accessories (Not Included) • Flathead & Phillips head screwdrivers • Wire cutters • 7300 monitor or other monitor Getting Started Install RDO cap.
- Page 2 Connect the blue cable where the terminal is labeled “white” when wiring cable into plug. 3 Add RDOX readings to 7300 monitor. Connect power to Use arrow keys to select Use arrow keys to select When RDOX appears, monitor.
- Page 3 Safety Read the safety information on this page before using the RDOX. If you have questions, contact In-Situ technical support for assistance. • Only suitably qualified personnel or competent persons may install, operate, or repair this equipment.
Need help?
Do you have a question about the RDOX and is the answer not in the manual?
Questions and answers