
Related Manuals for Philips TAM2505/10


Summary of Contents for Philips TAM2505/10
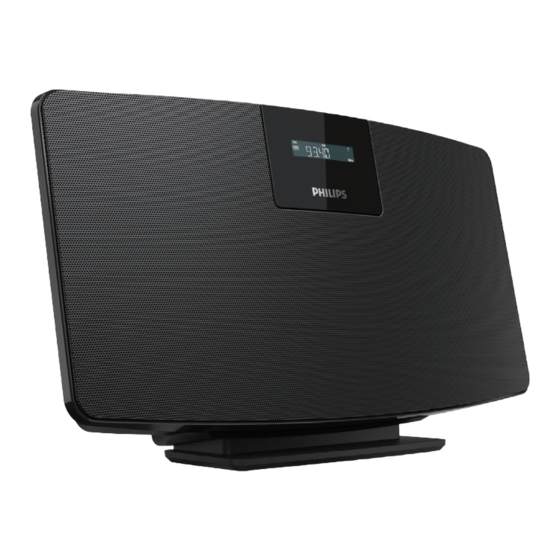
- Page 1 DAB+ Radio User manual M2505 Register your product and get support at www.philips.com/support...
-
Page 2: Table Of Contents
Contents 1 Important................2 Safety......................2 Notice......................2 2 Your Micro Music System ..........4 Introduction....................4 What's in the box ..................4 Overview of the main unit..............4 Overview of the remote control ............5 3 Get started ................6 Place your product..................6 Connect the radio antenna ..............6 Connect power..................6 Prepare the remote control..............6 Power on.....................7... -
Page 3: Important
Keep this apparatus away from direct sunlight, naked ames 2014/53/ EU. You can nd the Declaration of Conformity or heat. on www.philips.com/support. ・ Ensure that you always have easy access to the power cord, plug or adaptor to disconnect the apparatus from the power. - Page 4 Environmental information All unnecessary packaging has been omitted. We have tried to make the packaging easy to separate into three materials: cardboard (box), polystyrene foam (bu er) and polyethylene (bags, protective foam sheet.) Your system consists of materials which can be recycled and reused if disassembled by a specialized company.
-
Page 5: Your Micro Music System
What's in the box Check and identify the contents of your package: speaker Congratulations on your purchase, and welcome to Philips! To fully bene t from the support that Philips o ers, register your product at www.philips.com/support. Introduction Overview of the main unit... -
Page 6: Overview Of The Remote Control
Overview of the remote control - Switch this product on or to standby. - Select FM or DAB+ source. - Select a FM station. - Select a DAB+ station. - Program radio stations. - Auto store radio stations. - Adjust volume. - Select AUDIO IN source. -
Page 7: Get Started
Always follow the instructions in this chapter that you have completed all the other connections. in sequence. If you contact Philips, you will be asked for the model and serial number of this speaker. The Place your product model number and serial number are on the Before you place this product on the table, back of the speaker. -
Page 8: Power On
Power on Press - the product switches to the last selected source. Switch to standby mode Press again to switch the product to standby with no clock display, or to standby with clock display. - The red standby indicator lights up. - In standby, it will stay at previous selected function. -
Page 9: Play
(refer to the user manual of the device). 3. Select “Philips M2505” on your Bluetooth enabled With this product, you can listen to DAB+ radio device and if necessary input '0000' as the paring and FM radio. -
Page 10: Listen To Fm Radio
2. Press and hold [SCAN/OK]for more than 2 Listen to FM radio seconds. - The product scans and stores all DAB+ radio stations automatically. Tune to an FM radio station 1. Press DAB/FM to select a FM radio station 2. Press and hold or more than 2 seconds. -
Page 11: Adjust Sound
Set the sleep timer 6 Adjust sound This music system can switch to standby automati- cally after a set period of time. The following operations are applicable to all repeatedly to select a set period of time (in supported media. minutes). -
Page 12: Product Information
240MHz Preset stations: AUX IN input level: 600mV ±100mV RMS Headphone: 3.5mm jack Power Model (Philips branded AC power adapter): AS190-090-AD190 Input: 100-240 V~, 50/60 Hz, 1.2A Output: DC 9.0V, 1.9A Operation power consumption: Dimensions (W x H x D):... -
Page 13: Troubleshooting
Philips Web page with a Bluetooth-enabled device. (www.philips.com/support). When you contact Philips, make sure that the device is nearby and the closer to this unit or remove any obstacle between model number and serial number are available. - Page 14 2019 © Philips and the Philips Shield Emblem are registered trademarks of Koninklijke Philips N.V. and are used under license. This product has been manufactured by and is sold under the responsibility of MMD Hong Kong Holding Limited or one of its a liates, and MMD Hong Kong Holding Limited is the warrantor in relation to this product.