Table of Contents
Advertisement
Quick Links
Blue Hawk & Design is a registered
trademark of LF, LLC. All rights reserved.
Questions, problems, missing parts? Before returning to your retailer, call our customer
service department at 1-877-888-8225, 8 a.m. - 8 p.m., EST, Monday - Friday.
AB171020
®
®
1
ITEM #0806320
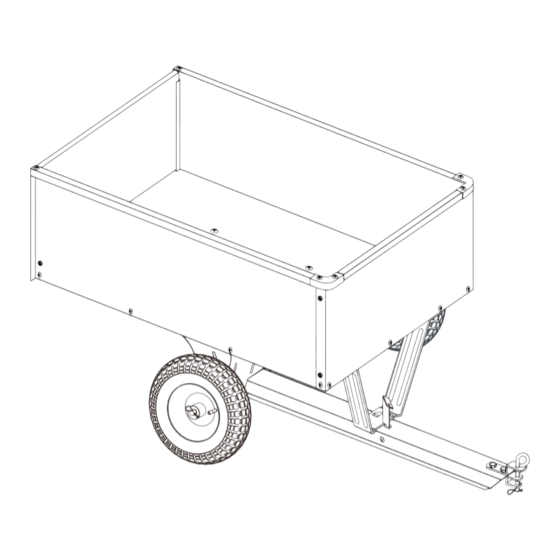
DUMP CART
MODEL #DU0001
Español p. 12
Advertisement
Table of Contents

Summary of Contents for Blue Hawk DU0001
- Page 1 DUMP CART MODEL #DU0001 ® Español p. 12 Blue Hawk & Design is a registered ® trademark of LF, LLC. All rights reserved. Questions, problems, missing parts? Before returning to your retailer, call our customer service department at 1-877-888-8225, 8 a.m. - 8 p.m., EST, Monday - Friday.
-
Page 2: Package Contents
PACKAGE CONTENTS PART DESCRIPTION QUANTITY PART DESCRIPTION QUANTITY Tailgate Guides Front Panel Corner Caps Wheel Bracket Release Pedal Axle Hitch Bracket Tongue Middle Plate Bed Panel Tongue Support Side Panel Tailgate Reinforcement Bracket Wheel Tailgate... -
Page 3: Hardware Contents
HARDWARE CONTENTS Hitch Pin Qty. 1 Ø16 mm Flat Washer Qty. 4 Spacer Qty. 2 R Clip Pin Spring Assembly Tool Qty. 4 Qty. 1 Spring Qty. 1 M8 x 30 mm Hex Bolt Qty. 2 M8 x 95 mm Screw Qty. -
Page 4: Safety Information
SAFETY INFORMATION Please read and understand this entire manual before attempting to assemble, operate or install the product. WARNING: A full capacity load is 400 lbs. evenly distributed over the wheels. DO NOT exceed rated capacity. NOT recommended to carry full loads on slopes, which can cause loads to shift to one side and damage wheels or side panels. - Page 5 2. Attach the side panels (N) to the bed panel (M) with six sets of M6 x 12 mm screws (JJ), Ø6 mm lock washers (LL) and M6 lock nuts (NN). Tighten all hardware assembled in Steps 1 & 2. Make sure the bottom holes on both side panels (N) are left for step 4.
- Page 6 5. Attach the corner caps (B) to the front ends of cart bed using four sets of M6 x 12 mm screws (JJ), Ø6 mm lock washers (LL) and M6 lock nuts (NN). Then secure the rear ends of cart bed with another two sets of M6 x 12 mm screws (JJ), Ø6 mm lock washers (LL) and M6 lock nuts (NN).
- Page 7 8. Insert the release pedal (C) through the slot on the tongue (L), thread the M8 x 95 mm bolt (GG) through the tongue (L), spacer (CC), release pedal (C) and the other spacer (CC) on each side. Tighten with the M8 hex lock nut (OO).
- Page 8 11.Turn the cart right side up, thread an R clip pin (DD) through the peg on the tongue to lock to prevent accidental dumping. Remove the R clip pin (DD) and step on the release pedal (C) to dump load. Hardware Used R Clip Pin 12.
-
Page 9: Care And Maintenance
OPERATING INSTRUCTIONS USING YOUR UTILITY DUMP CART 1. DO NOT exceed rated capacity of 400 lbs. (182 kg). 2. NEVER tow the dump cart with cart bed raised. 3. ALWAYS secure and lock the utility cart to the vehicle hitch before operating. 4. -
Page 10: Warranty
WARRANTY Limited 1 year warranty on the dump cart and 2 year warranty on all parts: 1) This product is not intended for commercial use. 2) This warranty applies only to product which has been assembled correctly and operated in accordance with the instructions contained within this manual. -
Page 11: Exploded View
EXPLODED VIEW FF CC DD MM Printed in China...

Need help?
Do you have a question about the DU0001 and is the answer not in the manual?
Questions and answers