Table of Contents
Advertisement
Quick Links
Advertisement
Table of Contents

Related Manuals for Crexendo CX275


Summary of Contents for Crexendo CX275
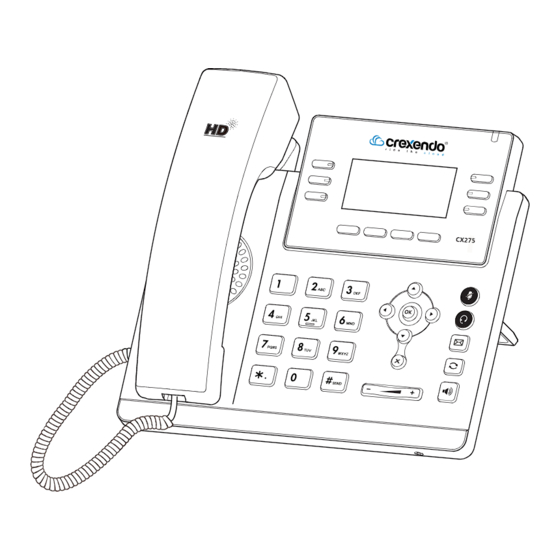
- Page 1 Ultra-elegant IP Phone CX275 Quick Start Guide (V84.60) www.crexendo.com...
-
Page 2: Package Contents
Power Adapter (Optional) (Optional) Note: We recommend that you use the accessories provided or approved by Crexendo. The use of unapproved third-party accessories may result in reduced performance. Assembling the Phone Assembling the Phone 1. Attach the stand, as shown below:... - Page 3 PoE Hub/Switch Note: The IP phone should be used with Crexendo original power adapter (5V/1.2A) only. The use of the third-party power adapter may cause the damage to the phone. If you are connecting a PC to your phone, we recommend that you use the Ethernet cable provided by Crexendo.
-
Page 4: Configuring Your Phone
Configuring Your Phone Configuring via web user interface Accessing the web user interface: 1. Press the OK key when the phone is idle to obtain the IP address of the phone. 2. Open a web browser on your computer, enter the IP address into the address bar (e.g., "http://192.168.0.10" or "192.168.0.10"), and then press the Enter. -
Page 5: Basic Call Features
Basic Call Features Placing a Call Using the handset: 1. Pick up the handset. 2. Enter the number, and then press the Send soft key. Using the speakerphone: 1. With the handset on-hook, press 2. Enter the number, and then press the Send soft key. Using the headset: 1. - Page 6 If there is more than one call on hold, press to select the desired call, and then press the Resume soft key. Call Transfer You can transfer a call in the following ways: Blind Transfer 1. Press the Transfer soft key during an active call. The call is placed on hold. 2.
-
Page 7: Customizing Your Phone
Voice Message Message waiting indicator on the idle screen indicates that one or more voice messages are waiting at the message center. The power indicator LED slowly flashes red. To listen to voice messages: 1. Press or the Connect soft key. 2. - Page 8 Technical Support Visit the Crexendo Support Center (http://support.crexendo.com/) for the latest product documents or to submit a ticket to the Crexendo Ticketing system to address a technical issue. Crexendo, Inc.
Need help?
Do you have a question about the CX275 and is the answer not in the manual?
Questions and answers