Table of Contents
Advertisement
Quick Links
Advertisement
Table of Contents

Related Manuals for real living 52201-CRM


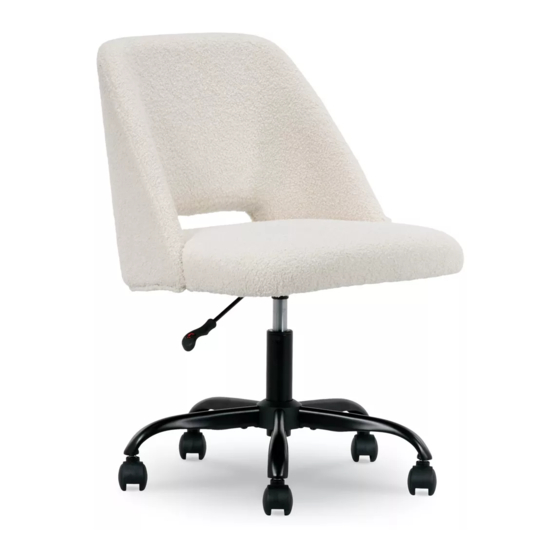
Summary of Contents for real living 52201-CRM
-
Page 2: Maintenance
GENERAL BEST PRACTICES FOR ASSEMBLY: WARNINGS: MAINTENANCE: CARE AND CLEANING... -
Page 3: Parts List
PARTS LIST Back Cushion Seat Cushion Seat Plate Gas Lift Base and Base Cover Metal Legs Casters... -
Page 4: Hardware List
HARDWARE LIST Screws Screws Allen Key M6 x 15mm M8 x 25mm... -
Page 5: Helpful Hints
HELPFUL HINTS Before assembly, please remove all parts from the carton, verifying that you have the correct quantities, and read all the instructions. Important: This chair is only meant to seat one person at a time. Do not use chair as a step stool/ladder. Failure to follow these warnings may result in injury. - Page 6 STEP 1 Take off Base Cover (F) from the Base (E), then turn the base over. Insert Metal Legs (G) into the Base (E) and secure by 10 Screws (1). Tighten all the screws. Warning: Fully hand-tighten all 10 screws at each leg/hub connection. x 10 Be careful not to overtighten or strip bolts.
- Page 7 STEP 2 Press the Casters (H) into holes at the end of each leg. Turn the base upright and then attach the Base Cover (F) to the Base (E) as shown. Insert Gas Lift (D) into the center hole of base. STEP 3 Align the Back Cushion (A) with the Seat Cushion (B) and attach the back support...
- Page 8 STEP 4 Align Seat Plate (C) over pre-drilled holes on the underside of the Seat Cushion (B) with front of seat plate facing the front of the seat cushion. Attach the Seat Plate (C) to Seat Cushion (B) using 4 Screws (2) as shown. Tighten all the screws with the enclosed Allen Key (3).
- Page 9 STEP 6 The Chair is completed now.
-
Page 10: Function Instruction
FUNCTION INSTRUCTION TO ADJUST SEAT HEIGHT While seated, lean forward, lifting your body weight from the seat. Reach underneath the right side of chair and locate the handle. Lift the handle up slowly to allow the chair to rise to the desired height. To lower seat height, lift the handle slowly while seated.
Need help?
Do you have a question about the 52201-CRM and is the answer not in the manual?
Questions and answers