Advertisement
Quick Links
Advertisement

Related Manuals for Dahua Technology IPC-HFW1320S-W


Summary of Contents for Dahua Technology IPC-HFW1320S-W
- Page 1 Questo manuale d’istruzione è fornito da trovaprezzi.it. Scopri tutte le offerte per Dahua IPC- HFW1320S-W o cerca il tuo prodotto tra le migliori offerte di Videosorveglianza Dahua IR Wi-Fi Bullet Camera Quick Start Guide V 1.0.1 Zhejiang Dahua Vision Technology CO., LTD...
-
Page 2: Packing List
1 Packing List Device × 1 Screw Package ×1 QSG ×1... -
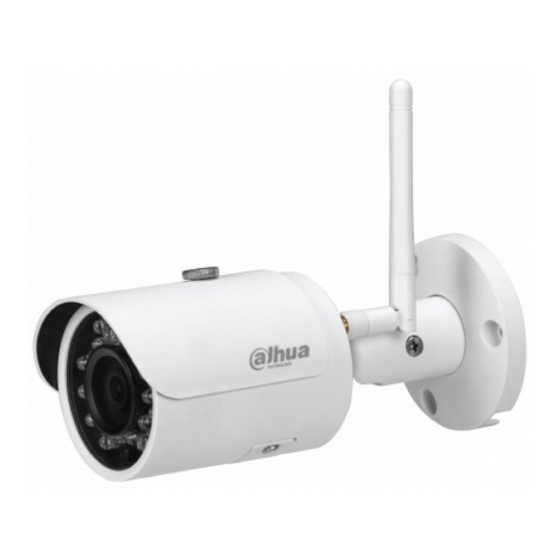
Page 3: Product Appearance
2 Product Appearance Figure 2-1 Please refer to the following sheet for more details about the device. Name ① Network port ② Power port ③ Unit device Sheet 2-1... - Page 4 Figure 2-2 Please refer to the following sheet for more details about each component. Name ① Reset/ WPS (Wi-Fi Protected Setup) button ② Indicator light 1 ③ Lower cover ④ Micro SD card slot ⑤ Indicator light 2 ⑥ Waterproof ring ⑦...
- Page 5 Indicator light status Device status Red light normally on Booting Green light slow flashing Booting completed, await wifi config, enter smart config status; Wifi smart config in progress, including Green light quick flashing WPS (Wi-Fi Protected Setup), management frame and etc. Green light normally on Wifi connection succeeded, operate normally.
-
Page 6: Operate By Easy4Ip App
3 Operate by Easy4ip APP Step 1 Power on the device with power adapter. Step 2 Connect your smart phone to your WiFi network. Scan the “Easy4ip APP” QR on the packing box, download and install the Easy4ip APP. Step 3 Open Easy4ip APP (take IOS as an example), tap login to login the APP (Please register for first use). - Page 7 Figure 3-2 Step 6 Name the camera and scan the QR code on camera. Figure 3-3...
- Page 8 Figure 3-4 Step 7 Input the Wi-Fi password. Figure 3-5...
- Page 9 Step 8 Waiting for 60s to finish the Wi-Fi connection. Figure 3-6 Note: If you want to change the Wi-Fi signal, please reset the camera to factory default and repeat step 5-8;...
-
Page 10: Device Installation
4 Device Installation Important Before the installation, please make sure the installation environment can at least support 3x weight of the camera. Figure 4-1 Please see Figure 4-1 and Figure 4-2. Step 1 Dig holes on the installation surface (wall or ceiling). Step 2 Open accessories bag, take out expansion bolt and insert it into the hole you just dug. - Page 11 Figure 4-2 Step 5 Use cross screwdriver (in accessories bag) to loosen adjusting screw. Step 6 Adjust the device in all possible directions, and set its monitoring direction according to the requirements. Step 7 Use cross screwdriver to tighten the adjusting screws. Note: ...
Need help?
Do you have a question about the IPC-HFW1320S-W and is the answer not in the manual?
Questions and answers