Table of Contents
Advertisement
USE AND CARE GUIDE
8 a.m.-7 p.m., EST, Monday-Friday, 9 a.m. - 6 p.m., EST, Saturday
We strive to continually create quality products designed to enhance your home. Visit us online to see our full line of
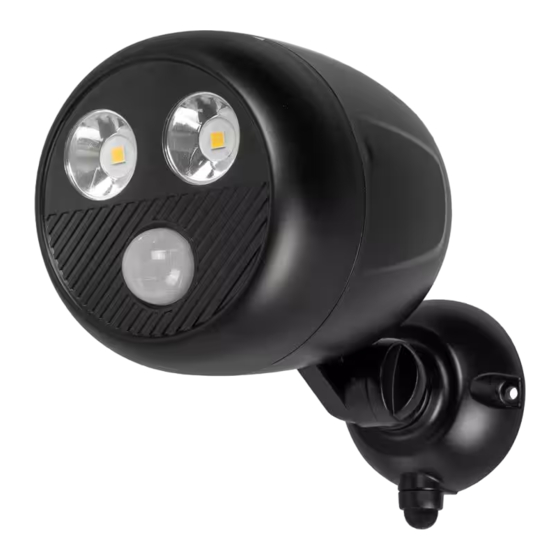
MOTION SECURITY LIGHT
Questions, problems, missing parts?
1-866-308-3976
HOMEDEPOT.COM
THANK YOU
SKU: 1008 992 390
MODEL: IS09a4505BRBKTH
Advertisement
Table of Contents

Related Manuals for Defiant IS09a4505BRBKTH


Summary of Contents for Defiant IS09a4505BRBKTH
- Page 1 SKU: 1008 992 390 MODEL: IS09a4505BRBKTH USE AND CARE GUIDE MOTION SECURITY LIGHT Questions, problems, missing parts? 8 a.m.-7 p.m., EST, Monday-Friday, 9 a.m. - 6 p.m., EST, Saturday 1-866-308-3976 HOMEDEPOT.COM THANK YOU We strive to continually create quality products designed to enhance your home. Visit us online to see our full line of...
-
Page 2: Table Of Contents
Table of Contents Tools Required ........3 Table of Contents........2 Hardware Included.........4 Safety Information........2 Package Contents ........4 Warranty ...........3 Installation ..........5 3-Year Limited Warranty ......2 Care and Cleaning ........8 Pre-Installation.........3 Troubleshooting ........8 Planning Installation ......3 ........3 Safety Information PRECAUTIONS □... -
Page 3: Warranty
Warranty 3-YEAR LIMITED WARRANTY WHAT IS COVERED This product is guaranteed to be free of factory defective parts and workmanship for a period of 3 years from date of purchase. Purchase receipt is required for all warranty claims. WHAT IS NOT COVERED This guarantee does not include repair service, adjustment and calibration due to misuse, abuse or negligence, or its entirety. -
Page 4: Hardware Included
Pre-Installation (continued) HARDWARE INCLUDED NOTE: Hardware shown to actual size. Part Description Quantity Anchor Mounting bracket screw PACKAGE CONTENTS Part Description Quantity Lamp head Motion sensor Mounting base Installation Determining the mounting location NOTE: mounted higher than recommended, aiming the sensor down will reduce the coverage area. -
Page 5: Installation
Installation BATTERY INSTALLATION Step 1.Remove the front cover of the lamp head (A) by rotating the face counterclockwise. Pull the face out from the housing to reveal the battery holder. Step 2. A) To release the battery door, rmly press down on the door tabs simultaneously. B) Insert 4 D-cell batteries (not included) into the light. - Page 6 Installation (continued) Mounting the light fixture Step 1. Remove the mounting base (C) by turning the thumbscrew counterclockwise. Lift the lamp head (A) out of the mounting base (C) and set aside. Step 2. A) Determine the mounting location and mark the pilot holes. Use a drill bit to create the pilot holes (if mounting to drywall, use the drywall anchors included with the screws).
- Page 7 Installation (continued) Adjusting the lamp head WARNING: Risk of re. Keep the lamp head at least 2 in. from combustible materials. If needed, gently grasp the lamp head (A) and tilt it up or down or side to side to adjust the light coverage area. HOMEDEPOT.COM Please contact 1-866-308-3976 for further assistance.
-
Page 8: Care And Cleaning
Care and Cleaning □ □ □ Troubleshooting Problem Possible Cause Solution The light will not come on. □ □ Daylight turn-off (photocell) is in effect. Recheck after dark. □ □ The motion sensor is aimed in the Re-aim the motion sensor wrong direction. - Page 9 Questions, problems, missing parts? 8 a.m.-7 p.m., EST, Monday-Friday, 9 a.m. - 6 p.m., EST, Saturday 1-866-308-3976 HOMEDEPOT.COM Retain this manual for future use. 208986-01A...
Need help?
Do you have a question about the IS09a4505BRBKTH and is the answer not in the manual?
Questions and answers
Put new battery’s in unit flashes several times after that it doesn’t work
The Defiant IS09a4505BRBKTH unit may flash several times and then stop working after replacing the batteries due to the use of old or mixed batteries. The manual specifies using only new alkaline D-Cell batteries with a 1.5V rating and not mixing old and new batteries. If batteries are not new, the light may malfunction. Additionally, ensure the batteries are installed with the correct polarity. If the issue persists, replacing the batteries with a fresh set may resolve the problem.
This answer is automatically generated
the motion light keeps going on - when there is no motion
The Defiant IS09a4505BRBKTH motion light may turn on without motion due to the following reasons:
1. The motion sensor may be detecting a heat source, such as an air vent or dryer surface.
2. Heat or light from the bulbs may be triggering the motion sensor.
Possible solutions:
- Decrease the "SENSITIVITY" setting.
- Reposition the motion sensor to avoid unwanted heat sources.
- Adjust the lamp heads away from the motion sensor.
This answer is automatically generated