Advertisement
PARTS
TECHNICAL DATA
- Voltage: 120V~50/60Hz
- Wattage: 1700 Watts
- Capacity of basket: 5 quart
- Adjustable temperature: 80-400 ºF (25-200 ºC)
- Timer (0-60 min)
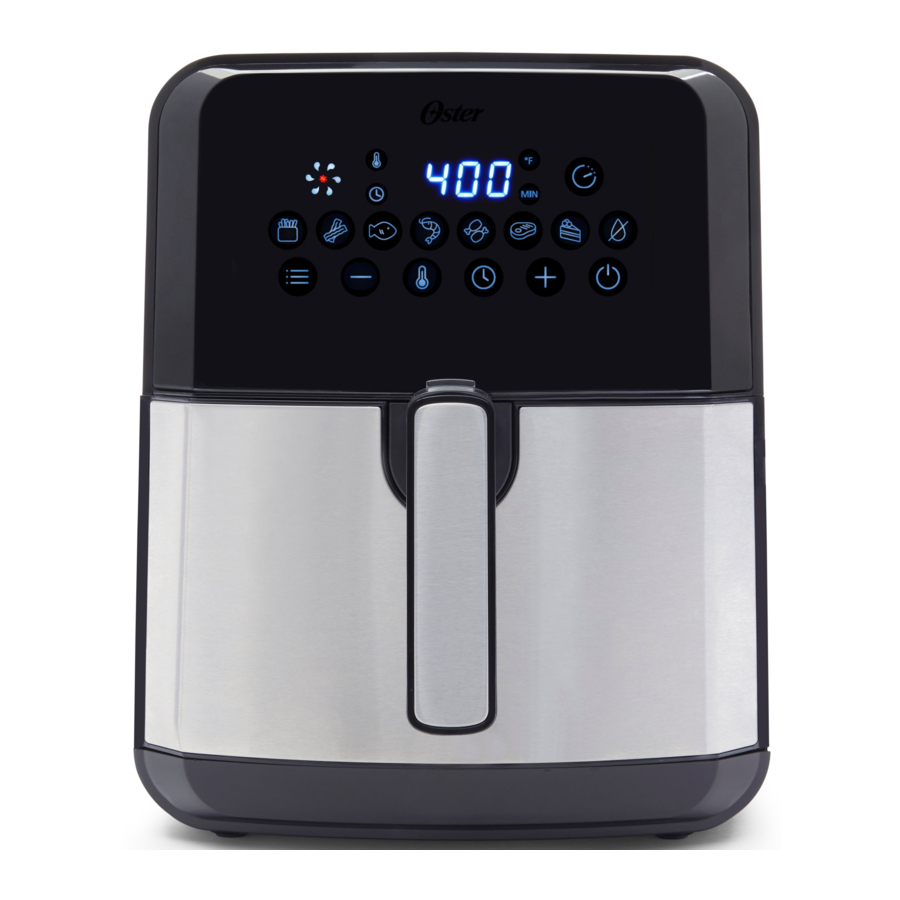
GENERAL DESCRIPTION (Fig.1)

Fig.1
- Control panel
- Basket
- Basket release button
- Basket handle
- Main housing
- Pot
- Air outlet
- Main cord (Electrical cord)
BEFORE FIRST USE
 Never immerse any part of the Air Fryer body, power cord or plug in water or any other liquid. Before assembling or disassembling your Air Fryer, ensure it is unplugged and all parts are cool. Unpack the appliance and remove all packaging, promotional materials and stickers. Remove all printed documents. Wash the inner cooking basket with hot, soapy water. Rinse then dry all of the parts. Wipe the body and lid with a damp cloth only—see cleaning instructions.
PREPARING FOR USE
- Place the appliance on a stable, horizontal and even surface. Do not place the appliance on non-heat-resistant surface.
- Place the basket in the pot (Fig.3). Do not fill the pot with oil or any other liquid. Do not put anything on top of the appliance, the airflow will be disrupted and affects the hot air frying result.


COOKING
- Plug the Air Fryer into an electrical outlet.
- Carefully pull the pot out of the Hot-air fryer (Fig.6)

- Put the ingredients in the basket. (Fig.5)
![]()
- Slide the pot back into the Hot-air fryer (Fig 4). Noting to carefully align with the guides in the body of the fryer. Never use the pot without the basket in it.
![]()
![]()
Do not touch the pot during and after use, as it gets very hot. Only hold the pot by the handle. - Determine the required preparation time for the ingredient (see section 'Settings' in this chapter).
- Some ingredients require shaking halfway through the preparation time (see section "Settings" in this chapter). To shake the ingredients, pull the pot out of the appliance by the handle and shake it. Then slide the pot back into the air fryer.
![]()
Do not press the button the handle during shaking. (Fig.3)
Tip: If you set the timer to half the preparation time, you hear the timer buzzer when you have to shake the ingredients. However, this means that you have to set the timer again to the remaining preparation time after shaking. - When you hear the timer buzzer, the set preparation time has elapsed. Pull the pot out of the appliance.
Note: You can also switch off the appliance manually. To do this, set the time to 1. - Check if the ingredients are ready. If the ingredients are not ready yet, simply slide the pot back into the appliance and set the timer to a few extra minutes.
- To remove ingredients (e.g. fries), pull the pot out of the Hot-air fryer and place it on heat resistant surface, and press the basket release button and lift the basket out of the pan.
Do not turn the basket upside down with the pot still attached to it, as any excess oil that has collected on the bottom of the pot will leak onto the ingredients.
The pot and the ingredients are hot. Depending on the type of the ingredients in the air fryer, steam may escape from the pot. - Empty the basket into a bowl or onto a plate.
- When a batch of ingredients is ready, the Hot-air fryer is instantly ready for preparing another batch.


CONTROL PANEL INSTRUCTIONS
Control Panel icons will only be visible once the unit is turned on.

OPERATION INSTRUCTIONS
Key  – Power Key
Once the Basket and pot are properly placed in the main housing, the Power light will be illuminated. Selecting the power key will set the unit default temperature (400 ºF), while the cooking time will be set to 15 minutes. Selecting the Power key a second time will start the cooking process. During cooking, press the power key once to pause the cooking cycle and twice to resume. Press and hold the power key for 3 seconds to turn the unit off. The lights will go off and fan will continue to run until the unit has sufficiently cooled.
Note: The red light in the center of the fan icon indicates that the cooking cycle is in process, If the fan icon is on without this red light, the fan is running to cool the unit down.
Key ![]() – Preset Key
– Preset Key
Selecting the "![]() ". Preset key enables you to scroll through the 8 popular food choices. Once selected, the predetermined time and cooking temperature function begins.
". Preset key enables you to scroll through the 8 popular food choices. Once selected, the predetermined time and cooking temperature function begins.
Key ![]() & Key
& Key ![]() — Temperature Control Keys
— Temperature Control Keys
Selecting the Key " ". The Key
 ![]() and
and ![]() Key symbols enable you to add or decrease cooking temperature (10 ºF) at a time. Keeping the Key held down will rapidly change the temperature. Temperature Control range: (175-400 ºF)
Key symbols enable you to add or decrease cooking temperature (10 ºF) at a time. Keeping the Key held down will rapidly change the temperature. Temperature Control range: (175-400 ºF)
Selecting the Key "![]() ". The Key
". The Key ![]() and Key
and Key ![]() symbols enable you to add or decrease cooking time, one minute at a time. Keeping the key held down will rapidly change the time, Maximum 60 minutes;
symbols enable you to add or decrease cooking time, one minute at a time. Keeping the key held down will rapidly change the time, Maximum 60 minutes;
Key & ![]() Temperature/Timer Control Keys
Temperature/Timer Control Keys
key ![]() — Booking
— Booking
Selecting the key "![]() ". The Key "
". The Key "![]() " or Set time and temperature, can be booked 24 hours, countdown;
" or Set time and temperature, can be booked 24 hours, countdown;
Indicator light " " Fan indicator
Indicator light "" Temperature light
Indicator light "![]() " Timer light
" Timer light
Indicator light " " Temperature indicator
Indicator light " " Timer indicator
Indicator light " " Recipe indicator
SETTINGS
The following table provides basic cooking guidelines for popular, convenience and frozen foods. Please note that due to the variations in thickness and size of the foods being cooked some experimentation may be required for the best cooking results. Always ensure that the food is thoroughly cooked to food-safe temperature throughout before consuming.
Tips
- Smaller ingredients usually require a slightly shorter preparation time than larger ingredients.
- Shaking smaller ingredients halfway through the preparation time optimizes the end result and can help prevent unevenly fried ingredients.
- Add some oil to fresh potatoes for a crispy result.
- The optimal amount for preparing crispy fries is about 1 lb.
- Use pre-made dough to prepare filled snacks quickly and easily. Pre-made dough also requires a shorter preparation time than home-made dough.
- Place a baking tin or oven dish in the Hot-air fryer basket if you want to bake a cake or quiche or if you want to fry fragile ingredients or filled ingredients.
- You can also use the Hot-air fryer to reheat ingredients. To reheat ingredients, set the temperature to (300 ºF) for up to 10 minutes.
| Defaults | Temperature Range | |||
| Food | Cooking Temp (Degrees in F) | Cooking Time (Mins) | Temp (°F) | |
 Fries Fries | 400 | 21 | 160 | 400 |
 Bacon Bacon | 375 | 10 | 160 | 400 |
 Fish Fish | 375 | 18 | 160 | 400 |
 Shrimp Shrimp | 375 | 12 | 160 | 400 |
 Chicken Chicken | 400 | 25 | 160 | 400 |
 Steak Steak | 375 | 16 | 160 | 400 |
 Baked Goods Baked Goods | 350 | 17 | 160 | 400 |
 Dehydrate Dehydrate | 160 | 4h | 80 | 160 |
Dehydrate mode: 2 - 24h
All other modes: 0-60 minutes
CARE AND CLEANING
Always unplug your Air Fryer and allow it to cool completely before cleaning it. NEVER immerse the MAIN body, power cord or plug in water or any other liquid. Never use harsh abrasive cleaners or cleaning materials.
- Carefully wipe any oil spatter from the heating fan cover with kitchen paper. Wipe over the outer body with a clean, slightly damp cloth and dry.
- Wash the removable cooking basket, cooking tray and handle with warm soapy water using a cloth, sponge or non-abrasive brush or on the dishwasher. Dry completely before use or storage.
To remove the cooking basket from the tray:
- Slide the basket release shield forward.
- Press the basket release button.
- To refit basket to the cooking tray, position the basket over the top of the body then pivot the basket downward into place until the lock clicks.
This appliance has no user serviceable parts. Any servicing beyond that described in the Cleaning Section should be performed by an Authorized Service Representative only.
For product questions:
Sunbeam Consumer Service
USA: 1.800.334.0759
www.oster.com
© 2020 Sunbeam Products, Inc. All rights reserved. Distributed by Sunbeam Products, Inc. Boca Raton, Florida 33431.

Documents / ResourcesDownload manual
Here you can download full pdf version of manual, it may contain additional safety instructions, warranty information, FCC rules, etc.
Advertisement


Need help?
Do you have a question about the CKSTAFLC-DM and is the answer not in the manual?
Questions and answers