Advertisement
Box Contents
 Note: Product images shown may be different than actual product received.

- 1 – Aries8 Smart Tablet
- 1 – Power Adapter
- 1 – USB Cable
- 1 – SIM Card Ejector Tool
- 1 – Privacy Shield + Plastic Case
- 1 – Quick Start Guide
Note: Power adapter may vary.
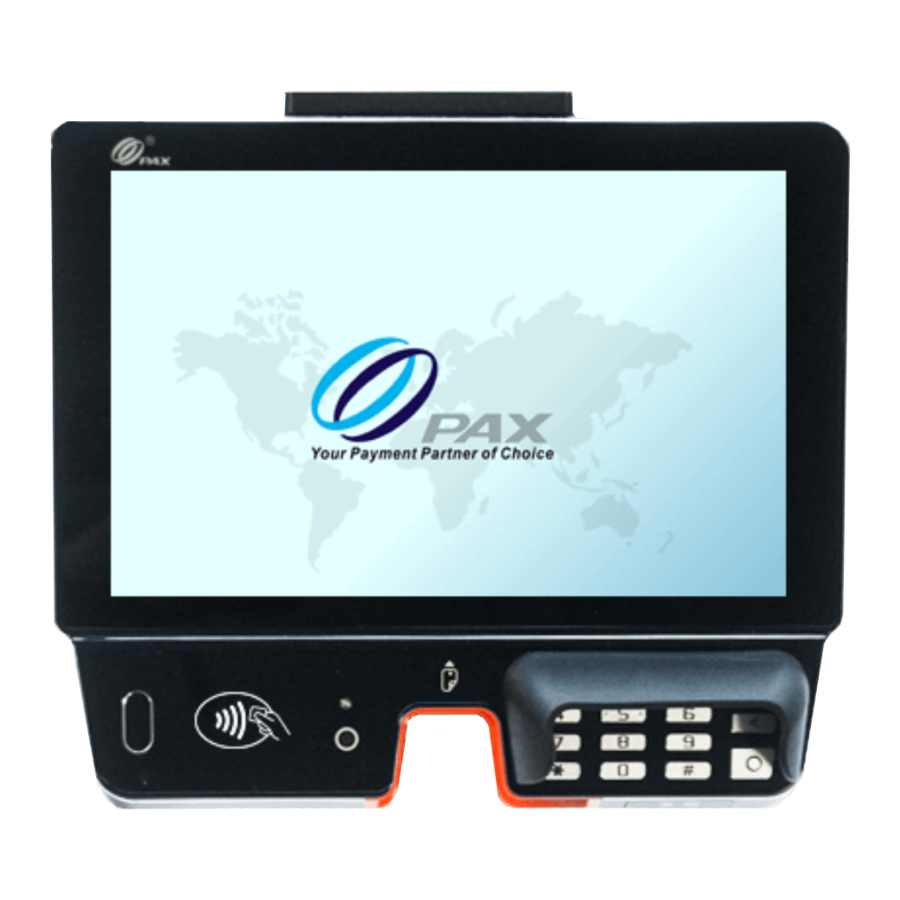
Product Description
Front View

Left Side View

Right Side View

Bottom View

Top View

Underside View

Card Slot Locations

Power
Power on: Press and hold the power button for three seconds until screen display lights up and tablet powers up.
See Top View for the location of the power button.
Power off: Press and hold the power button for three seconds. Select "Power off".
Charge: Plug USB cable into USB port (see Left Side View for the location of the USB port) or place the tablet onto its base to charge the tablet.
Charging indicator: Charging indicator light displays charging status:
- Red indicator – Tablet is charging.
- Green indicator – Charging is complete.
- Red and green indicators flashing alternately – Charging problem.
(See the location of the Charging indicator.)
Card Readers
Magnetic stripe card: Insert magnetic stripe card into card slot and push to the end with magnetic stripe facing down, then pull out card at a constant speed to swipe card.
Smart card: Insert card with IC chip facing up, then push it to the end of the card slot. Leave card inserted until prompted to remove.
Contactless card: When prompted, hold contactless card over center of contactless logo area.
SIM/PSAM Card Slots
- To insert card, open card slot cover and insert cardwith chip facing up. Close card slot cover.
- To remove card, first push it further into slot. (The card will then stick out of the slot a little.) Next, push card again to remove it.
SIM/Micro SD Card Tray
- Open tray cover and insert SIM card ejector tool into hole at sideof card tray until tray opens.
- Take tray out and put the SIM/Micro SD card on the tray in thedirection shown in "Card Slot Locations".
- Gently push tray back into slot until firmly seated.
Privacy Shield
Low Privacy Shield

High Privacy Shield

Mounting Slots


While the installation of a privacy shield is not required, they do offer additional protection.
Please Note: Once installed, the higher privacy shield will be fixed and cannot be removed, while the lower privacy shield can be removed.
- Align the four pegs on the privacy shield with the four mounting slots around the keypad.
- Press the privacy shield firmly to secure it into place.
Specifications
Operating System: Android 7.1
CPU: Quad-Core Cortex A53, 1.4GHz
Memory: 1 GB RAM + 8GB Flash
Display: 8-inch, Resolution 800 x 1280 pixels, multi-touch capacitive screen, supports stylus pen
Audio: Built-in speaker, supports headphone output
Camera: Front camera, 8-mega pixels with flash, auto focus, high-speed code scanning
Light sensor: Main display automatically adjusts backlight brightness
Wireless communication:
Supports Wi-Fi,
Bluetooth® wireless technology,
3G/4G Positioning: Support GPS, Compass, GlONASS
Card slots:
SIM/SD 2-in-1 card slot
SIM/PSAM card slot
Micro SD card slot (supports maximum of 128GB)
Magnetic stripe card/IC card slot, 2-in-1, supports MAG&ICC
Magnetic card reader: Supports Track 1/2/3
IC card reader: Complies with ISO7816 standards, EMV2000 L1& L2, PBOC3.0
Contactless card reader: Compatible with ISO 14443 Type A&B
Working Environment:
Operating temperature: 0℃~50℃;
Relative humidity: 5%~96%(Non-condensing)
Storage Environment:
Storage temperature:-20℃~70℃;
Relative humidity: 5%~96% (Non-condensing)
Power Adapter:
Input: 100‐240VAC, 50Hz/60Hz
Output: 5V/2A
Device Location
Locate the device on a counter top, desktop or table top. Keep the device away from direct sunlight, excessive dust, moisture, and heat. Avoid locating the device near electrical devices that might introduce interference such as microwave ovens and blow dryers.
Cleaning the Device

Do not use industrial strength or abrasive cleaner as it may damage or scratch the screen.
- Do not immerse tablet in water (or liquid).
- Do not spray water or cleaner into card reader or ports.
- To clean screen, apply distilled water or mild glass cleaner onto a soft, lint-free cloth and gently wipe screen.
- To clean tablet, apply distilled water or plastic-safe cleaner onto a soft, lint-free cloth and gently wipe tablet.
Installation and Usage Tips
- Base functionality is not available while the device is connected to a computer or when it is being charged using a Type C plug.
- Use the included USB cable with power adapter to charge the device, otherwise the device may not operate normally.
- Avoid exposing the device to an excessively hot, humid, dusty, or strong electromagnetic environment.
- Do not vibrate, shake, or drop the device.
- Do not insert or unplug any part of the device while it is powered on. This may cause damage to an internal circuit.
- Please contact PAX technical support for assistance with the device.
- Before using magnetic stripe card/IC / contactless card, check if there is any suspicious person nearby, if so, let the relevant personnel know.
Changes or modifications not expressly approved by the party responsible for compliance could void the user's authority to operate the equipment. In a domestic environment, this product may cause radio interference in which case the user may be required to take adequate measures.

Documents / Resources
References
Download manual
Here you can download full pdf version of manual, it may contain additional safety instructions, warranty information, FCC rules, etc.
Download PAX Aries8 - Impressive Android Smart Tablet POS Terminal Quick Setup Guide
Advertisement
Need help?
Do you have a question about the Aries8 and is the answer not in the manual?
Questions and answers