
Related Manuals for Sureguard Pro-Tech 5


Summary of Contents for Sureguard Pro-Tech 5
- Page 1 User Instructions © Sureguard – All Rights Reserved www.sureguard.com.au – Revision #8 2024...
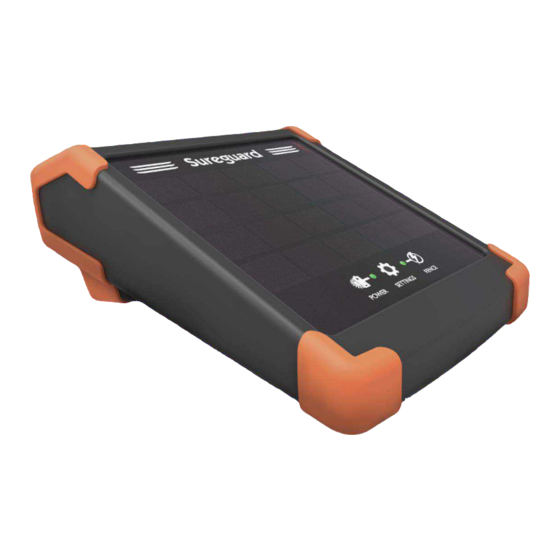
- Page 3 Sureguard’s 5th Generation Solar Electric Fence Energizer. Features Latest Solar Panel & Battery Technologies • Not just for the Australian sun. Pro-Tech 5 has outstanding fence performance even in prolonged cloudy conditions. Keylock Security Mounting • Your Pro-Tech 5 has a unique key-locking mechanism that safeguards your investment against theft.
- Page 4 Then at distances of about every 500~1000m along the multi-wire fence, add more Earth Electrodes and connect these to the Earth Wires of the fence. For more design information & worthwhile tips, visit our website at: Electric Fence Design: www.sureguard.com.au/page/electric-fence-design Tips and videos: www.sureguard.com.au/page/video-pro-tech-5...
-
Page 5: Specifications
Specifications • Maximum Distance Rating: 5km or 3 miles. • Weight: 0.93kg (33oz) • Dimensions: 195mm Wide. 100mm High. 220mm Deep. (4.95" x 3.95" x 8.65"). • Output Impedance: Excellent (Low). • Pulse Energy: 0.2 Joules (stored energy). • Pulse Voltage: 8000 Volts (typical). •... -
Page 6: Mounting Location
Mounting Location The Energiser is solar-powered and requires a suitable location for reliable operation. 1/ It must have an uninterrupted view of the sky from east to west. 2/ No shadows over the Solar Panel between at least 10am to 2pm. 3/ The Energiser must also point towards the equator;... - Page 7 4/ Push the Energiser onto the post. Jiggle until you hear the bolt click into the hole. 5/ Rotate the Key clockwise to lock. 6/ Make sure the Energiser cannot come off. Then remove and store the Key 7/ Put the rubber sealing plug back into the keyhole as an insect & weather seal. IMPORTANT: The top of the steel post must not be mangled or damaged as it might damage the mounting point.
- Page 8 Connecting Energiser to Fence Included with your Energiser are quality Silicone High-voltage Cables with rust-resistant alligator clips and 15mm pre-cut insulation on the end. For each Cable, remove the pre-cut 15mm of insulation with a twisting motion, so the copper wires become twisted together. Then fold the copper wires back over themselves by 5mm.
- Page 9 Buzzer. What the LED Colours Mean: Normal operation. The internal battery has plenty of power. GREEN If both the Power & Fence LED are flashing green, then contact Sureguard GREEN FLASHING for assistance. The internal battery is low. Check Solar Panel is clean and set up correctly.
- Page 10 Advanced User Features The cog icon on the Solar Panel is a Touch Switch that works from moisture in your finger. When you switch the Energiser ON, the Touch Switch is active for the first 45 seconds. During this time, you can customise the operation of the Energiser. Your settings will be stored even if the power is switched OFF.
- Page 11 ❖ Touch 4 times (Function #4): Timer is switched onto Day Mode & will only operate during the day, starting about 15 minutes after sunrise. At night the Energiser is in standby mode, and the FENCE LED glows BLUE. NOTE: The Alarm Buzzer may be customised by Function #5, or #6. ❖...
- Page 12 3. Switch ON the Energiser. If the Energiser now displays a GREEN FENCE LED, your Energiser is good. The result means you have excessive power loss somewhere on the fence Live Wires. (Read the last section for troubleshooting tips). If the Energiser doesn’t pass this self-test, then call Sureguard for advice.
- Page 13 “Instructions for installation and connection of electric fences” Excerpts from Australian Standard AS NZS 60335.2.76, Annex BB © Standards Australia/Standards New Zealand Annex BB.1 Requirements for electric animal fences Electric animal fences and their ancillary equipment shall be installed, operated and maintained in a manner that minimises danger to persons, animals or their surroundings.
- Page 14 If connecting leads and electric animal fence wires are installed near an overhead power line, the clearances shall not be less than those shown in Table BB1. Table BB1 – Minimum clearances from power lines for electric animal fences Power line voltage (volts) Clearance (m) ≤...
-
Page 15: Maintenance
1. Regularly check and clean the Solar Panel for dust and bird droppings. 2. Use a damp cloth with a little soap every three months to clean the external rubber corners. Cleaning reduces mould from taking hold and damaging the rubber. Full Terms and Conditions at www.sureguard.com.au/terms...
Need help?
Do you have a question about the Pro-Tech 5 and is the answer not in the manual?
Questions and answers