Table of Contents
Advertisement
Quick Links
Introduction
This Quick Start Guide provides a basic overview of KUMO system connections
and configuration.
KUMO Router Connections
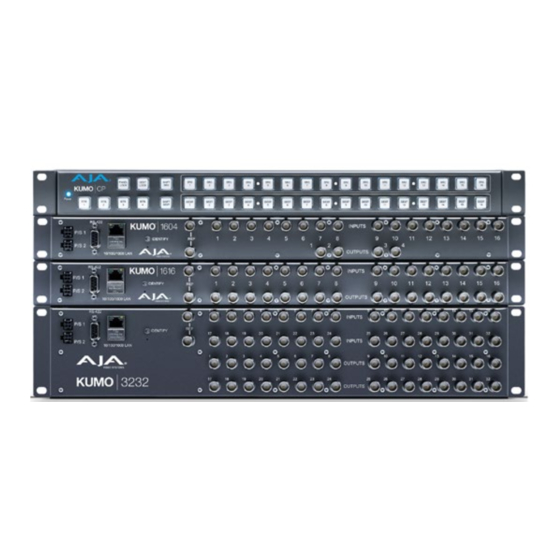
Figure 1. KUMO Rear Panel Connections (3232 shown, other models similar)
Redundant 12 VDC
Power Supplies
PS1 & PS2
RJ-45 Ethernet
RS-422 Serial
9 Pin Female
LAN Connector
D Connector
Published September 14, 2017
KUMO Quick Start Guide v4.3
KUMO
Quick Start Guide
REF BNCs
Identify
Ext Ref Video
LED
Looping
Resessed
10/100/1000
Reset Button
SDI Video Inputs 1-32
(Top Two Rows)
SDI Video Outputs 1-32
(Bottom Two Rows)
1
www.aja.com
Advertisement
Table of Contents

Related Manuals for AJA KUMO Series


Summary of Contents for AJA KUMO Series
- Page 1 Ext Ref Video (Top Two Rows) PS1 & PS2 Looping RJ-45 Ethernet RS-422 Serial Resessed SDI Video Outputs 1-32 10/100/1000 9 Pin Female Reset Button (Bottom Two Rows) LAN Connector D Connector Published September 14, 2017 KUMO Quick Start Guide v4.3 www.aja.com...
-
Page 2: Rj-45 Ethernet Connector
Depending on your KUMO model, up to 64 SDI video inputs and outputs can be connected to the video input and output BNC connectors. Normal Mode In Normal mode, BNC inputs and outputs have a one-to-one relationship with the SDI signals being routed. KUMO Quick Start Guide v4.3 www.aja.com... -
Page 3: Kumo Control Panel Connections
SDI BNC connections have been made, you will be able to route sources to destinations. Figure 3. KUMO Router Direct Connection to KUMO CP KUMO Router KUMO CP Direct Cat 5 Ethernet Cable Connection KUMO Quick Start Guide v4.3 www.aja.com... -
Page 4: Dhcp On An Existing Network
2. Start Safari browser on a Mac. 3. Click on the top menu Bookmark->Bonjour->Webpages drop-down and click on a listed AJA KUMO router or control panel. NOTE: If Bonjour is not visible in the Bookmark drop-down, go to Safari->Preferences- >Advanced and check the “Include Bonjour in the Bookmarks menu” checkbox. -
Page 5: Kumo Temporary Static Ip Address
2. Start a web browser and enter 192.168.101.1 as the web address. This is the KUMO temporary static IP address. 3. Once you’ve connected using the static IP, you can then enter a desired network configuration using the KUMO device’s Network tab. KUMO Quick Start Guide v4.3 www.aja.com... -
Page 6: Larger System Control Configurations
DHCP is the default initial configuration routine for KUMO devices. If you start up on a DHCP network, KUMO will accept assigned IP addresses. After DHCP initialization, use your zeroconf browser to view the KUMO web page and view the assigned IP address. KUMO Quick Start Guide v4.3 www.aja.com... -
Page 7: Static Ip Configuration
Router Select buttons on the panel. On the KUMO control panel web page, go to the Home screen, click on the box below the RTR button, and select the KUMO router from the drop-down list. KUMO Quick Start Guide v4.3 www.aja.com... -
Page 8: Locating A Specific Kumo Device On The Network
• On a KUMO CP, the Source and Destination button rows will flash alternately. Figure 9. KUMO Router Identify LEDs. Identify LED (Front Panel) Identify LED (Rear Panel) KUMO Quick Start Guide v4.3 www.aja.com...
Need help?
Do you have a question about the KUMO Series and is the answer not in the manual?
Questions and answers