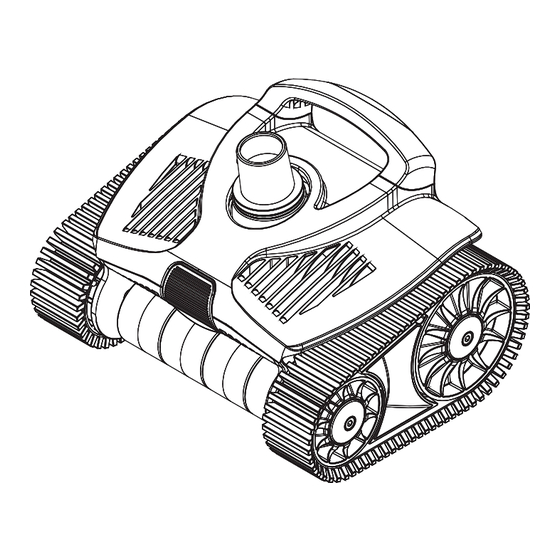
Hayward TracVac W3HSCTRACCU Owner's Manual
Suction-side pool cleaner
Hide thumbs
Also See for TracVac W3HSCTRACCU:
- Quick start manual (2 pages) ,
- Owner's manual (60 pages) ,
- Troubleshooting manual (26 pages)
Advertisement
Quick Links
Scan the QR code and follow the link
to view helpful videos showing how to
setup and operate your new TracVac!
USE ONLY HAYWARD GENUINE REPLACEMENT PARTS
TracVac
Suction-Side Pool Cleaner
Owner's Manual
W3HSCTRACCU
Hayward Industries
1415 Vantage Park Dr., Suite 400
Charlotte, NC 28203
Phone: (908) 355-7995
www.hayward.com
Safety Information......................1
Overview.....................................2
Installation.................................3
Maintenance..............................6
Troubleshooting..........................7
Warranty...................................10
ISSCTV100 RevA
Advertisement

Summary of Contents for Hayward TracVac W3HSCTRACCU
- Page 1 Scan the QR code and follow the link to view helpful videos showing how to setup and operate your new TracVac! Hayward Industries 1415 Vantage Park Dr., Suite 400 Charlotte, NC 28203 Phone: (908) 355-7995 www.hayward.com USE ONLY HAYWARD GENUINE REPLACEMENT PARTS...
- Page 2 Store the cleaner in a shaded safe area. • Hoses must be stored straight. DO NOT coil the hoses. • Keep away from children and pets. • REMOVE cleaner when performing backwash. SAVE THESE INSTRUCTIONS USE ONLY HAYWARD GENUINE REPLACEMENT PARTS...
- Page 3 (adjust) over the obstacle while maintaining suction under the cleaner. What’s Included Flow Gauge MINIMUM FLOW Flow Regulator Valve MAXIMUM FLOW Regulator Cap Float TracVac Hose Cone Adaptor Connector Hoses (11 sections) Double Hose Clip Leader Hose USE ONLY HAYWARD GENUINE REPLACEMENT PARTS...
- Page 4 Check that chemical balance is correct. If not, take the time to correct it before using the TracVac. If you chemically shock the pool, wait 1-2 days before continuing. Point all your return fittings downward to maximize cleaner pool coverage. USE ONLY HAYWARD GENUINE REPLACEMENT PARTS...
- Page 5 2. Install one section of hose into the Safety Vac-Lock fitting of your dedicated suction port, as shown. If your pool does not have a dedicated suction port, go to Skimmer Only Connection. Dedicated Suction Port 1st Section of ConnectorHose USE ONLY HAYWARD GENUINE REPLACEMENT PARTS...
- Page 6 From the first section of hose at the suction source, connect together as many hose sections as needed to reach the farthest point of the pool and then add the Leader Hose. Refer to the diagram below and the top of page 6. Hose Connection USE ONLY HAYWARD GENUINE REPLACEMENT PARTS...
- Page 7 Turn off the pump. Remove the Double Hose Clip and Flow Gauge from the Leader Hose. Submerge the TracVac cleaner to remove all air and then connect the cleaner to the Leader Hose. Cleaner installation is now complete. USE ONLY HAYWARD GENUINE REPLACEMENT PARTS...
- Page 8 If the RPM is below 26.5, adjust the Flow Regulator Valve (rotate knob clockwise) and check cleaner speed again. If the RPM is higher than 32, adjust the Flow Regulator Valve (rotate knob counterclockwise) and check cleaner speed again. USE ONLY HAYWARD GENUINE REPLACEMENT PARTS...
- Page 9 10. Align the tabs on the back side of the top cover with the slots on the back side of the chassis, push down to engage the tabs. Firmly push the top cover backwards to fully engage the tabs. USE ONLY HAYWARD GENUINE REPLACEMENT PARTS...
- Page 10 • Check to be sure that main drain is closed. May need assistance Cleaner stays on the main from a pool professional. drain. • Check to be sure a main drain grate is installed. USE ONLY HAYWARD GENUINE REPLACEMENT PARTS...
- Page 11 If cleaner is behaving er- • Operate suction cleaner and solar heating on alternating schedules. ratically while installed on Remove TracVac when not in use on these type of pools. pool with solar heating. USE ONLY HAYWARD GENUINE REPLACEMENT PARTS...
- Page 12 USE ONLY HAYWARD GENUINE REPLACEMENT PARTS...
- Page 13 SS Screw Kit (6x internal SS Shaft Screws) HSXTV116 Wheel Screw Kit (4x SS Screws for the wheels) HSXTV117 Chassis kit (Chassis with balancing weights & latch spring installed) HSXTV118 Side Covers (2x), Left-Right HSXTV119 Accessory Kit HSXTV120 USE ONLY HAYWARD GENUINE REPLACEMENT PARTS...
- Page 14 USE ONLY HAYWARD GENUINE REPLACEMENT PARTS...
- Page 15 USE ONLY HAYWARD GENUINE REPLACEMENT PARTS...
- Page 16 Hayward is a registered trademark of Hayward Industries, Inc. © 2023 Hayward Industries, Inc. All other trademarks not owned by Hayward are the property of their respective owners. Hayward is not in any way affiliated with or endorsed by those third parties.


Need help?
Do you have a question about the TracVac W3HSCTRACCU and is the answer not in the manual?
Questions and answers
Where do I find the serial number to register the warranty for my new tracVac?