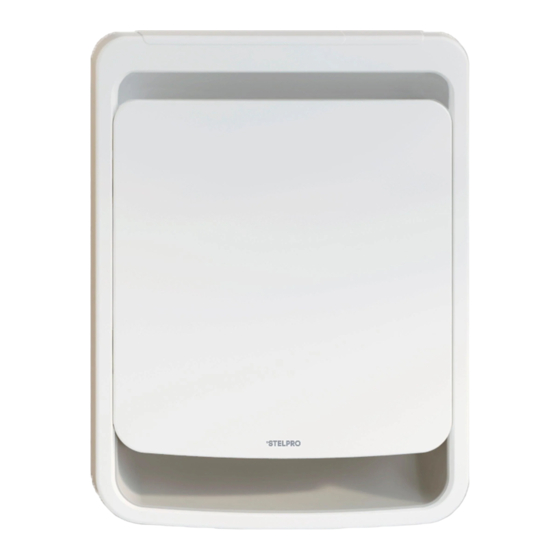
Summary of Contents for Stelpro SOA2002WCW
- Page 1 OWNER'S MANUAL (A)SOA2002WCW (A)SOA2002W FAN HEATER (A)SOA1501PW THANK YOU FOR YOUR PURCHASE! QUESTION? PROBLEM? CONTACT STELPRO CUSTOMER SERVICE. WWW.STELPRO.COM CONTACT@STELPRO.COM 1-844-STELPRO...
-
Page 2: Important Instructions
“Calculation Tools/ for some time after shut down. Heating Calculator” section of the °STELPRO Design website. Extreme caution is necessary when any heater is used by or near If the unit capacity is insufficient for the size of the room, it will be... - Page 3 (A)SOA2002WCW (4.3 kg or 9.4 lb) to the type of wall MODELS 120 V PLUG IMAGE 1B' (A)SOA2002W / (A)SOA2002WCW MODELS Wall mount 2 twist-on wire Tool to cut drywall support Cable clamp...
- Page 4 WARNING: This product must be installed by a certified electrician according to the electrical and building codes effective in your region. WHERE TO INSTALL YOUR OASIS FAN HEATER Install your fan heater in an unobstructed location at least 6 in. WARNING: To avoid any risk of overheating, leave a (15 cm) off the ground.
- Page 5 PREPARING THE SURFACE FOR INSTALLATION 1. Locate the studs and any other structures that FOR A RECESSED INSTALLATION FOR A WALL MOUNT INSTALLATION might be inside the wall. 2. For a recessed installation, make an opening as shown in the diagram. For a more secure installation, attach one side of the unit to a stud.
-
Page 6: Connecting The Wiring
IMAGE 2 IMAGE 2 INSTALLING THE FAN HEATER FOR A WALL MOUNT FAN HEATER INSTALLATION FOR A RECESSED FAN HEATER INSTALLATION 1. Place the fan heater against the wall and mark the posi- 1. Insert the fan heater into the hole made in the wall tion of the screws according to the mounting holes [G] and mark the position of the screws according to the at the back of the unit. -
Page 7: Attaching The Front Panel
IMAGE 2 4. Then place all the wires in the junction box. Replace the NOTE: If this unit will be controlled by a wall-mounted junction box cover [F] and insert the screw [G] to hold it thermostat (without an integrated thermostat), use the in place. - Page 8 INSTALL THE SOA1501PW MODEL (WITH A POWER CORD) UNHOOK THE WALL BRACKET FROM THE DEVICE 1. Using a screwdriver, press the plastic tab [A] under the device. 2. Hold the tab down and rotate the bracket slightly. 3. Pull out the bracket to remove the upper hooks from the device. INSTALL THE WALL BRACKET HANG AND PLUG IN THE DEVICE 1.
- Page 9 USING THE FAN HEATER WITH BUILT-IN THERMOSTAT WARNING: Before using your fan heater, make sure that it has been installed by a certified electrician in accordance with the electrical and building codes in your area. Do not operate without front panel. The following sections outline how to control the fan heater with its built-in electronic thermostat.
- Page 10 ADVANCED MENUS OF BUILT-IN THERMOSTAT ADVANCED MENUS OF BUILT-IN THERMOSTAT Menu 1 Temperature display unit settings (°C or °F ) °STELPRO information 5.1 : Fan heater version Locking/Unlocking keypad settings Menu 2 5.2 : Date manufactured...
- Page 11 The thermostat cannot measure the temperature (temperature sensor is defective). Heating will remain inactive. Contact Stelpro Customer Service. The auxiliary temperature sensor is defective. The device will still control the temperature, but it will not be optimal. Contact Stelpro Customer Service.
- Page 12 • If the fan heater never stops, the thermostat or timer may be defective. Contact Stelpro Customer Service. • The fan heater may temporarily heat beyond the setpoint temperature but will never exceed it by more than 1 °C (2 °F).
- Page 13 In this case, contact and outlets and that they are clean. Stelpro's customer service department. 3. Wait 10 minutes, then turn the power back on or turn up the setpoint temperature.
-
Page 14: Technical Information
1) STELPRO) or a use other than that for which the unit was designed; 3) a nat- your installer or distributor, 2) your service centre or 3) STELPRO’s customer ural disaster or an event out of STELPRO’s control, including, but not limited...


Need help?
Do you have a question about the SOA2002WCW and is the answer not in the manual?
Questions and answers