Table of Contents
Advertisement
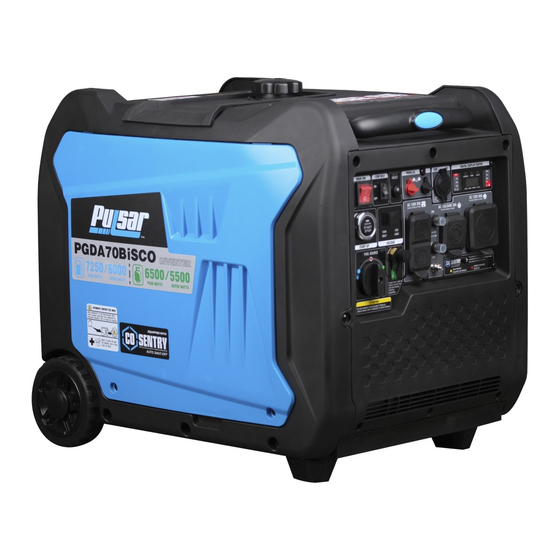
7250 Watt Dual Fuel Inverter Generator
OPERATOR'S MANUAL
Warning: The Engine Exhaust from this product contains chemicals known to
the State of California to cause cancer, birth defects or other reproductive harm.
Model No. PGDA70BiSCO
DO NOT RETURN TO STORE!
STOP
HAVE QUESTIONS OR NEED SERVICE?
866-591-8921
support@pulsar-products.com
Advertisement
Table of Contents

Related Manuals for Pulsar PGDA70BiSCO


Summary of Contents for Pulsar PGDA70BiSCO
- Page 1 Model No. PGDA70BiSCO 7250 Watt Dual Fuel Inverter Generator OPERATOR’S MANUAL DO NOT RETURN TO STORE! Warning: The Engine Exhaust from this product contains chemicals known to the State of California to cause cancer, birth defects or other reproductive harm.
-
Page 2: Table Of Contents
It means to pay attention and be alert, your safety is involved! Please read and abide by the message that follows the Pulsar Products reserves the right to make updates to this manual safety alerts symbol. at any time. -
Page 3: Safety Instructions
Safety Instructions Safety Precautions Before operating your generator, you must read and understand the manual and familiarize yourself with the safe operation practices. SYMBOL DESCRIPTION Safety Alert Symbol Electrocution Hazard Asphyxiation Hazard WARNING POISONOUS GAS HAZARD: Engine exhaust contains carbon Burn Hazard. - Page 4 Safety Instructions WARNING Correct Usage Example location to reduce risk of carbon monoxide poisoning • ONLY use outside and downwind, far away from windows, doors, and vents. Fuel and its vapors are extremely flammable and explosive which • Direct exhaust away from occupied spaces. could cause burns, fire, or explosion resulting in death or serious injury and/or property damage.
-
Page 5: Co Sentry
• If you have questions about intended use, ask a dealer or tests the air for dangerous levels of carbon monoxide. If dangerous contact your local Pulsar service center. levels of carbon monoxide are detected this generator will • Operate generator only on solid, level surfaces. -
Page 6: Names Of Components
Components Before operating your generator, you must read and understand the manual and familiarize yourself with the safe operation practices. Fuel Tank Cap Right Exterior Cover Control Panel Oil Dipstick Oil Drain Pipe Pull Start Spark Plug Carburetor Exhaust Air Filter BATTERY Battery Left Exterior Cover... -
Page 7: Control Panel
Control Panel 120V 120/ ONLY 240V VOLTAGE CO SENTRY PROTE ION AGAIN RBON MONOXIDE... -
Page 8: Specifications
Specifications Engine Type Single Cylinder, Four Stroke, Air Cooled, Overhead Valve, Gasoline Engine Cylinder Bore x Stroke(mm) 80x62 Displacement 312cc Compression Ratio 8.5:1 Gas Distribution Mode Cooling Mode Forced Cold Air Output Power (kW/r/min) 7.0/3600 Starting Mode Electric and Manual Recoil Gasoline Tank Capacity 3.5 gallons Fuel... -
Page 9: Preparation
Preparation Preperation Right Exterior Cover Oil Dipstick Your generator requires some assembly. This unit ships from our factory without oil; it must be properly filled with oil before operation. Unpacking 1. Set the shipping carton on a solid, flat surface. 2. -
Page 10: Connecting Lpg Tank
Preparation NOTICE Check oil level often during the break-in period. Refer to the Maintenance section for recommended service intervals. CAUTION This engine is equipped with a low oil shut-off and will stop when the oil level in the crankcase falls below a critical level. NOTICE 4. -
Page 11: Battery
If the leak continues or if the the hose. leak is not at a fitting then DO NOT use the generator and contact an authorized Pulsar service center. WARNING OPEN Explosion hazard. DO NOT start generator if you smell propane. - Page 12 Preparation 3. A quick-connect battery plug is pre-installed on the battery. Remove the cable tie securing the plugs, align colors, then push firmly to connect them. 4. Align the tabs on the bottom of the battery access cover with the generator case then push to reinstall the cover. Note: The generator is equipped with a battery charging feature.
-
Page 13: Operation
Operation Generator Location Starting The Generator WARNING 1. Make sure the generator is on a solid, flat, level surface. 2. Disconnect all electrical loads from the generator. Never start or stop the generator with electrical devices plugged in or turned on. NEVER operate the generator inside any building, garage, 3. - Page 14 Operation DANGER 6. Choose the starting method Recoil Start: Firmly grasp and pull the recoil handle slowly until you feel resistance, let it retract then pull swiftly. Fire and explosion hazard. Always turn the propane tank valve to the fully closed position if not running the generator on propane.
- Page 15 Operation Stop The Engine 2. If the OVERLOAD light turns on and the generator stops producing power, it has been overloaded. 3. Turn off and disconnect all electrical devices and stop the 1. Turn off and unplug all connected electrical loads. Never start engine.
- Page 16 Operation Generator Capacity NOTICE Do not overload the generator's capacity. Exceeding your generator's wattage capacity can damage the generator and/or electrical devices connected to it. Make sure the generator can supply enough continuous (running) and surge (starting) watts for the items you will power at the same time.
-
Page 17: Maintenance
Maintenance WARNING ACCIDENTAL STARTING: Turn the fuel selector to the “OFF” position, wait for the engine to cool, and disconnect the spark plug cable before performing any inspection, maintenance, or cleaning procedures. EQUIPMENT FAILURE: Do not use damaged equipment. If abnormal noise, vibration, or excess smoking occurs, have the problem corrected before further use. - Page 18 Maintenance Right Exterior Co Oil Dipstick Checking and Filling Fuel WARNING TO PREVENT SERIOUS INJURY FROM FIRE: Fill the fuel tank in a well-ventilated area away from ignition sources. If the engine is hot from use, shut the engine off and wait for it to cool before adding fuel.
- Page 19 Maintenance Air Filter Element Maintenance 1. Allow the generator to cool completely. 2. Remove the Screws from the back of the generator. 3. Remove the Tail Pipe and Spark Arrestor. 1. Loosen screws and remove the Air Filter Access Panel on 4.
- Page 20 Maintenance NOTICE Draining the Carburetor Use only BPR6ES (NGK) type spark plug or equivalent. Using After closing the Fuel Valve, place an appropriate container under an incorrect spark plug may damage the engine. the Carburetor and carefully remove the Drain Bolt from the bottom of the Carburetor Bowl, allowing the fuel to drain completely.
-
Page 21: Troubleshooting
8. Shut off the fuel valve, move the generator caused by the carburetor needle sticking. to a safe, outdoor location and contact a certified Pulsar Service Center before using the generator again 9. Clogged Fuel Filter. 9. Replace Fuel Filter. - Page 22 Troubleshooting Problem Possible Causes Probable Solutions THE ENGINE WILL COMPRESSION RELATED: COMPRESSION RELATED: NOT START 1. Cylinder not lubricated. 1. Pour a tablespoon of oil into the spark plug Problem after long storage periods. hole. Crank the engine a few times and try to start again.
- Page 23 Troubleshooting Problem Possible Causes Probable Solutions ENGINE STOPS 2. Fuel tank empty or full of impure or low-quality 2. Fill fuel tank with fresh 87+ octane stabilizer SUDDENLY gasoline. treated unleaded gasoline. Do not use gasoline with more than 10% ethanol(E15, E20,E85,etc.). 3.
Need help?
Do you have a question about the PGDA70BiSCO and is the answer not in the manual?
Questions and answers