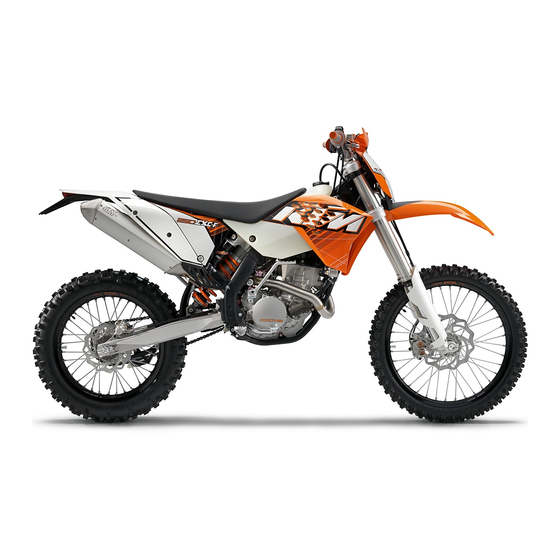
Summary of Contents for KTM 250 EXC-F EU 2011
- Page 1 SETUP INSTRUCTIONS 2011 250 EXC-F EU 250 EXC-F AUS 250 EXC-F SIX DAYS EU 250 XCF‑W SIX DAYS USA Art. no. 3211687en...
- Page 3 KTM accepts no liability for delivery options, deviations from illustrations and descriptions, as well as misprints and other errors.
-
Page 4: Means Of Representation
MEANS OF REPRESENTATION Symbols used The symbols used are explained in the following. Indicates an expected reaction (e.g. of a work step or a function). Indicates an unexpected reaction (e.g. of a work step or a function). Identifies a page reference (more information is provided on the specified page). Denotes additional information or tips. - Page 5 SET‑UP Unpacking and setting up the vehicle Packaging 2 – Remove the box and the plastic packaging. Info To avoid damaging the motorcycle during the setup, leave the protective film on the vehicle until you have finished. – Remove the separate enclosure and unpack it. Check that the scope of delivery is complete on the basis of the enclosed packing list.
- Page 6 SET‑UP – Position the fork legs and tighten the screws of the triple clamp. Guideline Screw, top triple clamp 20 Nm (EXC‑F EU/AUS) (14.8 lbf ft) Screw, top triple clamp 17 Nm (EXC‑F SIX DAYS, XCF‑W SIX DAYS) (12.5 lbf ft) Screw, bottom triple clamp 15 Nm (EXC‑F EU/AUS)
- Page 7 SET‑UP (XCF‑W SIX DAYS) – Attach the speedometer to the upper triple clamp. Guideline Remaining screws, chassis 10 Nm (7.4 lbf ft) – Connect the connector. 600819-10 (EXC-F, EXC‑F SIX DAYS) – Attach the retaining bracket for the connector, the turn signal bracket with the turn signal and the speedometer to the upper triple clamp.
- Page 8 Apply the label included in the delivery (optional). – Position all controls exactly on the handlebar. Tighten all screws. 600810-10 – Refuel. ( p. 10) – Print out the current PDI form found on KTM DEALER.NET and perform the delivery inspection.
- Page 9 WORK Removing the seat – Remove screw – Lift up the seat at the rear, pull it back and then remove it from above. 500080-10 Mounting the seat – Hook in the front of the seat at the collar sleeve of the fuel tank, lower it at the rear and simultaneously push it forward.
- Page 10 WORK Installing the front fender – Ensure that the spacers are mounted in the fender. – Position the front fender. Mount and tighten screws Guideline Remaining screws, chassis 10 Nm (7.4 lbf ft) Info Make sure the holding lugs engage in the start number plate or headlight mask.
- Page 11 – Do not discard batteries with the household trash. Dispose of a defective battery in an environmentally compatible manner. Give the battery to your KTM dealer or to a recycling center that accepts used batteries. Warning Environmental hazard Hazardous substances cause environmental damage.
- Page 12 WORK Installing the battery – Place the battery in the battery holder. Battery (YTX5L-BS) – Reconnect the rubber band – Attach the plus cable and replace the plus pole cover – Attach the minus cable – Mount the seat. ( p.
- Page 13 WORK – Fill the fuel tank with fuel up to measurement Guideline Measurement of 35 mm (1.38 in) Total fuel tank 9.2 l Super unleaded (ROZ 95 / RON 95 / capacity, approx. (2.43 US gal) PON 91) ( p.
-
Page 14: Technical Data - Chassis Tightening Torques
TECHNICAL DATA - CHASSIS TIGHTENING TORQUES – Spoke nipple, front wheel M4.5 5… 6 Nm (3.7… 4.4 lbf ft) – Screw, spoiler on fuel tank M5x12 1.5 Nm (1.11 lbf ft) (XCF‑W SIX DAYS) – Spoke nipple, rear wheel 5… 6 Nm (3.7… 4.4 lbf ft) –... - Page 15 SUBSTANCES Super unleaded (ROZ 95 / RON 95 / PON 91) According to – DIN EN 228 (ROZ 95 / RON 95 / PON 91)
-
Page 16: Auxiliary Substances
AUXILIARY SUBSTANCES Long-life grease Guideline – ® KTM recommends Motorex products. Supplier ® Motorex – Bike Grease 2000... - Page 17 *3211687en* 3211687en KTM-Sportmotorcycle AG 5230 Mattighofen/Austria http://www.ktm.com...


Need help?
Do you have a question about the 250 EXC-F EU 2011 and is the answer not in the manual?
Questions and answers