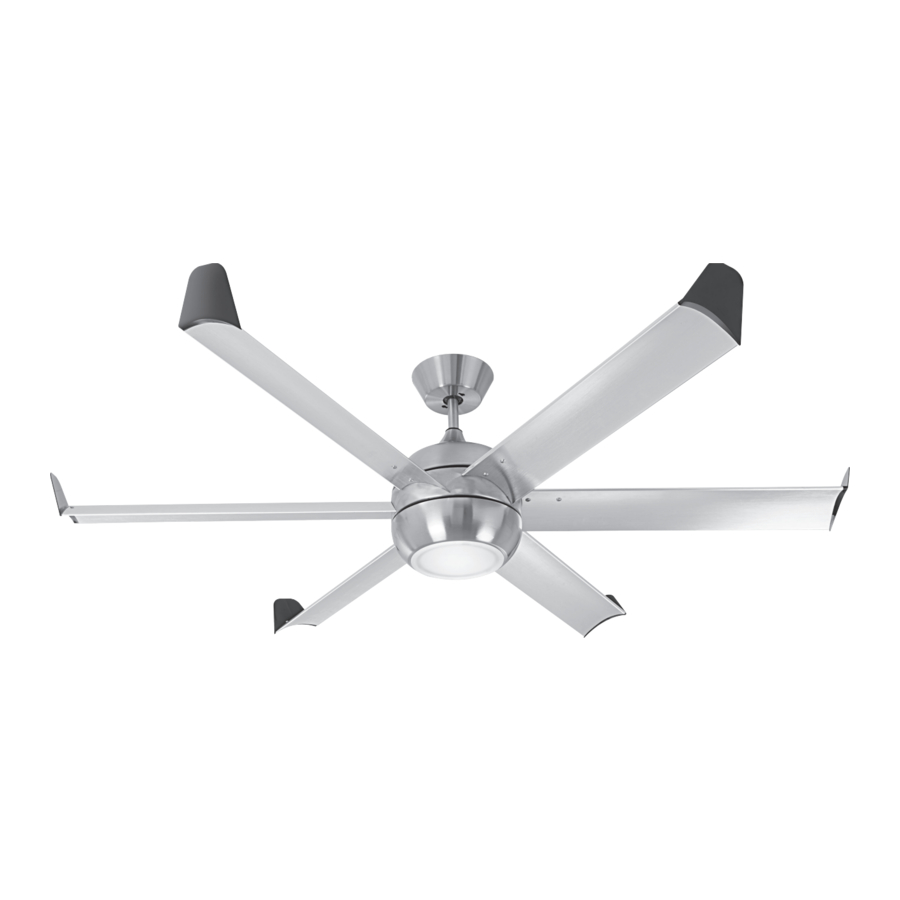
Arlec DCF6060 - 6 Blade 150cm Ceiling Fan Manual
- Assembly and installation manual (2 pages)
Advertisement
Introduction
 Note: This fan must be installed by a license electrical contractor.
Improperly installed ceiling sweep fans can be dangerous and expensive to repair and will void guarantee.
This fan is designed for indoor use only. Do not mount in positions where fan is subject to water or moisture. The fan must be installed so that the blades are greater than 2.1 metres from floor. All wiring must comply with the requirements of Australian and New Zealand Standard AS/NZ 3000. The fan blades supplied for this fan are matched to minimize wobble. If installing more than one fan do not mix blade sets.

This appliance is not intended for use by persons (including children) with reduced physical, sensory or mental capabilities, or lack of experience and knowledge, unless they have been given supervision or instructions concerning use of appliance by a person responsible for their safety. Children should be supervised to ensure that they do not play with the appliance.
Mounting
- Choose a location for the fan which will ensure adequate clearance from all objects and walls and with blade height greater than 2.1 metres from the floor.
- At the selected mounting position, check whether there is a ceiling joist to which the fan can be secured. If there is no suitable supporting member, install a 50 x 100mm brace between ceiling joists. Secure the mounting bracket to the ceiling with four mounting screws and washers. If a safety cable is provided with the fan, anchor this securely to the supporting member or mounting bracket when wiring has been completed.
Mounting Bracket

- Attach the light assembly to the main body. Firstly clip the connecting leads together, then place the mounting holes in the base of the light assembly over the screw heads in the main body.

Rotate the light assembly clockwise to lock into position, then tighten screws.
Be careful not to damage the exposed LED's of the light assembly.

- To enable the fan wiring the ball joint pin needs to be removed by the following method.


- Unscrew the locating screws
- Slide the ball joint downwards
- Remove pin and the push the ball joint out from the downrod.

Feed the fan supply wires from fan motor housing through the downrod with upper and lower canopy fitted.


- Insert ball joint pin into the downrod and fasten – reverse procedure to above.
- Attach the downrod to fan motor housing by the following method.
- Remove the locating clip and support pin
- Loosen the fixing screws
- Place the downrod into the collar in the top of the motor housing.
- Replace the support pin and locating clip
- Fasten fixing screws

- Hang the fan motor housing on to the mounting bracket, ensure the ball joint locating groove aligns with the notch on the mounting bracket.

This product incorporates a self learning code system:
- Fit 12V Type 23A battery into the transmitter
- Turn on the supply to the fan.
- Within 30 seconds of turning on supply to the fan, press and hold the FAN ON/OFF button on the transmitter for 5 seconds.
- A beeping sound is emitted when pairing is complete (a beep is also emitted when a signal has been sent from the transmitter).
Note: The transmitter code is not accepted for pairing after supply has been ON for more than 30 seconds.
Pairing more than one fan:
When more than 1 fan is installed e.g. FAN A & FAN B, and pairing is required each fan needs to be paired separately. Follow the steps given below to pair the fans:
- To pair turn the Power ON to one fan only e.g. FAN 'A' and within 30 seconds of turning ON the power to the fan 'A', press and hold the FAN ON/ OFF button on the transmitter 'A' for 5 seconds. When a long beep is heard the fan is paired.
- Turn OFF the supply to FAN 'A' which is paired and turn ON the supply to the other fan, FAN 'B'. Repeat steps C &D to pair it. To transmitter 'B'.
- Once Fan 'B' is paired, turn ON the supply to the first fan, FAN A. Both the remotes are paired and will work independently. Note: If the battery is removed / replaced the fan needs to be paired again.
Note: Each fan must have its own means of disconnection incorporated in the fixed wiring in accordance with the wiring rules. If this fan is a replacement, remove any existing wall speed controllers.
TRANSMITTER HANDSET FUNCTIONS
- FAN ON/OFF: Press and release button to switch fan motor OFF and ON.
- LIGHT OFF/ON: Press and release button to switch light off and on.
- FAN SPEED: Fan speed can be adjusted up to 6 different speed settings with buttons marked '+' & '-'. By default when the fan is switched ON with the ON/OFF button, the fan will start to function at 3rd speed setting. Adjsut the fan at desired speed setting with '+' & '-' buttons.
- TIME OFF: Press the button marked "
![]() " to set the preset desired time off function of 1-2-48hrs. Each press of the button will change the time off duration from 1-2-4-8, blue LED indicator corresponding to set time will glow.
" to set the preset desired time off function of 1-2-48hrs. Each press of the button will change the time off duration from 1-2-4-8, blue LED indicator corresponding to set time will glow. - LED INDICATORS: Light illuminates to show that a function has been initiated. The LED indicators will switch off after a few seconds, this is to extend the life of the battery. Press the fan speed adjustment button if you want to check the speed or the timer off setting.
- 12V battery required, Type 23A.
NOTE 1: A beep will be heard and the Blue indicating LED will illuminate when a function is activated.
NOTE 2: The remote control includes a memory function. This function records the status when power has been disconnected to allow resumption when power is restored.
NOTE 3: Remove the battery from the transmitter handset when left unused for extended periods. Pairing is required after the battery is replaced.
NOTE 4: To change the direction of rotation for S/W function the fan needs to be turned OFF & ON for settings to take effect.
NOTE 5: Only 1 remote can be paired with a given fan at any time.
NOTE 6: If the power supply is turned OFF and back ON the light will come on automatically, use the remote to turn the light OFF.


- Wire-in the fan unit as shown in figure below:
- Firstly connect internal wiring by clipping connectors together (push into locked position), then
- connect mains active, neutral and earth wires to supply terminal block on mounting plate.


IMPORTANT NOTES:
Means of disconnection must be incorporated in the fixed wiring in accordance with the wiring rules.
Incorrect wire connections will damage this unit If this fan is a replacement fan for an existing fan, remove any controller unit.

Note: Ensure that all earth wires are connected to the supply earth.
- When wiring has been completed and checked, slide the top canopy upward over the mounting bracket and tighten the fixing screws. Slide the support pin cover downward into position over the collar of the motor housing.
- Blade attachment
Insert the blades to the motor housing and secure each blade with two screws, nuts and washers. Tighten the screws firmly without over tightening. Repeat this procedure for all the blades. Spanner and Philips head screw driver is recommended for this job.

Attach the plastic fixture to each end of the blade and secure it with screws provided. - Attach the glass lamp shade and lock it into position by turning it clockwise. Be careful not to damage the LED lamp assembly beneath.


OPERATION
The fan is operated using the transmitter handset.

By default the remote included in the box is paired with the fan with which it is supplied.
To pair the transmitter and receiver units together follow the steps as given below.
CARE & CLEANING
Periodic cleaning of your new ceiling fan is the only maintenance that is needed. Use a soft brush or lint free cloth to avoid scratching the finish.
Do not use water when cleaning your ceiling fan, it could damage the motor or the wood blades and create the possibility of an electrical shock.
Motor has permanently lubricated ball bearings. No need to oil.
This fan is not intended for use by young children or infirm persons without supervision.
Do not allow young children to play with the fan.
WOBBLE
Ceiling fans tend to move during operation due to the fact that they are not generally rigidly mounted - if they were, they could generate excessive ceiling vibration and stress on their mountings. Movement of a couple of centimetres is quite OK and does not suggest the fan will fall down.
Ceiling fans are mounted very securely on steel brackets with rubber cushioning or with ball joints to allow free movement.
Please note that all ceiling fans are not the same, even in the same model - some may move more or less than others.
The following procedures should eliminate any wobble. Check for wobble after each step. It is impossible to eliminate wobble completely.
- Check that all blade brackets are tightened securely.
- Most wobble problems result from inconsistent blade level. To check blade level, measure the distance from each blade tip to the ceiling. If measurements are inconsistent, adjustments of brackets will be required.
- Wobble problem could also result from deviations in distance from blade to blade. To check blade separation, measure the distance from blade tip to blade tip. Should measurements vary, loosen screws connecting blades and brackets (one at a time) then shift blade to proper position and re-tighten screws.
NORMAL WEAR AND TEAR
Threaded components working slightly loose or blade carriers even slightly bent due to vigorous cleaning or bumping can cause extra wobble and noise. This is not covered under guarantee - but a little care and maintenance can reduce or prevent this problem.
BUMPS-IN-THE-NIGHT
This is the biggest cause for service calls which are outside the manufacturer's warranty. If a fan has a fault, it will be noticeable at all times. Naturally when everything is quiet at night, you will be more inclined to hear small noises which may not be noticeable at other times. Even slight power fluctuations, and mains frequency signals superimposed in you electricity supply for off-peak hot water control may cause a change in fan motor noise. This is normal.
SUMMER/WINTER OPERATION
The fan incorporates a reversing switch. Open the battery compartment and the switch is located just above the battery housing. With the switch set to the position marked "S" i.e. Summer air flow is directed downwards. This is best for summer cooling. With the switch set to the position marked "W" i.e. Winter airflow is directed upwards. This is best for winter operation, assists in moving air around the room, makes heating more efficient.
Turn the fan OFF before you change the switch position.
TROUBLE SHOOTING CHECKLIST
| Trouble | Problem Cause | Suggested Remedy |
| Fan will not start |
|
|
| Fan wobbles |
|
|
| Fan sounds noisy |
|
|
| Mechanical Noise |
|

Documents / ResourcesDownload manual
Here you can download full pdf version of manual, it may contain additional safety instructions, warranty information, FCC rules, etc.
Advertisement


Need help?
Do you have a question about the DCF6060 and is the answer not in the manual?
Questions and answers