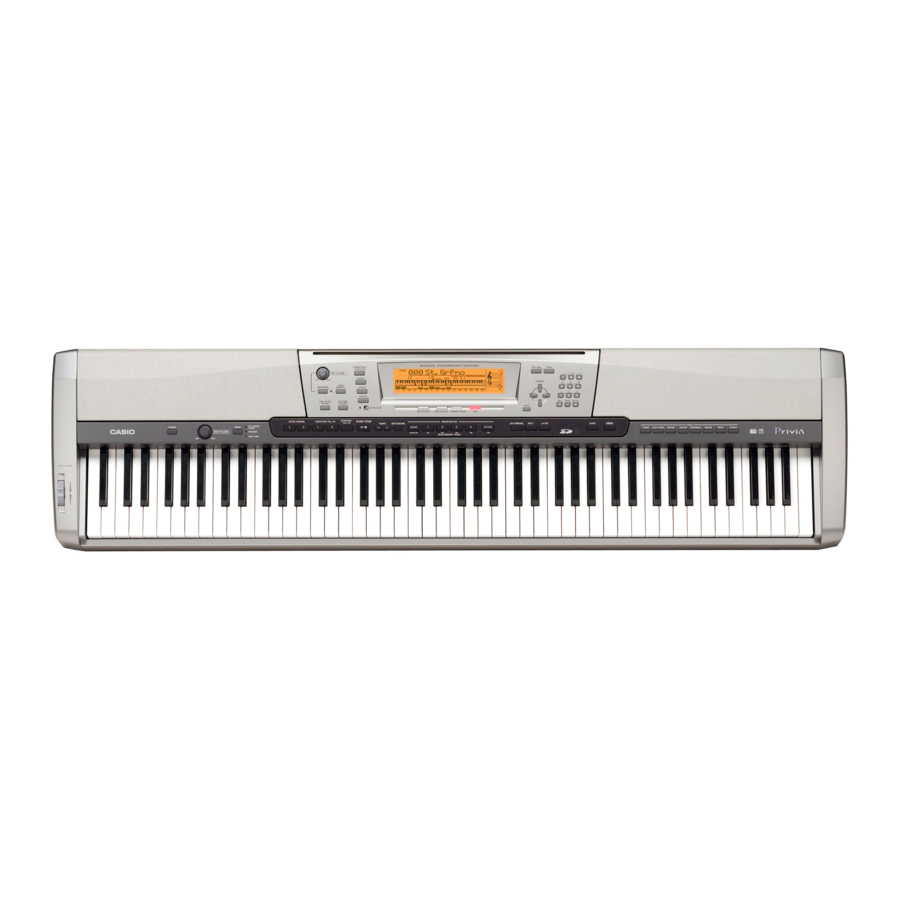
Casio PX-410R Service Manual
Hide thumbs
Also See for PX-410R:
- User manual (100 pages) ,
- Supplementary manual (84 pages) ,
- Appendix (8 pages)
Table of Contents
Advertisement
Advertisement
Table of Contents

Related Manuals for Casio PX-410R


Summary of Contents for Casio PX-410R
- Page 1 PX-410R PX-575R (For US) AUG. 2006 PX-410R ELECTRONIC KEYBOARD Ver.1 : Sep. 2006...
-
Page 2: Table Of Contents
CONTENTS Specifications ---------------------------------------------------------------------------------------------- 1 Block Diagram --------------------------------------------------------------------------------------------- 3 Circuit Description --------------------------------------------------------------------------------------- 4 Printed Circuit Board ------------------------------------------------------------------------------------ 6 Disassembly ------------------------------------------------------------------------------------------------ 8 Diagnostic Program ------------------------------------------------------------------------------------ 17 Exploded View ------------------------------------------------------------------------------------------- 20 Parts List--------------------------------------------------------------------------------------------------- 21 Schematic Diagrams ----------------------------------------------------------------------------------- 25... -
Page 3: Specifications
Rhythm Patterns: 182 (internal, 16 user areas* Tempo: Variable (226 steps, = 30 to 255) Chords: 3 fingering methods (CASIO CHORD, FINGERED, FULL RANGE CHORD) Rhythm Controller: START/STOP, INTRO/ENDING 1 and 2, VARIATION/FILL-IN 1 and 2, SYNCHRO/FILL-IN NEXT Accomp Volume:... - Page 4 Other Functions Pitch Bend Range: Adjustable (12 semitones upwards and downwards) Transpose: 49 steps (–24 semitones to +24 semitones) Variable (A4 = approximately 440Hz ±100 cents) Tuning: LCD: Adjustable contrast SMF Player: Flash memory storage for up to 200 files*1 Supported Format: SMF0 Flash Memory...
-
Page 5: Block Diagram
BLOCK DIAGRAM JACK PCB CONSOLE PCB (M421-PSB1) (M421-CNA3) AC ADAPTOR Phones/Output DC 12V Volume Speakers LCD Controller 4Ω ML9040-B02GA (IC401) MSM5259G3-2K (IC402) 8Ω Filter IC201, NJM2008D CONT LCD PCB DB0 ~ DB7 8Ω (M734-LCD1M) Power Amplifier 4Ω IC202, LA4636 VCP (9-12V) Power Supply Circuit Filter Q204, Q205, Q208, Q209... -
Page 6: Circuit Description
CIRCUIT DESCRIPTION KEY MATRIX A0#1 C1#1 D1#1 A0#2 C1#2 D1#2 F1#1 G1#1 A1#1 F1#2 G1#2 A1#2 C2#1 D2#1 F2#1 G2#1 C2#2 D2#2 F2#2 G2#2 A2#1 C3#1 D3#1 A2#2 C3#2 D3#2 F3#1 G3#1 A3#1 F3#2 G3#2 A3#2 C4#1 D4#1 F4#1 G4#1 C4#2 D4#2 F4#2... - Page 7 RANGE POPS JAZZ STOP (D615) FUNCTION CHORD PLAY/ STOP TEMPO 3 DANCE/ ALONG CHORUS FINGERED SPLIT EUROPEAN (D611) (D617) FUNK CASIO TEMPO 1 TEMPO 4 REPEAT LAYER ROCK LATIN CHORD (D613) (D618) LH17 LH14 LH13 LH12 LH11 LH10 SONG SONG/...
-
Page 8: Printed Circuit Board
PRINTED CIRCUIT BOARDS MAIN PCB M421-MDA1 SUB PCB M421-PSA1 JACK PCB M421-PSB1 JACK PCB M421-PSC1 SD CARD PCB M421-SDA1 LCD PCB M743-LCA1 — 6 —... - Page 9 CONSOLE PCB M421-CNA1 CONSOLE PCB M421-CNA2 CONSOLE PCB M421-CNA3 CONSOLE PCB M421-CNA4 CONSOLE PCB M421-CNA5 CONSOLE PCB M421-CNA6 CONSOLE PCB M421-CNA7 CONSOLE PCB M421-CNA8 — 7 —...
-
Page 10: Disassembly
DISASSEMBLY 1. Remove the 6 screws and take off the left and right outer side covers. Side covers * The left side cover is connected by a cable. 2. Remove 2 screws and the BEND wheel. BEND wheel 3. Remove 20 screws and the Lower cover. Lower cover —... - Page 11 4. Remove 28 screws on the bottom. 5. Remove 18 screws on the left and right side covers. 6. Remove the Panel assy. * The panel assembly is still connected by several cables. 7. Remove 3 connectors. CN204 CN215 CN216 —...
- Page 12 8. Cut the retaining band and remove the cable on the M421-MDA1 PWB. 9. Unlock connector CN7 on the M421-MDA1 PWB and disconnect the FPC. Retaining band * Attach a new retaining band when assembling. * Bundle the wires when assembling. 10.
- Page 13 * When the inner side cover is removed, the nut is * When you fit the inner case on the left side, insert the loose. Take care not to lose it. M421-PSB1 PWB cable into the groove on the main unit. 11.
- Page 14 13. Remove 24 screws and 2 speaker boxs. I To remove the M421-MDA1 PCB 14. Unsolder to remove 3 cables. 15. Remove the Connecor. 16. Remove 4 screws and the M421-MDA1 PCB. CN10 M421-MDA1 PCB I To remove the M421-PSC1 PCB 17.
- Page 15 I To remove the M421-PSA1 PCB 20. Unsolder to remove 2 cables. 21. Remove the 4 speaker cables. CN603 Speaker cables (Red, White) CN602 Speaker cables (Red, Black) 22. Remove 5 screws and the M421-PSA1 PCB. M421-PSA1 PCB — 13 —...
- Page 16 I To remove the LCD unit 23. Remove 12 screws and the LCD unit. Note: Fix the screws in the right order when assembling. I To remove the M421-CNA1, CNA2, CNA3, CNA4, CNA5, CNA6, CNA7, CNA8 24. Remove 48 screws and the M421-CNA1, CNA2, CNA3, CNA4, CNA5, CNA6, CNA7 and CNA8. M421-CNA7 M421-CNA4 M421-CNA5...
- Page 17 I To remove the keyboard 25. Remove 26 screws on the bottom. 26. Remove 3 screws on the surface. 27. Separate the case from the keyboard. 28. Pull the hammer (1), and then remove the key from the hammer (2). 29.
- Page 18 24. Remove eight rubber keys. 25. Remove 32 screws and the key PCB. *Precautions when assembling the rubber keys The length of this only one rubber key is different. The numbers of pins on the upper and lower sides are different. 3 Insert the pins and fix them tightly.
-
Page 19: Diagnostic Program
DIAGNOSTIC PROGRAM I Initial Setting 1. Connect the AC adaptor. 2. Connect the Pedal. 3. “Main” volume: MAX 4. “Mic” volume: MAX I How to start diagnostic program 1. Press and hold “UPPER” and “DOWN” buttons. 2. “POWER” switch “ON” * The massage “TEST_421”... - Page 20 Message on LCD 9. SWITCH check 1 Press “DSP” button. 2 Press the buttons in the following order. Button Name * Confirmation sound sounds. * The Button name appears on the LCD. * A buzzer sounds if buttons are pressed in a wrong order, and “NG” appears on LCD. * This check cannot be aborted in mid-course.
- Page 21 13. LED check 1 Press “TEMPO DOWN” button. * LEDs illuminate in the following order. All turn on Echo Full Range Fingered CASIO Chord Data Access Drawbar 14. CARD check 1 Inset the SD card. 2 Press “-” button. SDC_CHK 3 It takes about 3 minutes until “CARD_OK”...
-
Page 22: Exploded View
EXPLODED VIEW — 20 —... -
Page 23: Parts List
PARTS LIST PX-410R PX-575R (For US) Notes: This parts list does not include the cosmetic parts, which parts are marked with item No. "R-X" in the exploded view. Contact our spare parts department if you need these parts for refurbish. - Page 24 P a r t s Price I t e m Parts Name Specification Remarks PX400R PX575R Code code Main PCB 10249876 PCB ASSY/MAIN TK-RJM507274*001 10158809 COIL DLP31SN221SL2L 10198126 MEMORY CY62128DV30LL70ZAX 23902058 DIODE 1SR154-400TE25 10199220 DIODE HZU4.3B2TRF-E 10197390 MEMORY LP62S2048AX70LLTFQ 10195928 UPD63200GS-E1-A 10197802 TC74VHCT08AFT(EL.K...
- Page 25 P a r t s Price I t e m Parts Name Specification R Remarks Code code PX400R PX575R Console PCB CNA1~ 10249879 PCB ASSY/CNA TK-RJM507277*001 CNA8 IC601 10159709 UPD65881GK-1019ETA X601 10093909 RESONATOR CSBLA1M00J58-B0 D604 10251890 LT2P71-81-M1 D606,607, 10131987 T-3216SRD-PRV 608,609 D601-603, 10171338...
- Page 26 P a r t s Price I t e m Parts Name Specification Remarks PX400R PX575R Code code 10247722 RUBBER/KEY/C RJM506642-001V01 10247723 RUBBER/KEY/D RJM506643-001V01 10247724 RUBBER/KEY/E RJM506644-001V01 10247725 RUBBER/KEY/E RJM506644-002V01 10247726 RUBBER/KEY/F RJM506645-001V01 10247727 RUBBER/KEY/G RJM506646-001V01 10247728 RUBBER/KEY/G RJM506646-002V01 10247729 RUBBER/KEY/H RJM506647-001V01 10247730 RUBBER/KEY/J RJM506648-001V01...
-
Page 27: Schematic Diagrams
SCHEMATIC DIAGRAMS MAIN PCB M421-MDA1 (1/2) — 25 —... - Page 28 MAIN PCB M421-MDA1 (2/2) — 26 —...
- Page 29 LCD PCB M421-LCA1 — 27 —...
- Page 30 SUB PCB M421-PSA1 — 28 —...
- Page 31 CONSOLE PCB M421-CNA1/CNA2/CNA3/CNA4/CNA5/CNA6/CNA7/CNA8 — 29 —...
- Page 32 JACK PCB M421-PSB1 — 30 —...
- Page 33 JACK PCB M421-PSC1 SD CARD PCB M421-SDA1 — 31 —...
- Page 34 Ver.1 : Sep. 2006 Addition of the BLOCK DIAGRAM (P3) CASIO COMPUTER CO.,LTD. Overseas Service Division 6-2, Hon-machi 1-Chome Shibuya-ku, Tokyo 151-8543, Japan...
Need help?
Do you have a question about the PX-410R and is the answer not in the manual?
Questions and answers