GE Profile P2B940SEJSS Installation Instructions Manual
Hide thumbs
Also See for Profile P2B940SEJSS:
- Installation instructions (4 pages) ,
- Dimensions and installation information (2 pages)
Table of Contents
Advertisement
Available languages
Available languages
Quick Links
Installation Instructions
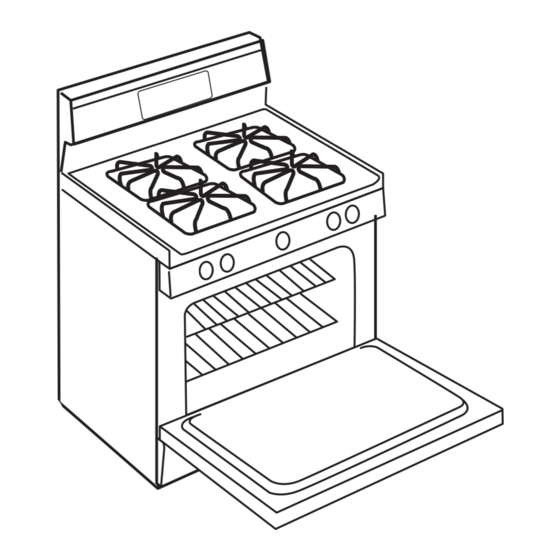
Range
Questions? Call GE Appliances at 1.800.GE.CARES (1.800.432.2737) or visit
GEAppliances.com. In Canada, call 1.800.561.3344 or visit GEAppliances.ca.
IN THE COMMONWEALTH
OF MASSACHUSETTS
WARNING
FIRE OR EXPLOSION
HAZARD
FOR YOUR SAFETY:
• A child or adult can tip the range and be killed.
• Install the anti-tip bracket to the wall or floor.
• Engage the range to the anti-tip bracket by sliding the
range back such that the foot is engaged.
• Re-engage the anti-tip bracket if the range is moved.
• Failure to do so can result in death or serious burns
to children or adults.
NEW
WARNING
Tip-Over Hazard
WARNING
Advertisement
Table of Contents

Related Manuals for GE Profile P2B940SEJSS


Summary of Contents for GE Profile P2B940SEJSS
- Page 1 • A child or adult can tip the range and be killed. • Install the anti-tip bracket to the wall or floor. Questions? Call GE Appliances at 1.800.GE.CARES (1.800.432.2737) or visit • Engage the range to the anti-tip bracket by sliding the GEAppliances.com.
-
Page 2: Tools You Will Need
TOOLS YOU WILL NEED MATERIALS YOU MAY NEED BEFORE YOU BEGIN Mobile Home - Additional Installation Requirements IMPORTANT — IMPORTANT — IMPORTANT — IMPORTANT — Note to Installer Note to consumer Servicer... -
Page 3: Dimensions And Clearances
DIMENSIONS AND DIMENSIONS AND CLEARANCES (CONT.) CLEARANCES GAS PIPE AND ELECTRICAL OUTLET LOCATIONS 11 1/4" 36 1/4" ± 1/4 CAUTION To prevent 26 1/4" drafts from affecting burner w/o handle operation, seal all openings 28 3/4" in floor under appliance and 30"... - Page 4 CONVERTING TO PROPANE Rear of Range GAS (OR CONVERTING BACK TO NATURAL GAS FROM PROPANE) This range leaves the factory set for use with natural gas. If you want to convert to propane gas, the conversion must be performed by a qualified propane gas installer.
-
Page 5: Requerimientos Eléctricos
REQUERIMIENTOS ELÉCTRICOS POWER CORD AND CONDUIT INSTALLATION ADVERTENCIA ADVERTENCIA Rear of Range ADVERTENCIA ADVERTENCIA NOTE: NOTA: HORNO SIMPLE NOTE:... - Page 6 3-WIRE INSTALLATION (GROUND IS THROUGH THE 4-WIRE INSTALLATION (SEPARATE GROUND WIRE) NEUTRAL WIRE) WARNING Before–Power Cord and Conduit Power Cord WARNING Shock Hazard WARNING Fire hazard FOR POWER CORD INSTALLATION FOR POWER CORD INSTALLATION After–Power Cord Conduit FOR CONDUIT INSTALLATION FOR CONDUIT INSTALLATION After–Conduit NOTE:...
-
Page 7: Gas Supply
GAS SUPPLY SURFACE BURNERS WARNING WARNING Fire Hazard: Do not use Fire or Explosion Hazard: a flame to check for gas leaks. Do not operate the burner without all burner parts in place. WARNING Burners - Explosion Hazard: Do not exceed 25 ft-lbs of torque when making gas line connections. - Page 8 FINAL INSTALLATION CHECKLIST INSTALL AND CHECK ANTI-TIP DEVICE WARNING Never completely remove the leveling leg as the range will not be secured to the anti-tip device properly. LEVEL THE RANGE OPERATION CHECKLIST WARNING Never completely remove the leveling leg as the range will not be secured to the anti-tip device properly.
-
Page 9: Para Su Seguridad
Riesgo de Caída • Un niño o adulto pueden volcar la cocina y morir. ¿Preguntas? Llame a GE Appliances al 800.GE.CARES (800.432.2737) o visita • Instale el soporte anti-volcaduras sobre la pared o el piso. • Asegúrese la estufa al soporte anti-volcaduras deslizando GEAppliances.com. - Page 10 HERRAMIENTAS NECESARIAS MATERIALES NECESARIOS ANTES DE COMENZAR Casa Rodante – Requisitos de Información Adicional IMPORTANTE IMPORTANTE IMPORTANTE IMPORTANTE Nota para el Instalador Nota para el Consumidor Servicio Técnico...
-
Page 11: Dimensiones Y Espacios
DIMENSIONES Y ESPACIOS DIMENSIONES Y ESPACIOS (CONT.) UBICACIONES DE LA TUBERÍA DE GAS Y DEL TOMACORRIENTE ELÉCTRICO 11 1/4" 36 1/4" ± 1/4 PRECAUCIÓN Para evitar que una corriente de aire afecte el funcionamiento del quemador, selle 26 1/4" todas las aberturas sobre el piso w/o handle debajo del electrodoméstico y detrás 28 3/4"... - Page 12 CONVERTIR A GAS PROPANO Parte Trasera de la Estufa (O VOLVER A CONVERTIR DE PROPANO A GAS NATURAL) Esta cocina deja la configuración de fábrica para uso con gas natural. Si desea convertir a gas propano, la conversión deberá ser realizada por un instalador de gas propano calificado.
- Page 13 REQUERIMIENTOS ELÉCTRICOS INSTALACIÓN DE CABLE DE ENERGÍA Y DE PASACABLES ADVERTENCIA ADVERTENCIA Parte trasera de la cocina ADVERTENCIA ADVERTENCIA NOTA: NOTA: HORNO SIMPLE NOTA:...
- Page 14 INSTALACIÓN DE TRES (3) ALAMBRES (LA CONEXIÓN A INSTALACIÓN DE 4 ALAMBRES (CABLE DE CONEXIÓN A TIERRA SE REALIZA A TRAVÉS DEL CABLE NEUTRO) TIERRA SEPARADO) Antes–Cable de energía ADVERTENCIA y conducto portacables ADVERTENCIA Cable de energía Riesgo de Descarga ADVERTENCIA PARA INSTALACIÓN DE CABLE DE ENERGÍA Riesgo de incendio...
- Page 15 SUMINISTRO DE GAS SUPERFICIALES UEMADORES ADVERTENCIA Riesgo de incendio: ADVERTENCIA No use una llama para controlar las pérdidas de gas. Riesgo de Incendio o Explosión: No use el quemador sin que todas ADVERTENCIA las partes de los quemadores estén en sus Riesgo de respectivos lugares.
-
Page 16: Dispositivo Antivolcaduras
LISTA DE CONTROL FINAL DE LA INSTALACIÓN INSTALE Y CONTROLE EL DISPOSITIVO ANTIVOLCADURAS ADVERTENCIA Nunca retire completamente las patas niveladoras, ya que la cocina no estará asegurada de forma adecuada al dispositivo antivolcaduras. LISTA DE CONTROL DE FUNCIONAMIENTO NIVELACIÓN DE LA COCINA ADVERTENCIA NOTA: INSTRUCCIONES DE INSTALACIÓN...