
Related Manuals for Homebase FDP15-2021R5


Summary of Contents for Homebase FDP15-2021R5
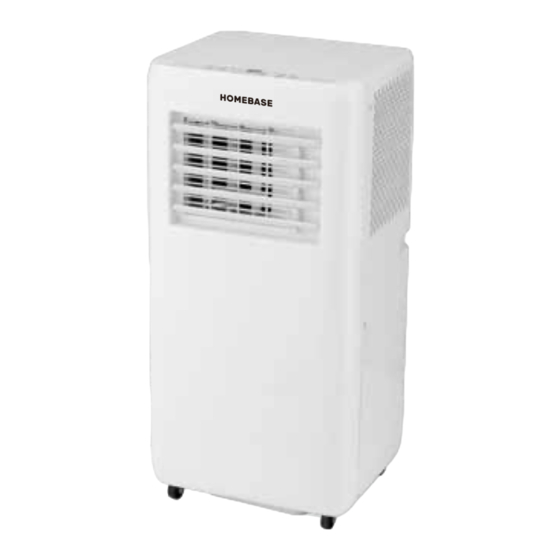
- Page 1 PORTABLE AIR CONDITIONER 5000BTU INSTRUCTION MANUAL IMPORTANT: Please read these instructions before using the product and retain for future use. HHGL Limited, MK9 1BA HHGL (ROI) Limited, D02 X576...
-
Page 2: Safety Warnings
SAFETY WARNINGS Read this information carefully before installation or use of this product. Keep this manual with the product for future reference. 1. When using electrical appliances, basic precautions should always be followed to reduce the risk of fire, electric shock, burns and other injuries. 2. - Page 3 11. Before cleaning or moving the appliance, always turn off and disconnect the power supply. 12. All the air-conditioner sockets must comply with the local electric safety requirements. If necessary, please check it corresponds with requirements. 13. The appliance shall be installed in accordance with national wiring regulations.
- Page 4 22. The appliance shall be stored in a room without continuously operating ignition sources. For example: Open flames, an operating gas appliance or an operating electric heater. 23. Be aware that refrigerants may be odourless. 24. This appliance contains R290 refrigerant gas. R290 is a refrigerant gas that complies with the European directives on the environment.
- Page 5 SAFETY RELATING TO REFRIGERANT R290: Caution,risk of fire planation of symbols displayed on the unit, (for units that adopt R290 Refrigerant only): This symbol shows that this appliance uses a flammable refrigerant. If the refrigerant leaks WARNING and is exposed to an external ignition source, there is a risk of fire.
-
Page 6: Technical Specification
TECHNICAL SPECIFICATION 5000BTU /H Cooling capacity FDP15-2021R5 Model No. 647445 Article No. Voltage 220 - 240V Frequency 50Hz Rated Input Power 575W 2 .67A Rated Input Current Temp. Setting Range 16°C-31°C Refrigerant R290/75g Less than 63dB(A) Noise Level 18Kg Net Weight... -
Page 7: Icon Explanation
ICON EXPLANATION This appliance conforms to relevant directives of The European Community. The product complies with the applicable UK directives. This marking indicates that this product should not be disposed with other household waste. To prevent possible harm to the environment or human health from uncontrolled waste disposal, recycle it responsibly to promote the sustainable reuse of material resources. -
Page 8: Parts Description
PARTS DESCRIPTION Control panel Air exhaust hose Air outlet & louvers Air inlet and air filter Signal receptor Drain port (inserted by a stopper) Remote control Hose connector Handle 10. Window adaptor REMOTE CONTROL This unit has a remote control. 1 x CR2025 battery will be provided with the remote control. -
Page 9: Control Panel
CONTROL PANEL POWER Control panel buttons and indicators Fan speed indicator (high) Power button Fan speed indicator (low) Temperature up button Timer indicator 10. Temperature down button Temperature/timer display 11. Operation mode button Mode indicator (cooling) 12. Fan speed button Mode indicator (dehumidifying) 13. -
Page 10: Installation
INSTALLATION Installing the window kit and appliance. Your window kit has been designed to fit most standard horizontal and vertical window applications. However, for certain types of windows it may be necessary for you to improvise/modify some aspects of the installation procedure. - Page 11 Connect the connector of the air exhaust duct to the unit (Fig. 3) Fig. 3 INSTALLING THE WINDOW KIT Separate both Screw the wing Insert A bracket sets of bracket nut through into B bracket (A and B). the B bracket. according to Leave 2/3mm arrowhead...
- Page 12 You can adjust A bracket Install exhaust air duct & its up or down, according to accessories into the window the height of the window kit according to the arrowhead Screw it until it is tight. direction. Open the window where Install the exhaust air duct, window you need to install the kit and their accessories through...
-
Page 13: Using The Control Panel
USING THE CONTROL PANEL Switching the unit on/off Plug in the unit. It will emit a long beep. Press the power button [ ] to turn on the unit. It will beep once. When you have finished using the air conditioner, press this button again. - Page 14 Adjusting the fan speed Press the [ ] button to select the desired fan speed (low/high) in the order shown below: HIGH Setting the timer AUTO ON: To have the appliance automatically switch on after a predetermined amount of time, switch the appliance off. While the appliance is switched off, press the timer button [ The timer indicator light will switch on and flash.
- Page 15 WATER FULL ALARM Condensation water that forms during cooling will drop into an in-built drip tray. When the water level in the drip tray is getting too full, the “water full” indicator light will switch on, and after 5 minutes, the error code [ E4] will appear on the screen.
-
Page 16: Troubleshooting Guide
TROUBLESHOOTING GUIDE If you experience problems with your portable air conditioner, or it appears not to be operating correctly, check the information below for solutions to common problems. If none of the solutions offered help you solve your problem, please contact your local store. Analysis Trouble If the over protector or fuse is blown. -
Page 17: Plug Replacement
PLUG REPLACEMENT Fuse approved to BS 1362 Connect Blue to N (Neutral) Brown L (Live) Outer sleeve Cable grip WARNING! The wires in the mains lead are coloured in accordance with the following code: Blue – Neutral Brown – Live As the colour of the wire in the mains lead of this appliance may not correspond with the coloured marking identifying the terminals in your plug, proceed as follows:... - Page 18 finish. Any claim under this warranty must be made by going to your nearest Homebase store, taking your proof of purchase with you, and claims must be made within 2 years of the date of purchase. We will offer you a free repair of the item where this is possible, or a replacement or a refund.
Need help?
Do you have a question about the FDP15-2021R5 and is the answer not in the manual?
Questions and answers